Hello, fellow garden enthusiasts! Today, we’re going to delve into the wonderful world of propagating Astragalus glycyphyllos, also known as wild liquorice or white-flowered sweet vetch. This delightful perennial, with its charming pea-like flowers and sweet fragrance, is a real joy to have in the garden. If you’ve ever admired its graceful sprawl and vibrant blooms, you’ll be happy to know that multiplying this beauty is entirely achievable, and quite a rewarding endeavor. For those of you just starting out on your propagation journey, I’d say Astragalus glycyphyllos falls into the “moderately easy” category – a fantastic stepping stone!
The Best Time to Start
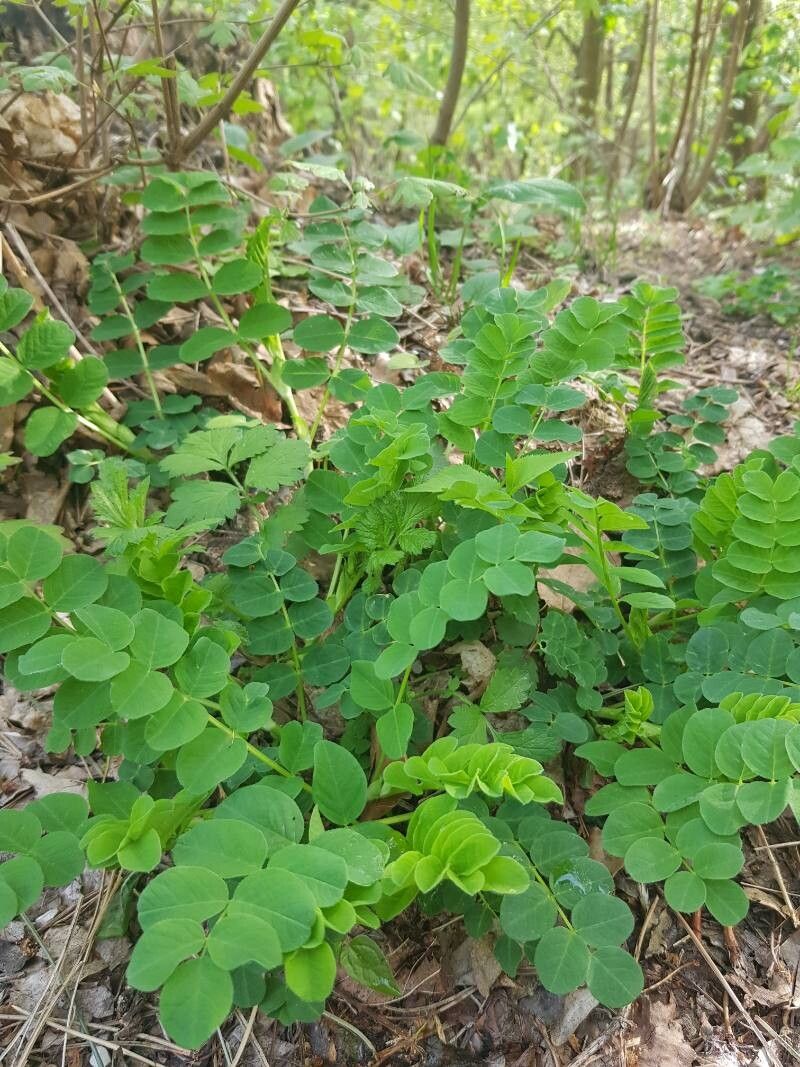
I find that the late spring to early summer is truly the sweet spot for propagating Astragalus glycyphyllos. This is when the plant is actively growing, so the stems have plenty of energy to put into developing roots. Look for new, but not fully woody, growth. You want stems that are flexible and firm, not brittle or overly soft.
Supplies You’ll Need
Gathering your supplies beforehand makes the whole process much smoother. Here’s what I usually have on hand:
- Sharp pruning shears or a clean knife: For taking clean cuts.
- Potting mix: A well-draining mix is crucial. I often use a blend of peat moss, perlite, and a bit of compost. You can also buy specialized propagation mixes.
- Small pots or trays: Clean pots are a must to avoid introducing disease.
- Rooting hormone (optional but recommended): This can give your cuttings a real boost. Look for one containing indole-3-butyric acid (IBA).
- Watering can with a fine rose: To water gently without disturbing the cuttings.
- Clear plastic bags or a propagator: To maintain high humidity around the cuttings.
Propagation Methods
For Astragalus glycyphyllos, I’ve had the most success with stem cuttings. It’s straightforward and yields excellent results.
Stem Cuttings
- Select and cut: Choose healthy stems that are about 4-6 inches long. Make a clean cut just below a leaf node (where a leaf attaches to the stem).
- Prepare the cuttings: Gently remove the lower leaves, leaving only a few at the top. This prevents them from rotting in the soil.
- Apply rooting hormone (if using): Dip the cut end of the stem into the rooting hormone powder, tapping off any excess.
- Plant the cuttings: Fill your pots with the prepared potting mix. Make a small hole in the center of the soil with your finger or a pencil. Insert the cutting into the hole, ensuring the base is firm.
- Water gently: Water the soil thoroughly until it’s evenly moist but not waterlogged.
- Create a humid environment: Cover the pot with a clear plastic bag or place it in a propagator. Make sure the leaves aren’t touching the plastic if possible.
The “Secret Sauce” (Pro Tips)
Here are a couple of things I’ve learned over the years that can really make a difference:
- Use bottom heat: If you have the space, placing your pots on a heated propagator mat can significantly speed up root development. The warmth from beneath encourages the roots to grow.
- Wipe down your tools: Always ensure your pruning shears or knife are spotlessly clean before making any cuts. This is a simple step that can prevent the spread of diseases that could kill your cuttings.
- Don’t overwater: This is a common mistake! Cuttings need consistent moisture, but soggy soil is a recipe for rot. Check the soil moisture regularly by feeling it with your finger.
Aftercare & Troubleshooting
Once your cuttings have rooted, you’ll notice signs like new leaf growth. This is when you can start to gradually introduce them to less humid conditions by opening the plastic bag a little more each day. When they seem robust enough to handle it, you can remove the cover entirely.
The most common issue you might encounter is rot. If you see your cuttings turning black and mushy, it’s usually a sign of too much moisture and poor air circulation. Sadly, these are often beyond saving. If you suspect rot, remove the affected cutting immediately to prevent it from spreading.
A Encouraging Closing
Propagating plants is a journey of patience and observation. Don’t be discouraged if every single cutting doesn’t make it – that’s just part of gardening! Celebrate the successes, learn from the failures, and most importantly, enjoy the process of bringing more of these beautiful Astragalus glycyphyllos into your garden. Happy growing!
Resource:
https://identify.plantnet.org/k-world-flora/species/Astragalus%20glycyphyllos%20L./data