Hello there, fellow plant enthusiasts! I’m so glad you’re here. Today, we’re diving into the wonderful world of propagating a tree that brings so much beauty and fragrance to our gardens: the White Fir, or Abies concolor.
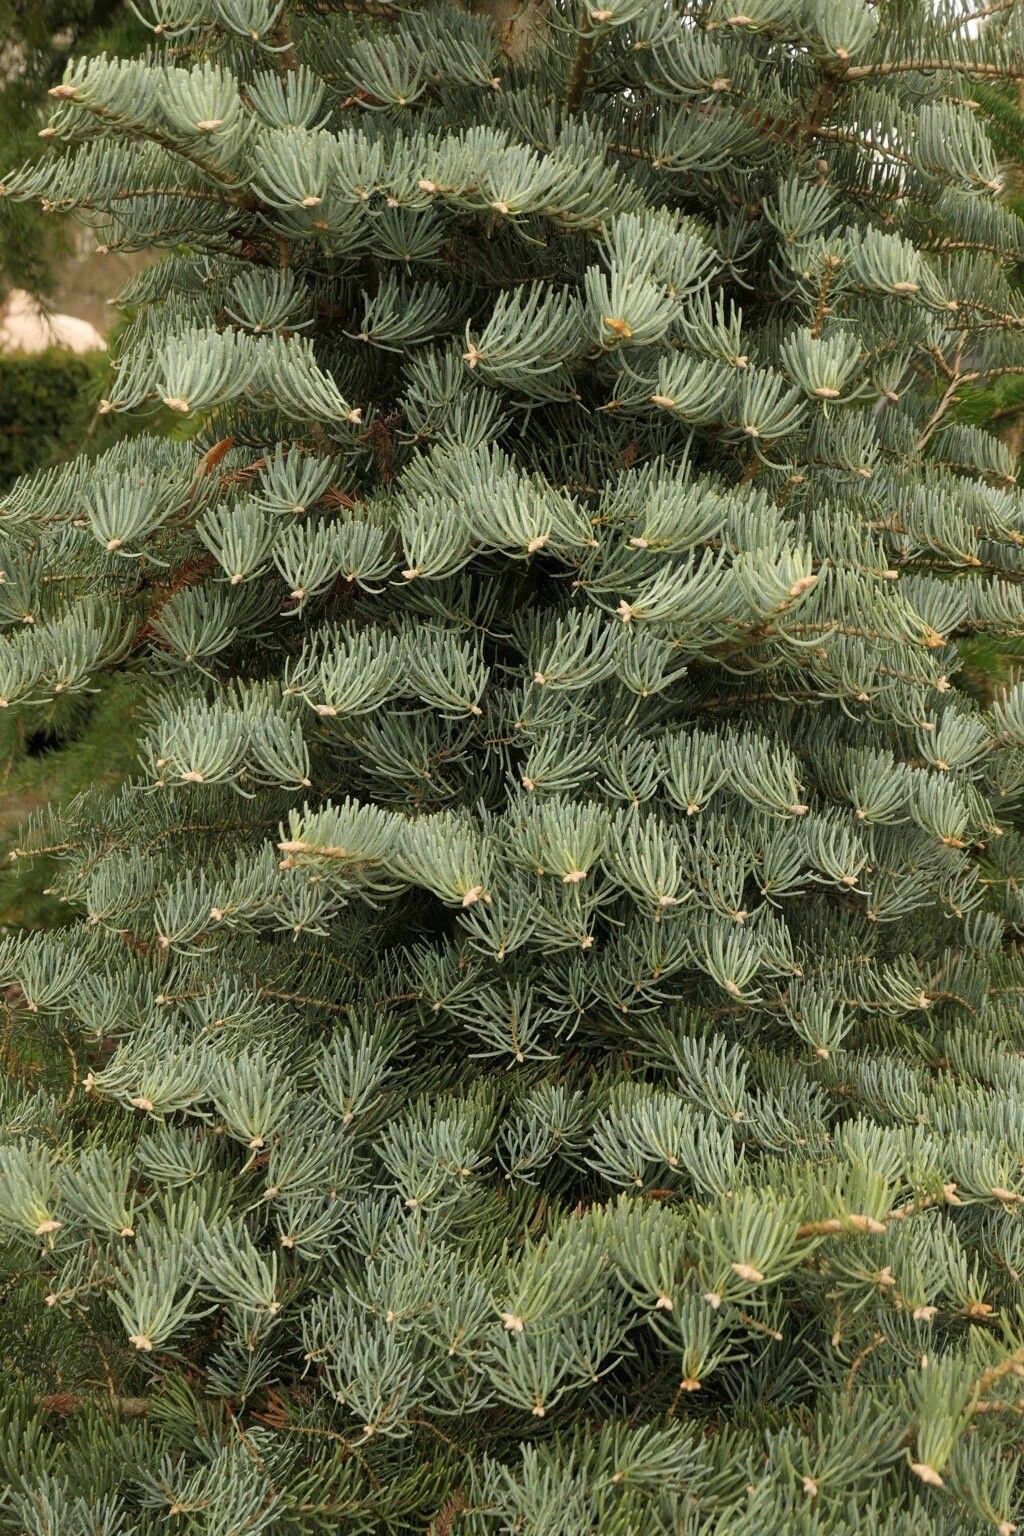
The White Fir is a stunner, isn’t it? With its silvery-blue needles and calming, citrusy scent, it’s a real showstopper. Being able to grow your own from scratch is incredibly satisfying. Now, I’ll be honest, propagating conifers like the White Fir isn’t quite as straightforward as, say, snipping off a begonia stem. It leans a bit more towards the “intermediate” gardener’s comfort zone, but with a little care and attention, you can absolutely succeed! It’s a challenge worth taking on, trust me.
The Best Time to Start
For the highest chance of success with Abies concolor, you’ll want to take cuttings in late spring or early summer. This is when the new growth, known as “softwood,” is pliable and full of energy. Aim for stems that have emerged this season, are still flexible, and haven’t started to fully harden off.
Supplies You’ll Need
Here’s your handy checklist for getting started:
- Sharp Pruning Shears or a Craft Knife: Cleanliness is key here to prevent disease.
- Rooting Hormone: A good quality rooting powder or gel will significantly boost your chances.
- Small Pots or Seed Trays: Something with drainage holes is essential.
- Well-Draining Potting Mix: I like a blend of equal parts perlite, peat moss, and a bit of coarse sand. You want good aeration.
- Plastic Bags or a Propagation Dome: To create a humid environment.
- Spray Bottle: For misting.
- Optional: Heated Propagation Mat: This can really speed things up.
Propagation Methods: Stem Cuttings
This is generally the most successful method for White Fir.
- Select Your Cuttings: Look for healthy, current-year’s growth. You want cuttings that are about 4 to 6 inches long.
- Make the Cut: Using your clean shears or knife, make a clean cut just below a bud node. This is where the roots are most likely to form.
- Prepare the Cutting: Gently strip off the needles from the bottom 2 inches of the cutting. You want a clear section to dip in the rooting hormone. If the leaves are very close together, you can even carefully trim some of them off the lower half to reduce water loss.
- Apply Rooting Hormone: Dip the cut end of the stem into your rooting hormone, tapping off any excess.
- Plant the Cuttings: Make a hole in your prepared potting mix with a pencil or your finger. Insert the cutting, ensuring the part with the rooting hormone is in contact with the soil. Gently firm the soil around the base so it stands upright. Don’t pack it too tightly.
- Water Gently: Water the soil lightly to settle it.
- Create the Humid Environment: Cover the pots with a plastic bag, ensuring it doesn’t touch the foliage, or place them under a propagation dome. This keeps the moisture in.
The “Secret Sauce” (Pro Tips)
After years of trial and error, here are a couple of things I’ve learned that make a real difference:
- The “Heel” Trick: Sometimes, when you gently pull a stem from a larger branch, it will take a small sliver of bark with it – this is called a “heel.” If you can get cuttings with a heel, they often root more readily. Just try to keep that heel clean and intact.
- Don’t Over-Mist: It can be tempting to keep the leaves constantly wet, but too much moisture can lead to fungal issues. Mist only when the surface of the soil feels dry, or when the humidity inside your bag seems to be dropping.
Aftercare & Troubleshooting
Once your cuttings are planted and covered, place them in a bright spot that gets indirect light. Avoid direct sun, which can scorch the tender new growth. Consistency is key. Keep the soil moist but not waterlogged.
You can test for roots by very gently tugging on a cutting. If you feel resistance, you’re likely on your way! This can take several weeks, sometimes even a few months, so be patient.
The most common issue you might face is rot. This usually happens when the cuttings sit in soil that’s too wet or if the humidity is too high without good air circulation. If you see browning or wilting that isn’t just the lower leaves preparing to drop, it could be rot. In this case, you might need to discard the affected cutting and ensure better drainage and ventilation for the others.
A Encouraging Closing
Growing your own White Fir is a journey, not a race. Enjoy the process, learn from each step, and don’t be discouraged if not every cutting takes. The satisfaction of seeing those tiny roots develop and eventually potting up a new tree of your own is truly magical. Happy propagating!
Resource: