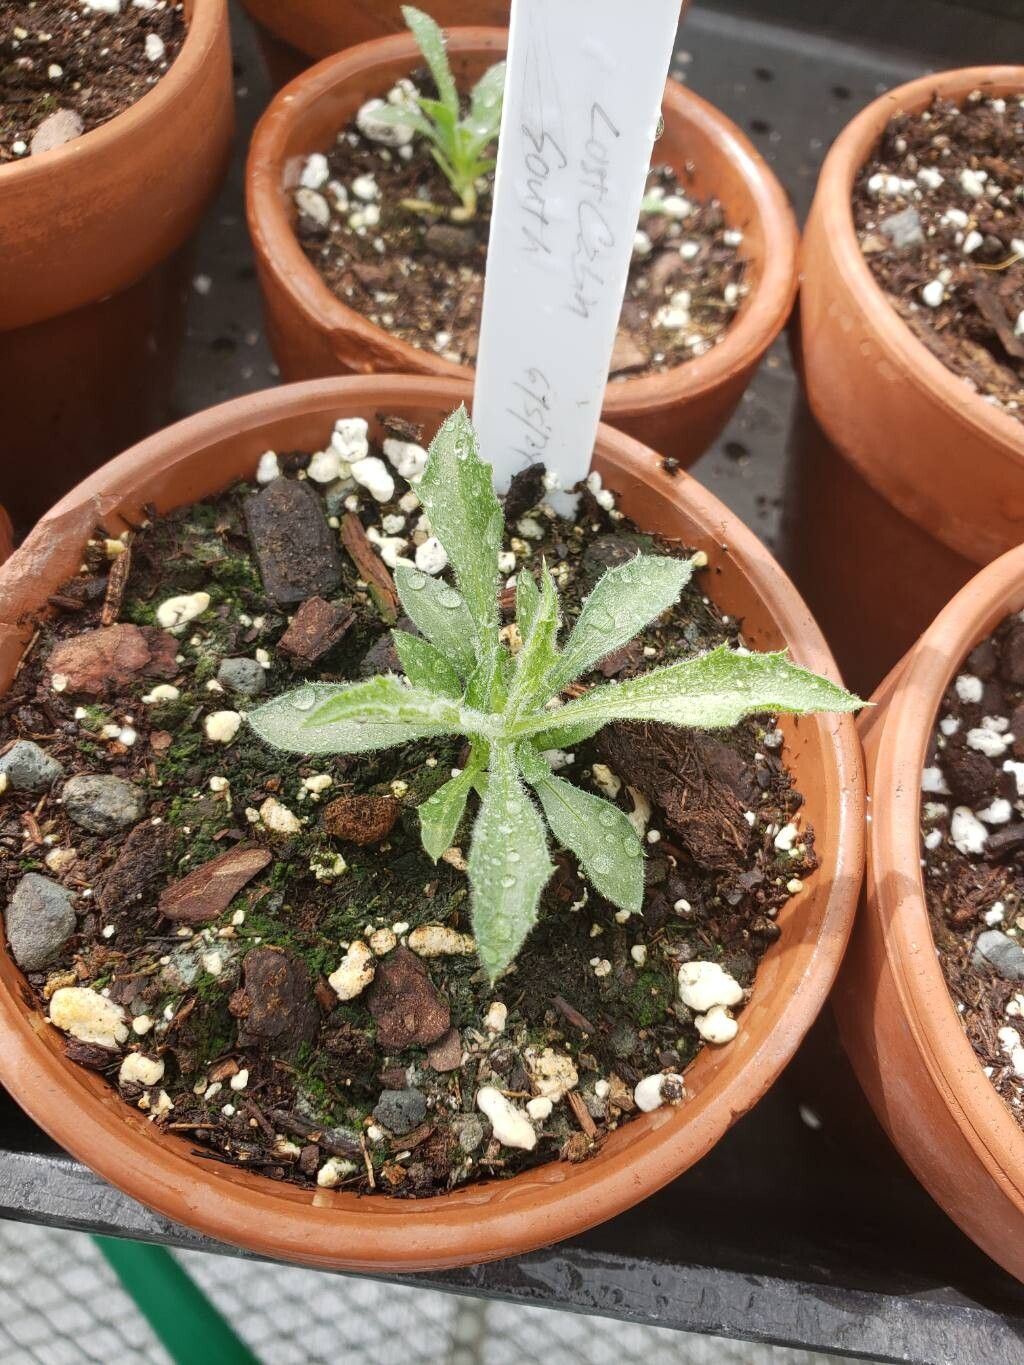
Hello there, fellow plant enthusiasts! I’m so excited to share a little bit about a plant that has truly captured my heart over the years: Xylorhiza tortifolia, commonly known as the Desert Aster. If you’re drawn to resilient beauty, the kind that thrives with a bit of grit and a lot of sunshine, then this is the plant for you. Its starry, white blooms against the backdrop of its twisting, woody stems are just stunning.
Propagating the Desert Aster is wonderfully rewarding. There’s a special kind of joy in seeing a tiny cutting develop its own roots, knowing you’ve brought another life into being. Now, to be upfront with you, if you’re brand new to propagating, Xylorhiza tortifolia might present a slight learning curve. It’s not the absolute easiest, but with a little patience and these tried-and-true methods, you’ll be enjoying your own little aster army in no time.
The Best Time to Start
For the highest success rate with Xylorhiza tortifolia cuttings, I always aim for late spring to early summer. This is when the plant is actively growing and has plenty of healthy, semi-hardwood stems to work with. Avoid taking cuttings from brand-new, soft growth or from old, woody material. We want that perfect, just-firm-enough stage.
Supplies You’ll Need
Here’s what you’ll want to have on hand before you start:
- Sharp Pruning Shears or a Knife: Cleanliness is key here!
- Rooting Hormone: A good quality powder or gel will significantly boost your success.
- Well-Draining Potting Mix: I like a blend of equal parts perlite and coarse sand, with a little bit of peat moss or coco coir for moisture retention.
- Small Pots or Seed Trays: Clean and with drainage holes.
- Plastic Bags or a Clear Dome: To create a humid environment.
- Watering Can with a Fine Rose: Gentle watering is essential.
- Labels and a Marker: To keep track of your cuttings!
Propagation Methods
I’ve had the best luck with stem cuttings for Xylorhiza tortifolia. Division can work, but cuttings are generally more straightforward for this particular plant.
Stem Cuttings: Step-by-Step
- Select Your Stems: Find healthy, upright stems that are about 4-6 inches long. Look for stems that are no longer bright green and floppy, but not yet fully woody and dark. They should feel firm but have a slight give.
- Make the Cut: Using your clean pruning shears or knife, make a clean cut just below a leaf node. A leaf node is where a leaf attaches to the stem. This is where root-forming cells are concentrated.
- Prepare the Cutting: Gently remove the lower leaves, leaving just a few at the very top. This prevents them from rotting when buried in the soil.
- Apply Rooting Hormone: Dip the cut end of the stem into your rooting hormone, ensuring it’s well-coated. Tap off any excess.
- Plant the Cuttings: Fill your small pots with your well-draining mix. Make a small hole with a pencil or your finger in the center of the soil. Carefully insert the treated end of the cutting into the hole and gently firm the soil around it. You can place several cuttings in one pot, ensuring they don’t touch each other.
- Water Gently: Water the soil thoroughly but gently. You want it moist, not soggy.
The “Secret Sauce” (Pro Tips)
Here are a couple of tricks I’ve learned that can really make a difference:
- Bottom Heat is Your Friend: If you can, place your pots on a propagator mat or a gently heated surface. This encourages root development from below, speeding up the process and improving your success rate significantly, especially if your ambient temperatures are a bit cooler.
- Don’t Overwater, Ever! This is probably the most common mistake. Xylorhiza tortifolia is a desert plant; it hates sitting in wet soil. It’s far better to let the soil dry out slightly between waterings than to drown your precious cuttings.
Aftercare & Troubleshooting
Once your cuttings are planted, it’s time for a bit of TLC.
- Create a Humid Environment: Cover your pots loosely with a plastic bag or place them under a clear dome. This helps keep the moisture levels up around the leaves, preventing them from drying out before they can establish roots. Make sure the leaves aren’t touching the plastic, as this can lead to fungal issues.
- Provide Bright, Indirect Light: Place your cuttings in a spot that receives bright light but avoid direct, scorching sun. A bright windowsill would be perfect.
- Check for Roots: After a few weeks, you can gently tug on a cutting. If there’s resistance, it means roots are forming! You can also look for new leaf growth at the top as a positive sign.
- Troubleshooting: The biggest enemy here is rot. If your cuttings look dark, mushy, or slimy, it’s likely due to overwatering and poor air circulation. If you see this, remove the affected cutting immediately and try to improve your watering habits and ventilation. Sometimes, a cutting just doesn’t take, and that’s okay. Don’t be discouraged!
A Little Bit of Encouragement
Propagating plants is as much an art as it is a science. Be patient, observe your cuttings, and trust your instincts. Every failed attempt is a learning opportunity, and every success is a double dose of satisfaction. So, go ahead, grab your shears, and get those aster babies started. Happy propagating!
Resource:
https://identify.plantnet.org/k-world-flora/species/Xylorhiza%20tortifolia%20Greene/data