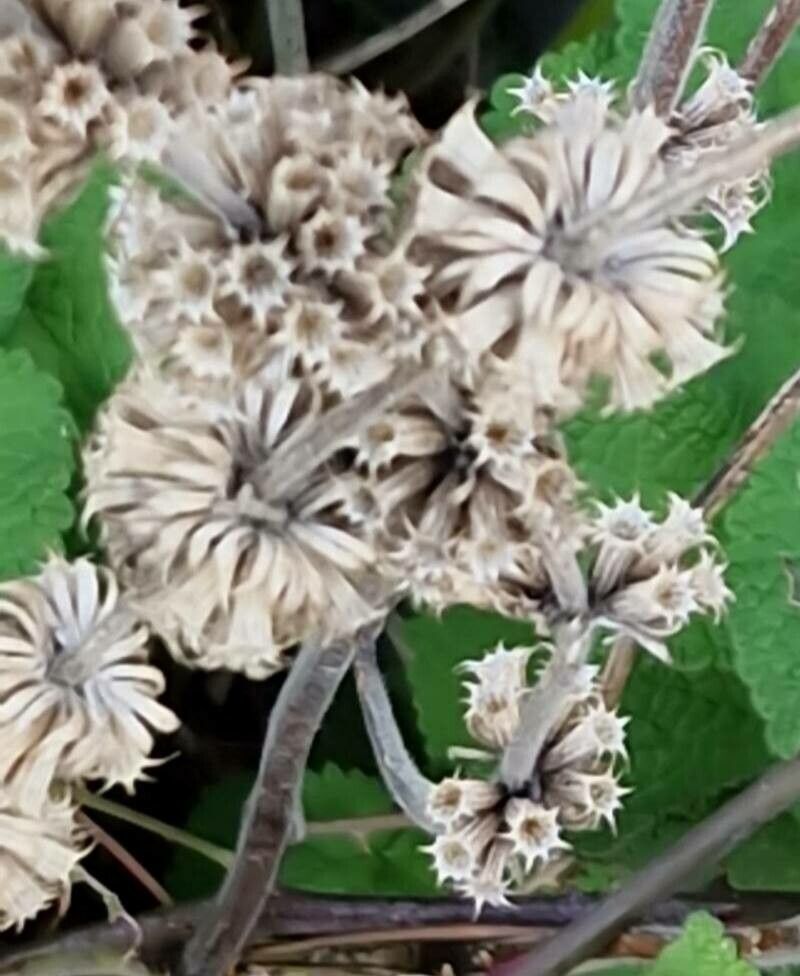
Hello there, fellow plant lovers! I’m so excited to talk to you today about a truly charming plant: Pseudodictamnus hirsutus. You might know it by its common names, like Sticky-leaved Hare’s Ear or even just “sticky dittany.” This shrubby plant is a real gem in the garden, with its fuzzy, silvery-green leaves and delicate white or pale pink flowers that attract bees and butterflies. It’s got this wonderful aroma when you brush against it, a bit like oregano or mint, which is just delightful. Propagating it yourself feels like unlocking a little garden secret, and honestly, it’s a very satisfying process. For beginners, I’d say it’s moderately easy – a few key things to get right, but nothing too intimidating.
The Best Time to Start
When it comes to getting new Pseudodictamnus hirsutus plants, late spring to early summer is your golden ticket. After the plant has finished its main flush of flowering, or just as new growth is actively happening, that’s when the plant is full of energy and ready to make more of itself. You’re looking for stems that are not too soft and new, but also not old and woody. Think of it as capturing that vigorous growth spurt.
Supplies You’ll Need
Gathering your supplies beforehand makes the whole process smoother. Here’s what I usually have on hand:
- Sharp pruning shears or a clean knife: For making nice, precise cuts.
- Rooting hormone powder or gel: This is a helping hand to encourage those roots to form faster.
- Potting mix: A well-draining, sterile potting mix is crucial. I often mix equal parts perlite or coarse sand with a good quality seed-starting mix.
- Small pots or trays: Clean pots are essential to prevent disease.
- Plastic bags or a propagator: To create a humid environment.
- Watering can with a fine rose: For gentle watering.
- Labels: To keep track of your cuttings and when you took them!
Propagation Methods
Pseudodictamnus hirsutus is quite happy to be propagated from stem cuttings. This is usually the most straightforward and successful method for me.
Stem Cuttings:
- Select your parent plant: Find a healthy, vigorous Pseudodictamnus hirsutus that’s been growing well.
- Take the cuttings: Using your sharp pruning shears, take cuttings that are about 4-6 inches long. You want to select stems that are semi-hardwood – meaning they are firm but still have some flexibility. Avoid old, woody stems or brand-new, floppy green growth. Make a clean cut just below a leaf node (where a leaf attaches to the stem).
- Prepare the cuttings: Gently remove the lower leaves from the cutting. You want to leave just a few leaves at the top to help the cutting photosynthesize. If the remaining leaves are very large, you can even cut them in half to reduce water loss.
- Apply rooting hormone: Dip the cut end of each cutting into your rooting hormone. Tap off any excess.
- Plant the cuttings: Fill your clean pots or trays with your prepared potting mix. Use a pencil or your finger to make a small hole in the center of the mix, then gently insert the cut end of the cutting. Firm the soil around the base of the cutting to ensure good contact.
- Water gently: Water the soil thoroughly but gently until it’s uniformly moist.
- Create humidity: Cover the pots with a clear plastic bag or place them in a propagator. This creates a mini-greenhouse effect, keeping the humidity high, which is vital for cuttings that can’t yet absorb water through their roots. Make sure the leaves don’t touch the plastic. You can use small stakes to tent the bag up.
- Place in a bright spot: Position the pots in a location that receives bright, indirect light. Avoid direct, scorching sun, as this can quickly dehydrate your cuttings.
The “Secret Sauce” (Pro Tips)
Over the years, I’ve learned that a few little tricks can make a big difference.
- Bottom heat is your friend: If you have a heated propagator or can place your pots on a heat mat, this is a game-changer. A bit of warmth from below encourages roots to form much, much faster. Think of it as giving the cutting a cozy bed to sprout from.
- Don’t overwater, but keep it consistently moist: This is a delicate balance. You want the soil to be moist, not soggy. I often find that misting the leaves lightly once a day, in addition to ensuring the soil is moist, helps keep things happy. If the soil feels dry to the touch, give it a gentle watering.
- Patience is truly a virtue: Sometimes, cuttings can take a while to show signs of rooting. I’ve had some take 6-8 weeks, especially if the weather is cooler. Resist the urge to constantly pull them up to check. A good sign is when you see new leaf growth emerging from the top of the cutting.
Aftercare & Troubleshooting
Once you see those tell-tale signs of new growth – little leaves unfurling or tiny roots peeking out of the drainage holes – congratulations! You’re on your way.
- Acclimatize gradually: Slowly reduce the humidity over a week or so. This means gradually opening the plastic bag a little more each day, or opening your propagator for longer periods. This helps your new plant adjust to the drier air of your home.
- Potting up: Once the cuttings have a good root system – you’ll know because they’ll feel a bit resistant when gently tugged – you can pot them up into slightly larger pots with a good quality potting mix.
- Keep watering consistently: Continue to water when the top inch of soil feels dry.
- Watch for rot: The most common enemy of cuttings is rot, often caused by overwatering or poor drainage. If you see stems turning mushy and black, or leaves suddenly wilting and turning yellow despite being moist, it’s a sign of rot. Unfortunately, once it sets in, it’s hard to save. Ensure excellent drainage and avoid waterlogged soil.
- Shriveling: If your cuttings are shriveling up and drying out, it’s usually a sign of too little humidity or too much direct sun. Increase humidity and move them to a shadier spot.
A Little Encouragement
Propagating plants is a beautiful way to connect with nature and grow your garden for free. It teaches you so much about the life cycle of plants and their resilience. Don’t be discouraged if not every cutting makes it. Every gardener, myself included, has lost cuttings along the way. Just keep trying, learn from each attempt, and most importantly, enjoy the journey of nurturing these little green wonders into vibrant new plants. Happy propagating!
Resource: