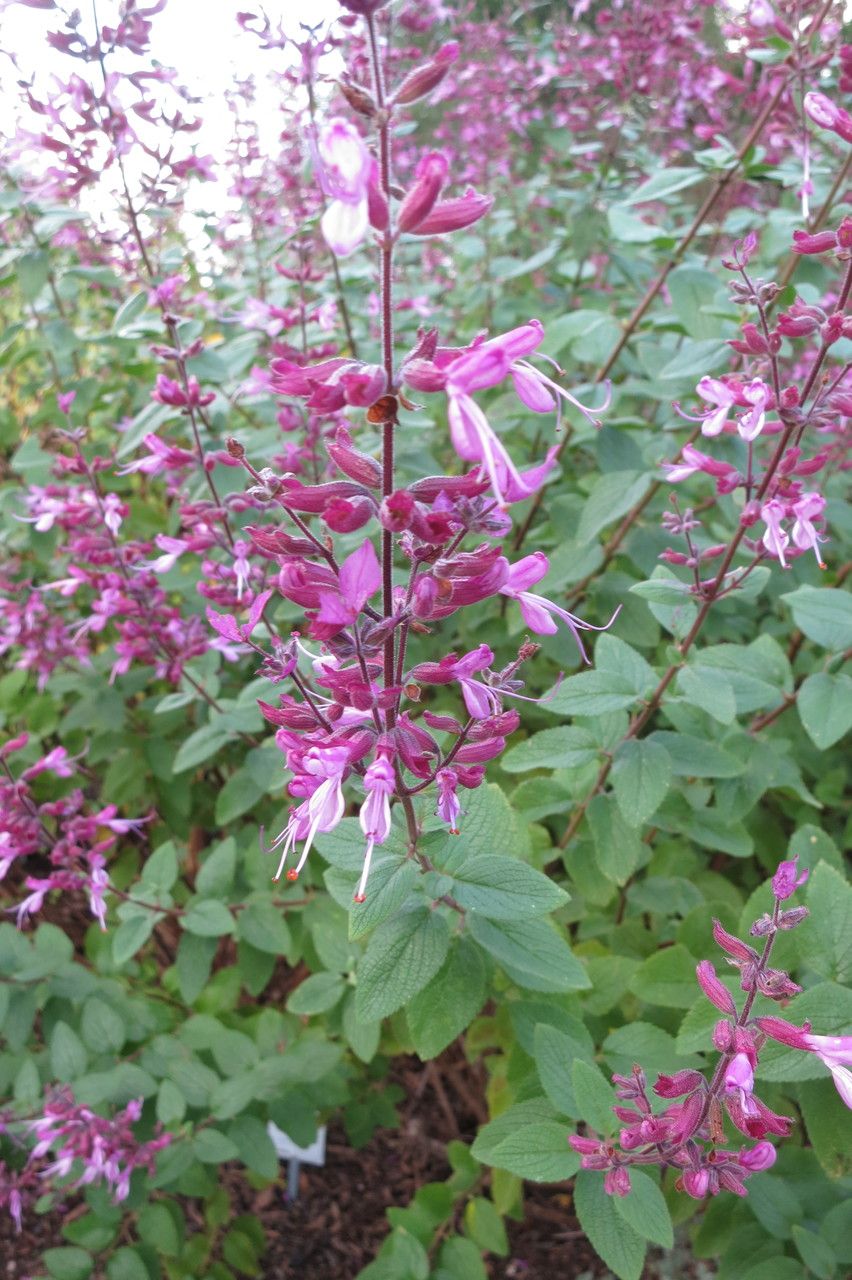
Hey fellow plant lovers! Today, we’re diving into the charming world of Syncolostemon latidens. If you’re looking for a plant that brings a pop of color and a delightful fragrance to your garden, you’ve found a winner. Its soft, velvety leaves and beautiful blooms are simply captivating, and the best part? You can easily multiply this beauty yourself!
I’ve been coaxing new plants from cuttings and divisions for years, and I can tell you, propagating Syncolostemon latidens is a truly rewarding experience. While it’s not as straightforward as, say, a succulent, it’s very manageable and a fantastic project for those with a little gardening curiosity. You’ll feel a real sense of accomplishment seeing those first tiny roots emerge!
The Best Time to Start
For the highest success rate with Syncolostemon latidens, I always recommend propagating in late spring or early summer. This is when the plant is actively growing, and the stems have plenty of energy to put into developing roots. You’re looking for new, healthy growth – usually non-flowering stems are best, as they’re focused on vegetative growth.
Supplies You’ll Need
To set yourself up for success, gather these handy items:
- Sharp pruning shears or a clean knife: For making clean cuts.
- Rooting hormone (optional but recommended): A little help can speed things up.
- Well-draining potting mix: A blend of peat moss, perlite, and a bit of compost works wonderfully. You can also buy a specific seedling/cutting mix.
- Small pots or seed trays: Clean ones, please!
- Plastic bags or a propagator lid: To maintain humidity.
- Spray bottle: For misting.
- Small trowel or dibber: For making planting holes.
Propagation Methods
Let’s get our hands dirty! Here are the two methods I find most successful for Syncolostemon latidens.
Stem Cuttings
This is my go-to method. It’s incredibly effective.
- Head out to your plant and select a healthy stem, about 4-6 inches long.
- Using your sharp shears or knife, make a clean cut just below a leaf node (where a leaf attaches to the stem). This is where the magic happens for root formation.
- Gently remove the lower leaves. You want to leave just a couple of leaves at the very top to help the cutting photosynthesize.
- If you’re using rooting hormone, dip the cut end into the powder, tapping off any excess.
- Now, use your trowel or dibber to make a hole in your prepared potting mix.
- Carefully insert the cutting into the hole, ensuring the leaf nodes you removed are below the soil surface. Gently firm the soil around the base.
- Water lightly to settle the soil.
Water Propagation
This method is a bit more visual and satisfying if you like watching roots grow.
- Follow steps 1-3 above for preparing your stem cuttings.
- Find a clean jar or vase and fill it with clean water.
- Place the cutting in the water. Crucially, make sure no leaves are submerged. This prevents them from rotting.
- Place the jar in a bright spot, but out of direct sunlight.
- Change the water every few days to keep it fresh and prevent bacterial growth.
The “Secret Sauce” (Pro Tips)
Here are a couple of tricks I’ve picked up that really make a difference:
- The Humidity Hug: Once your cuttings are in their pots, tent a plastic bag loosely over them or use a propagator lid. This creates a humid environment that’s crucial for preventing the cuttings from drying out before they can root. Make sure the bag doesn’t touch the leaves.
- A Little Warmth Helps: Syncolostemon latidens loves a bit of warmth. If you can, place your pots in a warm spot, like on top of a warm appliance or on a heat mat. This encourages root development from below.
Aftercare & Troubleshooting
Once your cuttings have been in their pots for a few weeks (or you see roots forming in water), it’s time to move them up!
- For cuttings in pots: Once you see signs of new growth, which usually means roots are forming, you can gradually remove the humidity tent over a few days to acclimate them. Water them consistently, but don’t let them sit in soggy soil.
- For cuttings in water: When the roots are an inch or two long, it’s time to transplant them into pots with your well-draining potting mix. Handle those delicate roots with care! Water them in gently.
What if things go wrong? The most common issue is rot. If your cutting turns black and mushy, it’s likely rotted. This is usually due to too much moisture and not enough air circulation. Don’t be discouraged! Just discard the rotted cutting and try again, perhaps with a slightly drier mix or better ventilation. You might also see wilting – this often means the cutting is drying out, so check your humidity and watering.
A Little Patience Goes a Long Way
Propagating plants is a journey, not a race. Celebrate every tiny success, and don’t be afraid to experiment. With a little bit of care and these tips, you’ll soon have a whole collection of beautiful Syncolostemon latidens to enjoy and share! Happy gardening!
Resource:
https://identify.plantnet.org/k-world-flora/species/Syncolostemon%20latidens%20(N.E.Br.)%20Codd/data