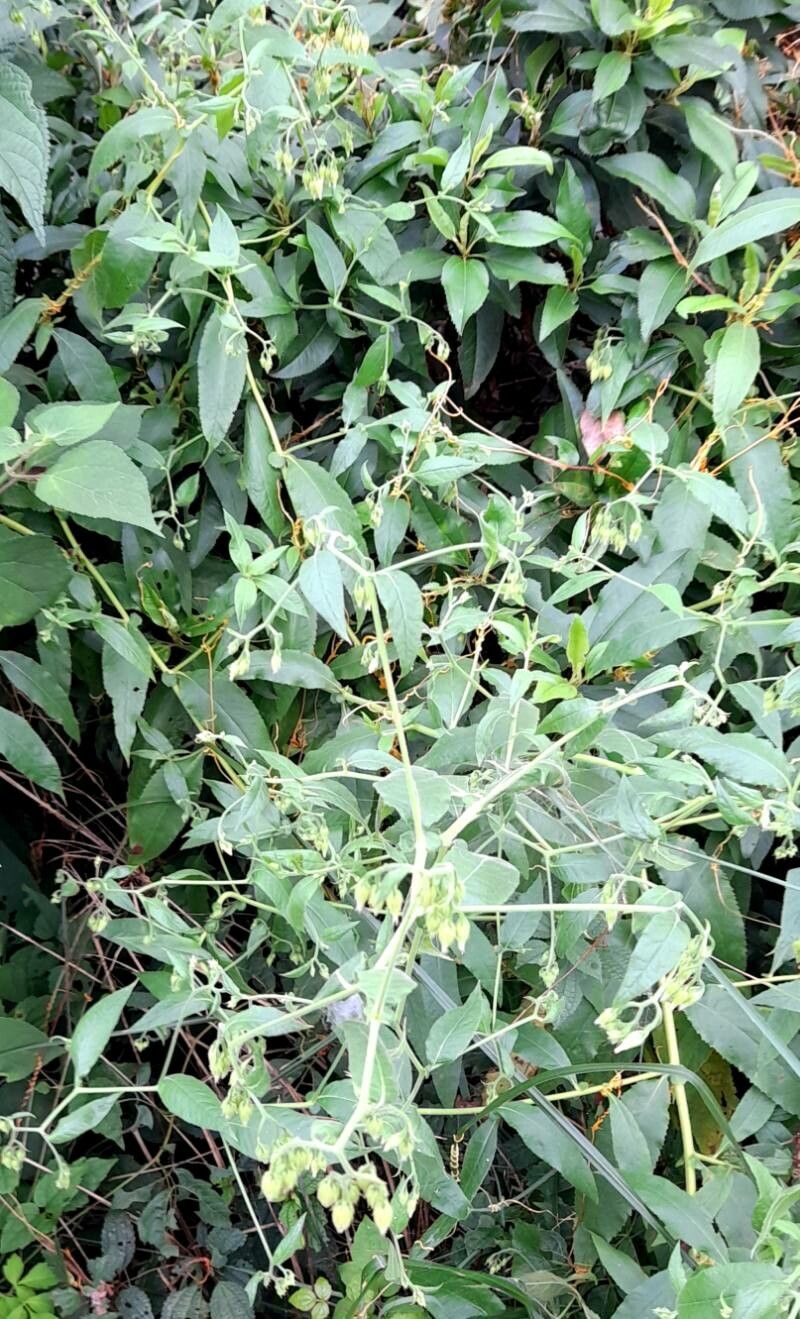
Hello, fellow plant lovers! It’s so lovely to have you join me today. I’m brimming with excitement to chat about a plant that has truly captured my heart over the years: Trixis grisebachii. This beauty, with its vibrant flowers and often a lovely silvery sheen to its foliage, brings such a cheerful presence to the garden. And the best part? Sharing that joy by propagating it yourself is incredibly rewarding. If you’re just starting out with plant propagation, I’d say Trixis grisebachii is generally a pretty forgiving plant, making it a wonderful choice for beginners looking to expand their collection or share with friends.
The Best Time to Start
For the highest success rate with Trixis grisebachii, I always recommend tapping into its natural growth spurt. Late spring to early summer is usually your golden window. This is when the plant is actively producing new shoots and energy, meaning those cuttings will be raring to go and develop roots. You can also have success during the warmer parts of autumn, but be mindful of cooler nights.
Supplies You’ll Need
Gathering your tools beforehand makes the whole process so much smoother. Here’s a little list of what you’ll want to have on hand:
- Sharp, clean pruning shears or a sharp knife: For making clean cuts.
- Rooting hormone (optional but recommended): This helps give those cuttings a little boost.
- A well-draining potting mix: I like a blend of 50% peat moss or coco coir and 50% perlite or coarse sand.
- Small pots or seed trays: Clean ones are essential to prevent disease.
- A clear plastic bag or humidity dome: To create that humid environment new cuttings crave.
- Small labels and a permanent marker: To keep track of what you’ve planted!
- A watering can or spray bottle: For gentle watering.
Propagation Methods
Let’s get our hands dirty! For Trixis grisebachii, stem cuttings are my go-to method. It’s tried and true.
Stem Cuttings
- Take Your Cuttings: Select healthy, non-flowering stems from a mature Trixis grisebachii plant. Aim for cuttings about 4-6 inches long. Make your cut just below a leaf node (where the leaves attach to the stem).
- Prepare the Cuttings: Gently remove the lower leaves from the bottom half of each cutting. You want to expose at least one or two leaf nodes, as this is where roots will emerge.
- Dip in Rooting Hormone (Optional): If you’re using rooting hormone, dip the cut end of each stem into the powder or gel, tapping off any excess.
- Plant Your Cuttings: Fill your small pots with your prepared potting mix. Make a small hole in the center of each pot with your finger or a pencil. Insert the cut end of each Trixis cuttings into the hole, firming the soil gently around it.
- Water Gently: Water the soil lightly to help settle it around the cuttings.
- Create Humidity: Cover the pots with a clear plastic bag or a humidity dome, ensuring the leaves don’t touch the plastic if possible. This keeps the moisture levels high, which is crucial for rooting.
The “Secret Sauce” (Pro Tips)
Now, for a couple of little tricks I’ve picked up over the years that can really make a difference:
- Don’t Overcrowd: When you’re placing cuttings in a pot or tray, give them a little breathing room. Overcrowding can lead to poor air circulation and increase the risk of fungal diseases.
- Bottom Heat is Your Friend: If you can, place your pots on a heated propagation mat. This gentle warmth from below encourages root development much faster than ambient room temperature alone. It’s a game-changer, especially if your house is on the cooler side.
Aftercare & Troubleshooting
Once your Trixis grisebachii cuttings are potted, keep them in a bright, indirect light location. Avoid direct sun, which can scorch those delicate new leaves. Keep the soil consistently moist but not waterlogged. You’ll know your cuttings are happy when you start to see new leaf growth.
The main thing to watch out for is rot. If a cutting looks mushy or turns black, it’s usually a sign of too much moisture and not enough air circulation. If this happens, remove the rotted cutting immediately to prevent it from affecting others. Sometimes, a cutting might just refuse to root. Don’t be discouraged! It’s a natural part of the process, and you can always try again.
A Little Patience Goes a Long Way
Propagating plants is a journey, and with Trixis grisebachii, you’re embarking on a delightful one. Be patient, give your cuttings the care they need, and celebrate every little sign of new life. Before you know it, you’ll have a whole new collection or some lovely gifts to share with your gardening friends. Happy propagating!
Resource:
https://identify.plantnet.org/k-world-flora/species/Trixis%20grisebachii%20Kuntze/data