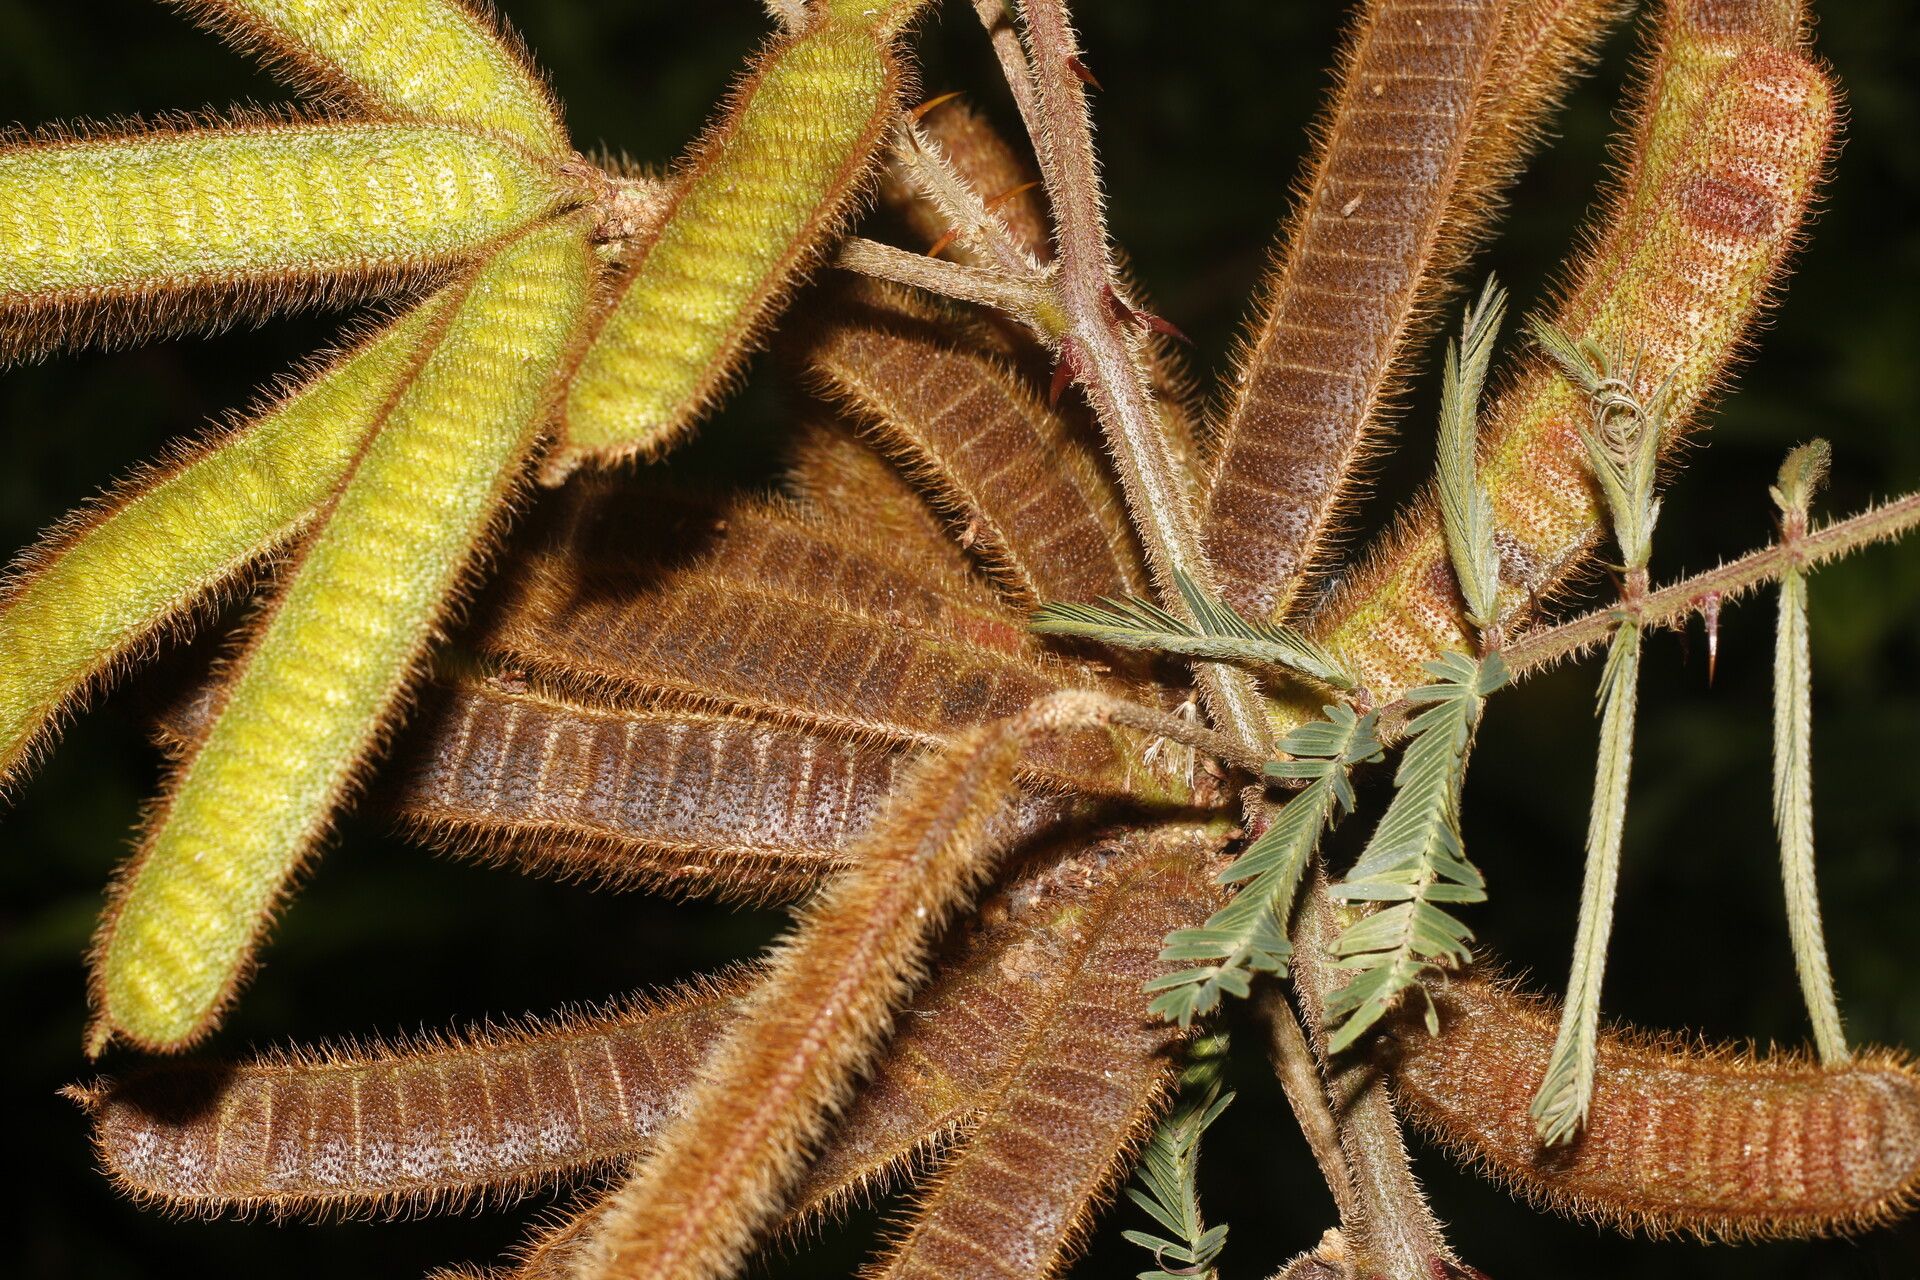
Oh, hello there! Come on in, grab a mug. I’m so glad you’re curious about Mimosa tarda. It’s one of those plants that just brings a smile to your face, isn’t it? With its delicate, fern-like foliage and that subtle hint of purple in the new growth, it’s a real charmer. And the best part? You can easily bring more of that charm into your home – or share it with a friend! Propagating Mimosa tarda is a wonderfully rewarding endeavor, and I’m here to walk you through it. It’s a pretty forgiving plant, so even if you’re just starting your plant journey, don’t be shy!
The Best Time to Start
When it comes to giving your new Mimosa tarda cuttings the best chance, spring and early summer are your golden ticket. This is when the plant is in its most vigorous growth phase. Think of it as nature’s nudge, telling the plant, “Go, grow, multiply!” Starting during this active period means your cuttings have plenty of energy to put into rooting.
Supplies You’ll Need
Here’s a little gathering of what you’ll want to have on hand:
- Sharp pruning shears or a clean, sharp knife: For taking clean cuts.
- A small trowel or dibber: To make holes for your cuttings.
- Potting mix: I prefer a light, airy mix. A blend of coco coir, perlite, and a bit of peat moss works beautifully. You can also buy a good quality seed-starting mix.
- Small pots or seed trays: Clean ones are key to preventing disease.
- Plastic bags or a clear plastic dome: To create a humid environment.
- Rooting hormone (optional but helpful): A powder or gel to give those roots a little pep talk.
- Watering can with a fine rose or a spray bottle: For gentle watering.
Propagation Methods
Let’s get our hands a little dirty! Here are the tried-and-true ways to bring more Mimosa tarda into your life.
Stem Cuttings (My Go-To!)
This is my favorite method for Mimosa tarda. It’s reliable and gives you nice, healthy new plants.
- Select a healthy stem. Look for a piece of stem that’s not woody but also not super soft and floppy. You want something firm and actively growing. About 4-6 inches is a good length.
- Make a clean cut. Just below a leaf node (where a leaf grows from the stem). This is where the rooting magic happens!
- Remove the lower leaves. Strip off the bottom inch or so of leaves. This prevents them from rotting in the soil.
- Dip in rooting hormone. If you’re using it, dip the cut end into your rooting hormone, tapping off any excess.
- Pot it up! Make a hole in your prepared potting mix with your trowel or dibber. Gently insert the cutting, ensuring the leaf nodes that you removed leaves from are below the soil line.
- Firm the soil. Gently press the soil around the cutting to secure it.
- Water gently. Moisten the soil thoroughly but don’t drown it!
- Create humidity. Cover the pot with a plastic bag, securing it with a rubber band, or place it under a clear dome. Make sure the plastic doesn’t touch the leaves too much.
Water Propagation (A Fun Visual!)
This is a fantastic way to watch your roots grow!
- Take your cutting. Follow the same steps as above for selecting and preparing your stem cutting, but skip the rooting hormone and potting mix for now.
- Place in water. Pop the cutting into a clean glass or jar filled with water.
- Change the water regularly. Every few days, refresh the water to keep it clean and oxygenated.
- Position carefully. Make sure none of the leaves are submerged in the water. Only the stem should be in contact with the water. This is super important to prevent rot!
- Wait for roots! You should start seeing tiny white roots emerge from the leaf nodes. This can take a few weeks.
The “Secret Sauce” (Pro Tips)
Here are a couple of things I’ve learned over the years that really make a difference:
- Bottom Heat is Your Friend: If you can, place your pots on a heat mat designed for seedlings. This gentle warmth from below encourages root development like nothing else. It’s like giving your cuttings a cozy, warm bed to grow in!
- Light, Not Direct Sun: Your cuttings need bright, indirect light. Think of a spot near a sunny window but out of the direct, scorching rays. Too much sun can scorch those delicate new leaves, and too little light will slow down their progress.
Aftercare & Troubleshooting
Once you see those lovely new roots starting to peek out from the bottom of the pot or you’ve got a good network of roots in your water jar, it’s time to treat your new plant like the precious seedling it is!
- Transitioning from Water: If you propagated in water, carefully pot up your rooted cutting into well-draining potting mix. Again, be gentle with those new roots.
- Gradual Acclimation: If you used a plastic bag or dome, start by opening it for a few hours each day to let the humidity gradually decrease. This helps your new plant adjust to drier air.
- Keep it Moist but Not Soggy: Continue to water gently. The soil should feel consistently moist but never waterlogged. Overwatering is the fastest way to invite trouble.
- What if it wilts? A little wilting can happen as the roots establish. If it’s persistent, check your watering. Is it too dry? Too wet?
- Watch for Rot: The most common issue is stem rot, which looks like a brown, mushy stem base. This is usually a sign of too much moisture and not enough air circulation. If you catch it early, you might be able to salvage a healthy part of the stem by taking a fresh cutting.
A Encouraging Closing
Propagating plants is an act of hope, really. It’s about believing in the potential of a tiny cutting. Be patient with your Mimosa tarda – sometimes they take their sweet time, and that’s perfectly okay. Enjoy the process, watch for those first signs of new growth, and celebrate every little success. Happy propagating!
Resource:
https://identify.plantnet.org/k-world-flora/species/Mimosa%20tarda%20Barneby/data