Hello there, fellow garden enthusiasts!
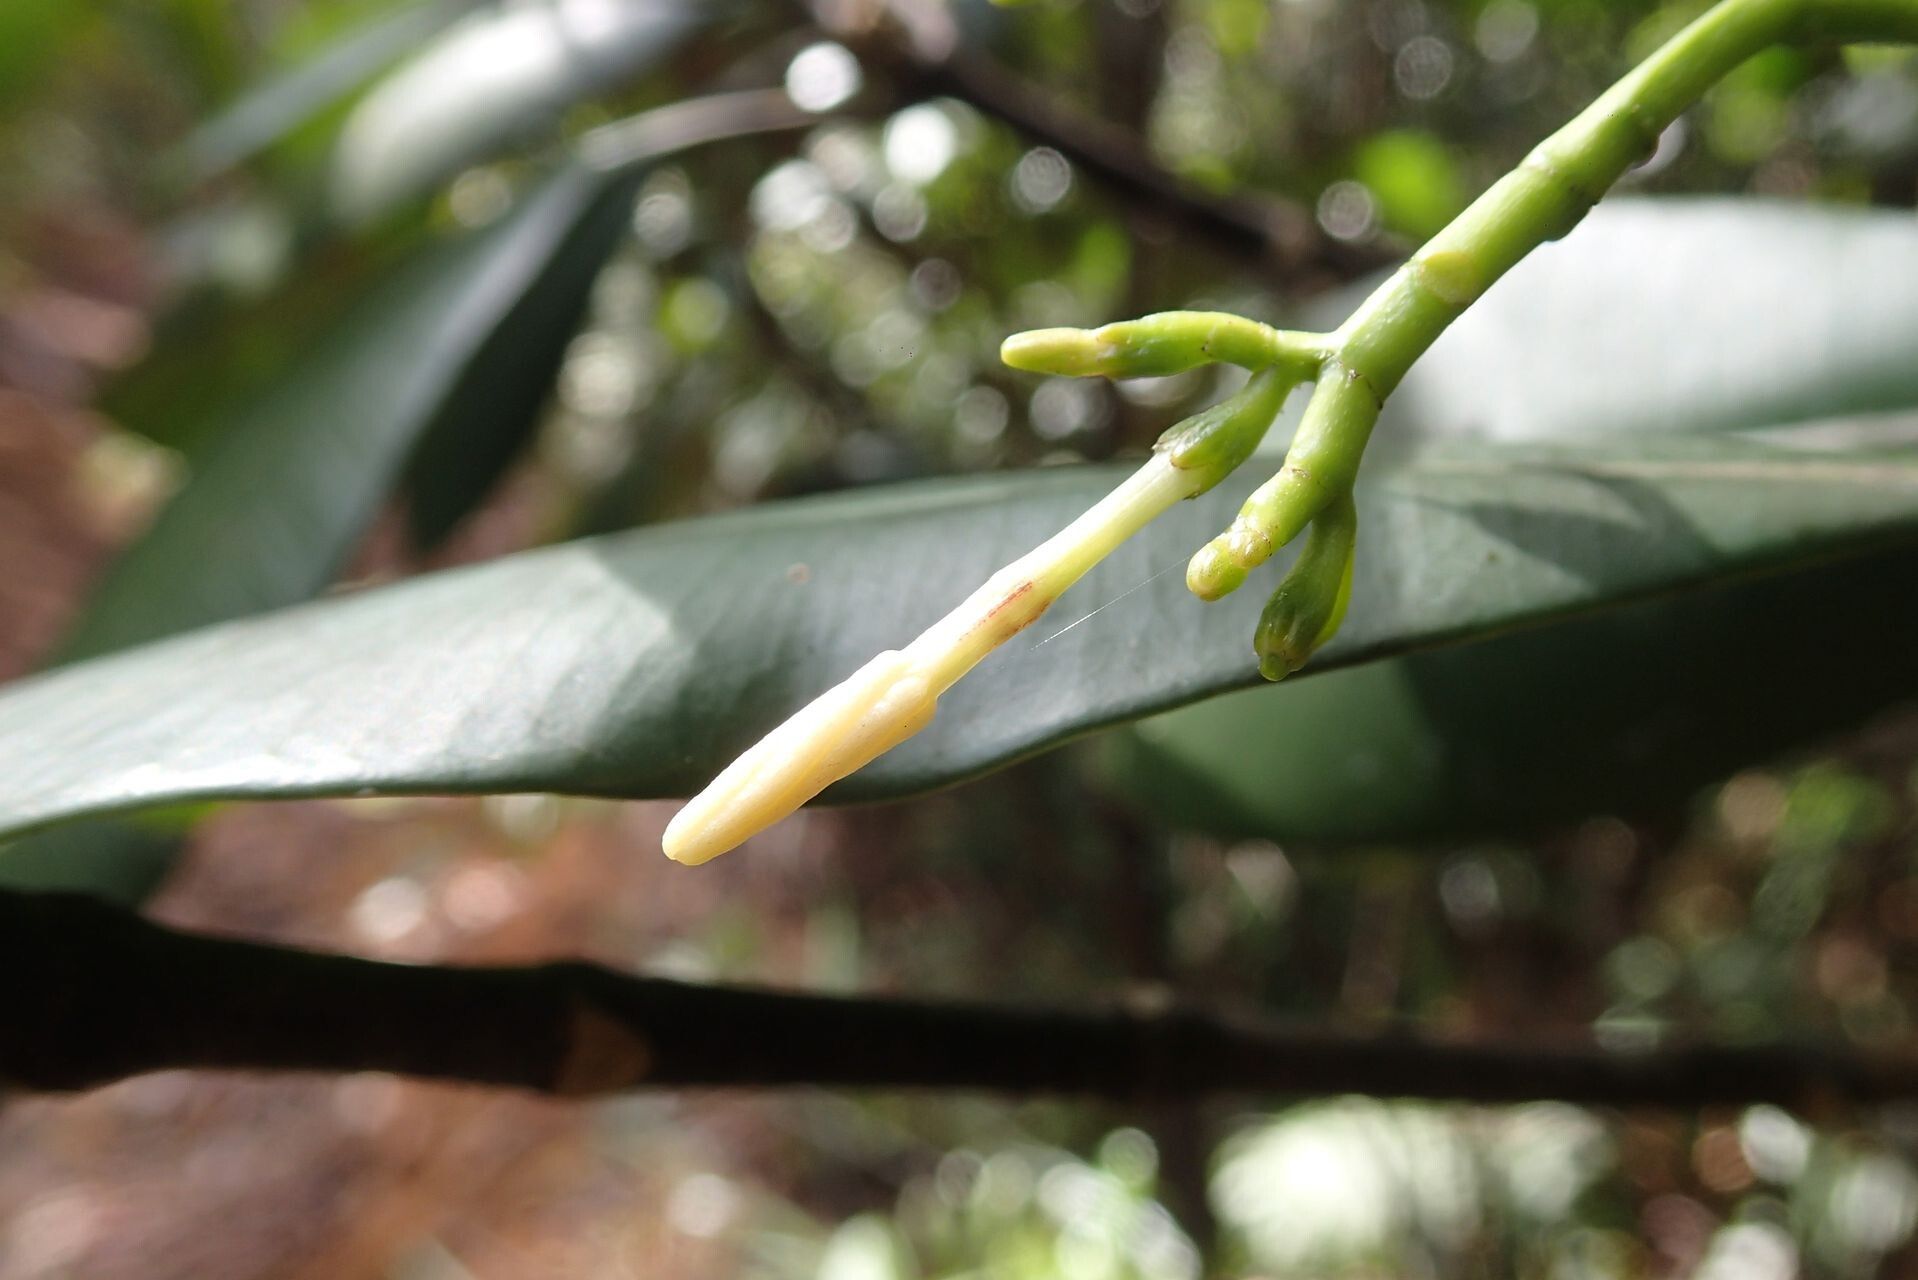
Today, we’re diving into the wonderfully rewarding world of propagating Ochrosia balansae. If you’ve ever admired its glossy, dark green leaves and elegant form, you’re in for a treat. Growing your own Ochrosia from scratch is a deeply satisfying experience. It’s like watching a tiny miracle unfold right on your windowsill or in your garden bed. For those just starting out, I’d say Ochrosia can be a moderately easy plant to propagate. It’s not quite as foolproof as a pothos, but with a little care and attention, you’ll be well on your way to success.
The Best Time to Start
When it comes to our sweet Ochrosia, spring and early summer are your golden windows of opportunity. This is when the plant is actively growing and has the most energy to put into developing roots. Think of it as the plant’s “growth spurt” season. Trying to propagate when the plant is dormant will likely lead to disappointment.
Supplies You’ll Need
Here’s a quick rundown of what you’ll want to have on hand before you begin:
- Sharp, clean pruning shears or a sharp knife: Essential for making clean cuts.
- A well-draining potting mix: A good blend of perlite, peat moss, and compost works wonders. You can also use a commercial cactus/succulent mix.
- Small pots or containers: Make sure they have drainage holes! Seedling trays or small terracotta pots are perfect.
- Rooting hormone (optional but recommended): This can significantly speed up root development and increase your success rate. Look for one with a medium concentration.
- A small spray bottle: For misting.
- Plastic bags or a propagation dome: To create a humid environment.
- Labels and a permanent marker: To keep track of your cuttings.
Propagation Methods
The most reliable way to multiply your Ochrosia balansae is through stem cuttings. It’s straightforward and usually yields great results.
Stem Cuttings
- First, find a healthy, non-flowering stem on your mature Ochrosia. Look for stems that are at least 6 inches long and have a bit of firmness to them – not too woody, but not floppy either.
- Using your clean pruning shears or knife, make a clean cut just below a leaf node (the point where a leaf attaches to the stem). This node is where the magic happens – where new roots will emerge.
- Gently remove the lower leaves from the cutting. You want to expose a few leaf nodes. Leave about 2-4 leaves at the top of the cutting to help with photosynthesis.
- If you’re using it, dip the cut end of the stem into your rooting hormone. Tap off any excess.
- Now, prepare your pot. Fill it with your well-draining potting mix. Make a small hole in the center with your finger or a pencil.
- Insert the cutting into the hole, ensuring the leaf nodes you exposed are buried in the soil. Gently firm the soil around the base of the cutting.
- Water lightly to settle the soil.
- To create a humid environment, you can either cover the pot with a clear plastic bag (making sure the bag doesn’t touch the leaves) or place it under a propagation dome. This is super important for keeping the cutting from drying out.
The “Secret Sauce” (Pro Tips)
Over the years, I’ve learned a few little tricks that can really make a difference.
- Don’t let your leaves touch the water if you happen to be trying water propagation on a different plant, but for Ochrosia cuttings in soil, a key tip is to avoid overwatering. The soil should be consistently moist, but not soggy. Soggy soil is a fast track to rot!
- Bottom heat is your friend. If you have a heat mat designed for propagation, placing your pots on it can significantly speed up root development. It mimics the warmth of spring and encourages those roots to start forming.
- Cleanliness is paramount. I can’t stress this enough. Always use clean tools, clean pots, and fresh potting mix. This drastically reduces the risk of fungal diseases and rot which can easily undo all your hard work.
Aftercare & Troubleshooting
Once your cuttings have been in their new homes for a few weeks, you can start checking for roots by gently tugging on the cutting. If you feel resistance, that’s a good sign!
- Once roots are established, you can gradually introduce your new plant to more regular watering and airflow. Remove the plastic bag or dome, but continue to keep the soil consistently moist.
- The most common issue you might encounter is rot. This usually happens from overwatering or lack of airflow. If you see the stem turning black and mushy, it’s likely rot, and unfortunately, it’s hard to save. That’s why that well-draining mix and avoiding soggy soil are so crucial. Another sign of failure is if the cutting wilts and dries out completely. This usually means it didn’t root and has dried out before it could establish itself.
A Encouraging Closing
Propagating plants is a journey, and sometimes nature has its own timeline. Don’t get discouraged if your first attempt isn’t perfect. Be patient, observe your cuttings closely, and celebrate every little sign of progress, like a new leaf unfurling or a slight firmness indicating root growth. The joy of nurturing a new life from a simple cutting is truly unparalleled. Happy propagating!
Resource: