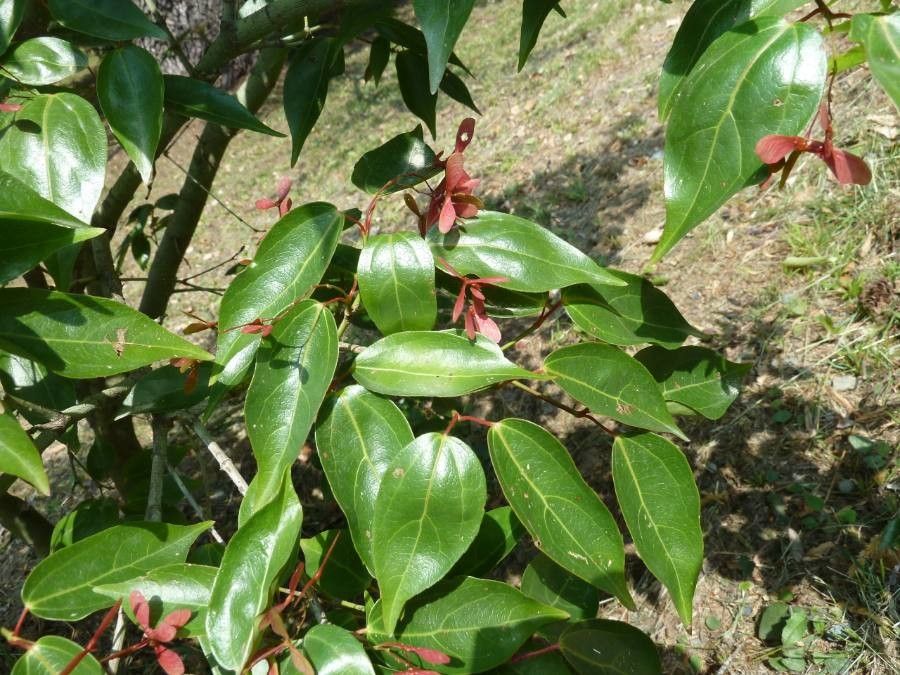
Oh, hello there! Glad you could pull up a chair. Let’s chat about Acer cordatum, often called the Heartleaf Maple. Isn’t it just a darling? That delicate, heart-shaped foliage and often a lovely splash of autumn color make it a real showstopper in any garden. And wanting to propagate it? That’s a wonderful goal! It means you’re ready to multiply that joy, and in my experience, seeing a new little plant sprout from a bit of parent stock is one of the most satisfying gardening wins. Now, Acer cordatum isn’t the absolute easiest plant for a complete beginner to start from scratch, but with a little patience and the right know-how, you’ll absolutely be successful.
The Best Time to Start
For the highest chance of success with Acer cordatum, I always reach for my secateurs in late spring or early summer. This is when the plant is actively growing and has plenty of energy. You’re looking for semi-hardwood cuttings, which are stems that have started to firm up but are still a bit flexible. They’re not the soft, brand-new growth, nor are they old and woody. Think of them as being perfectly poised for rooting.
Supplies You’ll Need
Gathering your tools before you start makes the whole process much smoother. Here’s what I keep on hand:
- Sharp Pruning Shears or a Knife: Clean cuts are essential for preventing disease.
- Rooting Hormone: This is a lifesaver for encouraging strong root development. I prefer a powder or gel.
- Potting Mix: A well-draining, sterile seed-starting mix is ideal. You can also create your own by combining equal parts peat moss or coco coir with perlite or coarse sand.
- Small Pots or Trays: With drainage holes, of course!
- Plastic Bags or a Propagation Dome: To create a humid environment.
- Dibber or Pencil: For making holes in the soil.
- Labeling Stakes: So you don’t forget what’s what!
- Watering Can with a Fine Rose: For gentle watering.
Propagation Methods
We’ll focus on stem cuttings, as this is generally the most consistent way to propagate Acer cordatum.
- Take Your Cuttings: On a bright morning, using your clean shears or knife, select healthy, non-flowering stems that are about 4-6 inches long. Make your cut just below a leaf node (where a leaf attaches to the stem). This is where the magic happens for root formation.
- Prepare the Cuttings: Gently remove the lower leaves, leaving just the top two or three. This prevents them from rotting in the soil or water. If the leaves are quite large, I sometimes even cut them in half to reduce water loss through transpiration.
- Apply Rooting Hormone: Dip the cut end of the stem into your rooting hormone, tapping off any excess. This encourages those precious roots to sprout.
- Pot Them Up: Fill your small pots or trays with your prepared potting mix. Make a hole with your dibber or pencil that’s deep enough to accommodate the hormone-coated end of the cutting.
- Insert the Cuttings: Place the cutting into the hole and gently firm the soil around it. Make sure the nodes where you removed the leaves are buried.
- Water Gently: Water thoroughly but gently so you don’t dislodge the cuttings.
- Create Humidity: Cover the pots with a clear plastic bag or a propagation dome. This traps moisture and mimics the humid environment cuttings crave. If using a bag, you can prop it up with skewers so it doesn’t touch the leaves.
- Provide Light: Place the pots in a bright location, but out of direct sunlight. A north-facing windowsill or a spot under grow lights is perfect.
The “Secret Sauce” (Pro Tips)
Here are a couple of things I’ve learned over the years that can really make a difference:
- Bottom Heat is Your Friend: If you can, place your pots on a heating mat designed for propagation. This gentle warmth from below encourages root development much faster than ambient room temperature alone. It’s like giving your cuttings a cozy little spa day!
- Keep Those Leaves Dry! Whatever you do, ensure the leaves are well above the soil line and not touching any standing water. If your cuttings are in a propagator, lift the lid every few days to allow for some air circulation and check for over-watering. Soggy leaves are a fast track to fungal issues.
Aftercare & Troubleshooting
Once your cuttings are potted, keep the soil consistently moist but not waterlogged. You should start to see signs of rooting within 4-8 weeks, though it can sometimes take longer. You can test for roots by giving a cutting a very gentle tug. If there’s resistance, roots have formed!
The most common problem you’ll encounter is rot. This usually happens due to over-watering and lack of air circulation. If you see stems turning black and mushy, unfortunately, that cutting is likely lost. Remove it immediately to prevent it from spreading to others. Yellowing leaves can sometimes mean too much direct sun or not enough moisture, but often it’s just the plant shedding older leaves. Pay attention to the overall health of the stem.
A Encouraging Closing
So there you have it! Propagating Acer cordatum might take a little finesse, but it’s so worth the effort. Be patient with your little cuttings, trust the process, and celebrate every new leaf and every sign of root growth. Happy propagating!
Resource:
https://identify.plantnet.org/k-world-flora/species/Acer%20cordatum%20Pax/data