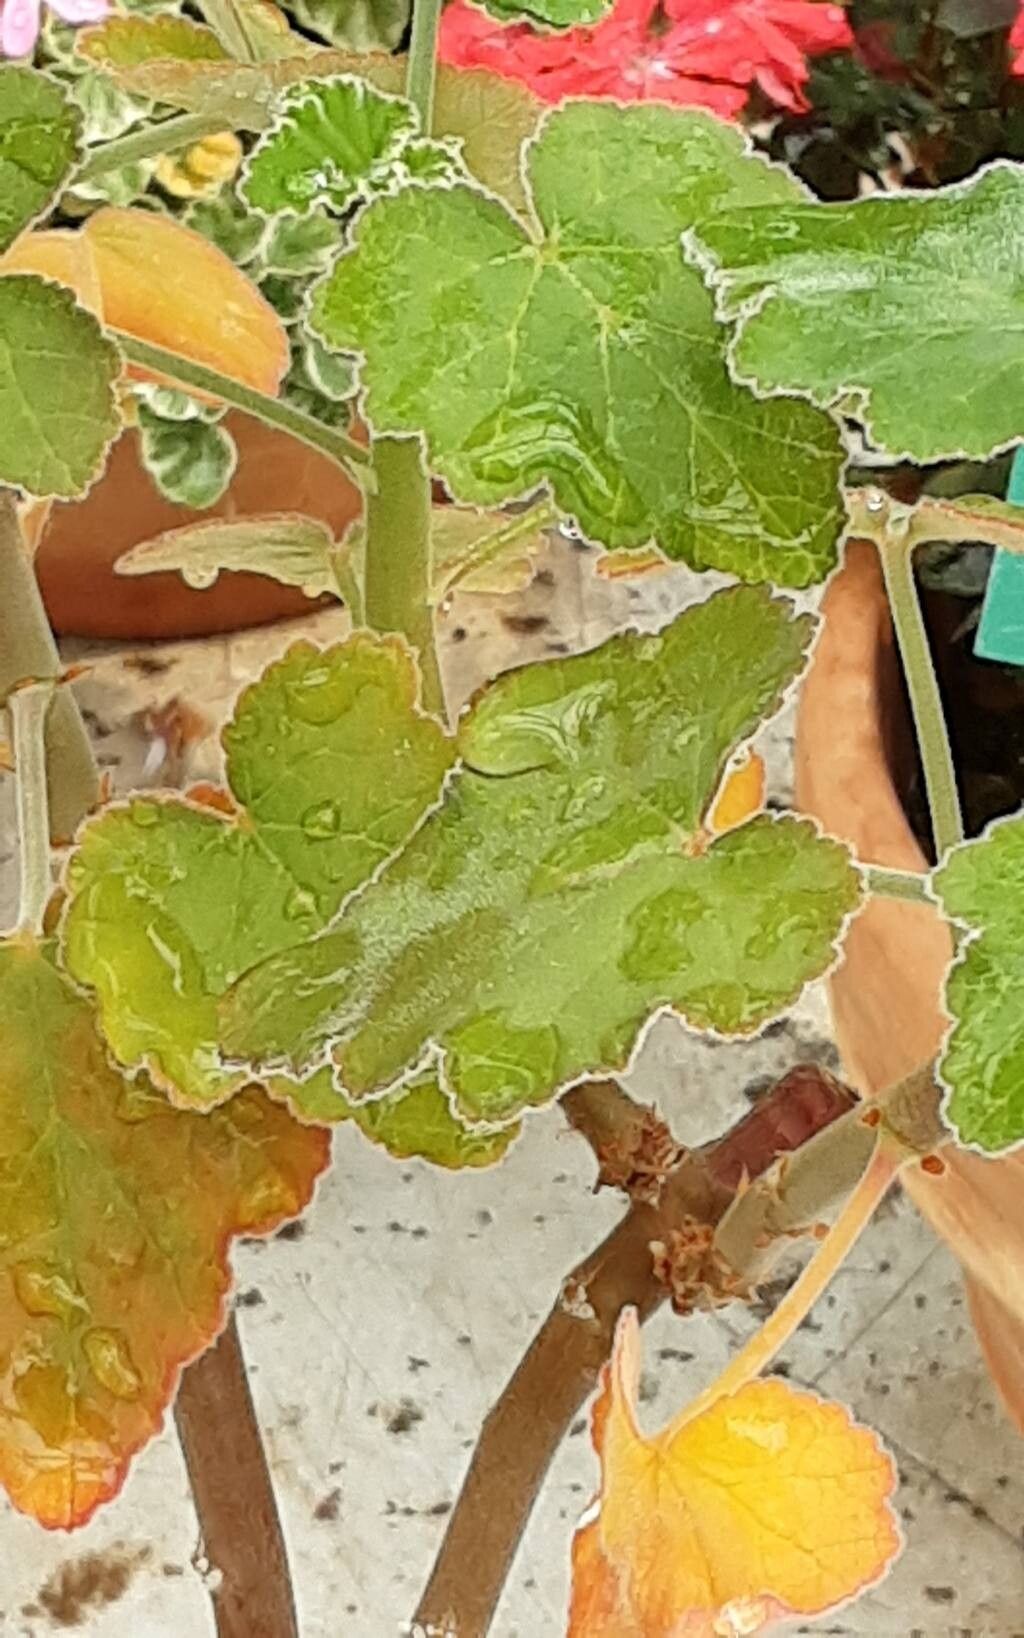
Well hello there, fellow plant lover! It’s so good to have you here. Today, we’re diving into the wonderful world of propagating Pelargonium caylae. If you’ve ever admired its delicate, almost feathery foliage and sweet, subtle scent that wafts through the air, you’re not alone. This delightful pelargonium is a real treat, and honestly, multiplying it is one of those gardening joys that feels like pure magic. I find it to be a wonderfully rewarding plant to share, and for those of you just starting your propagation journey, I’d say P. caylae is moderately easy. You’ll get the hang of it in no time!
The Best Time to Start
When it comes to getting those new little beauties going, I almost always aim for late spring to early summer. This is when the plant is actively growing and has plenty of energy. The days are longer, and there’s abundant natural light, which are both fantastic helpers in the rooting process. You’re essentially catching the plant at its peak vigor, making it much more inclined to send out those new roots.
Supplies You’ll Need
Gathering your tools beforehand always makes the process smoother, don’t you think? Here’s what I like to have on hand:
- Sharp Pruning Shears or a Clean Knife: For making nice, clean cuts.
- Rooting Hormone (Optional but Recommended): A little boost never hurts! I prefer the powder formulation.
- Seed Starting Mix or a Well-Draining Potting Mix: A blend of perlite and peat moss or coco coir works beautifully. You want good aeration.
- Small Pots or Trays: Clean pots are key to preventing disease.
- Dibber or Pencil: For making a hole in the soil.
- Plastic Bag or Propagation Dome: To create a humid environment.
- Watering Can with a Fine Rose: For gentle watering.
- Labels and a Pen: So you don’t forget what you potted!
Propagation Methods
For Pelargonium caylae, my go-to method is stem cuttings. It’s reliable and gives you a great result.
Stem Cuttings:
- First, select a healthy, non-flowering stem from a mature plant. Look for a stem that’s a good length, maybe 4-6 inches long, with several sets of leaves.
- Using your sharp shears or knife, make a clean cut just below a leaf node. This is where roots are most likely to form. Gently remove the lower leaves, leaving just a couple at the very top. This helps prevent rot and focuses the plant’s energy on rooting. If there are any tiny flower buds, nip those off too.
- If you’re using rooting hormone, dip the cut end of the stem into the powder. Tap off any excess.
- Now, get your potting mix ready. Moisten it slightly so it’s damp but not soggy.
- Use your dibber or pencil to make a hole in the soil. This prevents you from knocking off the rooting hormone when you insert the cutting.
- Gently insert the cutting into the hole, ensuring the leaf nodes are buried in the soil. Firm the soil gently around the base.
- Water lightly to settle the soil.
- Now, create that humid environment. You can pop the pot inside a clear plastic bag or cover it with a propagation dome. Make sure the leaves don’t touch the plastic.
- Place the pots in a bright spot out of direct sunlight. Warmth is good, so a sunny windowsill is perfect.
Water Propagation (Secondary Method):
While stem cuttings in soil are my preference for P. caylae, I’ve had some success with water propagation.
- Take your cuttings as described above, making sure to remove all but the top few leaves.
- Place the cuttings in a jar or glass of clean water. Crucially, make sure no leaves are submerged in the water. Remove any leaves that would fall below the waterline.
- Place the jar in a bright, indirect light spot.
- Change the water every few days to keep it fresh and prevent rot.
- You’ll see roots emerge in a few weeks. Once the roots are about an inch long, you can transplant them into potting mix following step 4 onwards from the soil cutting method.
The “Secret Sauce” (Pro Tips)
Okay, here are a couple of things I’ve learned over the years that really make a difference:
First, for soil cuttings, don’t be tempted to overwater. It’s the quickest way to invite rot. The ideal is for the soil to stay consistently lightly moist, not soggy. Checking the soil surface with your finger is the best gauge. If the top inch feels dry, that’s often a good time to water.
Secondly, while P. caylae loves a bright spot, it’s the indirect sunlight that’s crucial. Think of a lovely bright room where the sun streams in, but the plant itself isn’t directly under its harsh gaze. Too much direct sun can scorch those tender young cuttings.
Aftercare & Troubleshooting
Once you start seeing new leaf growth, that’s a sure sign your cutting has rooted! Hooray! At this point, you can gradually acclimate your new plant to slightly less humidity. If it was in a plastic bag, you can start by opening the bag a little each day, or even taking the dome off for a few hours at a time, before removing it completely. Continue to water gently when the top inch of soil feels dry.
The most common issue you might encounter is rot. If your cutting turns mushy and black, or develops fuzzy gray mold, it’s usually a sign of too much moisture and not enough airflow. Don’t be discouraged if one or two don’t make it! It happens to all of us. If you see signs of rot, it’s best to discard the affected cutting to prevent it from spreading. Sometimes, a cutting might just refuse to root. This can happen due to the age of the cutting, a lack of vigor in the parent plant, or unfavorable conditions. Just try again with another one!
A Encouraging Closing
So there you have it! Taking cuttings and nurturing them into new plants is one of the most satisfying parts of gardening. Be patient with your Pelargonium caylae cuttings. Sometimes they take their sweet time, and that’s perfectly okay. Enjoy the process, celebrate the small victories, and soon you’ll have a whole new collection of these lovely plants to admire and share. Happy propagating!
Resource:
https://identify.plantnet.org/k-world-flora/species/Pelargonium%20caylae%20Humbert/data