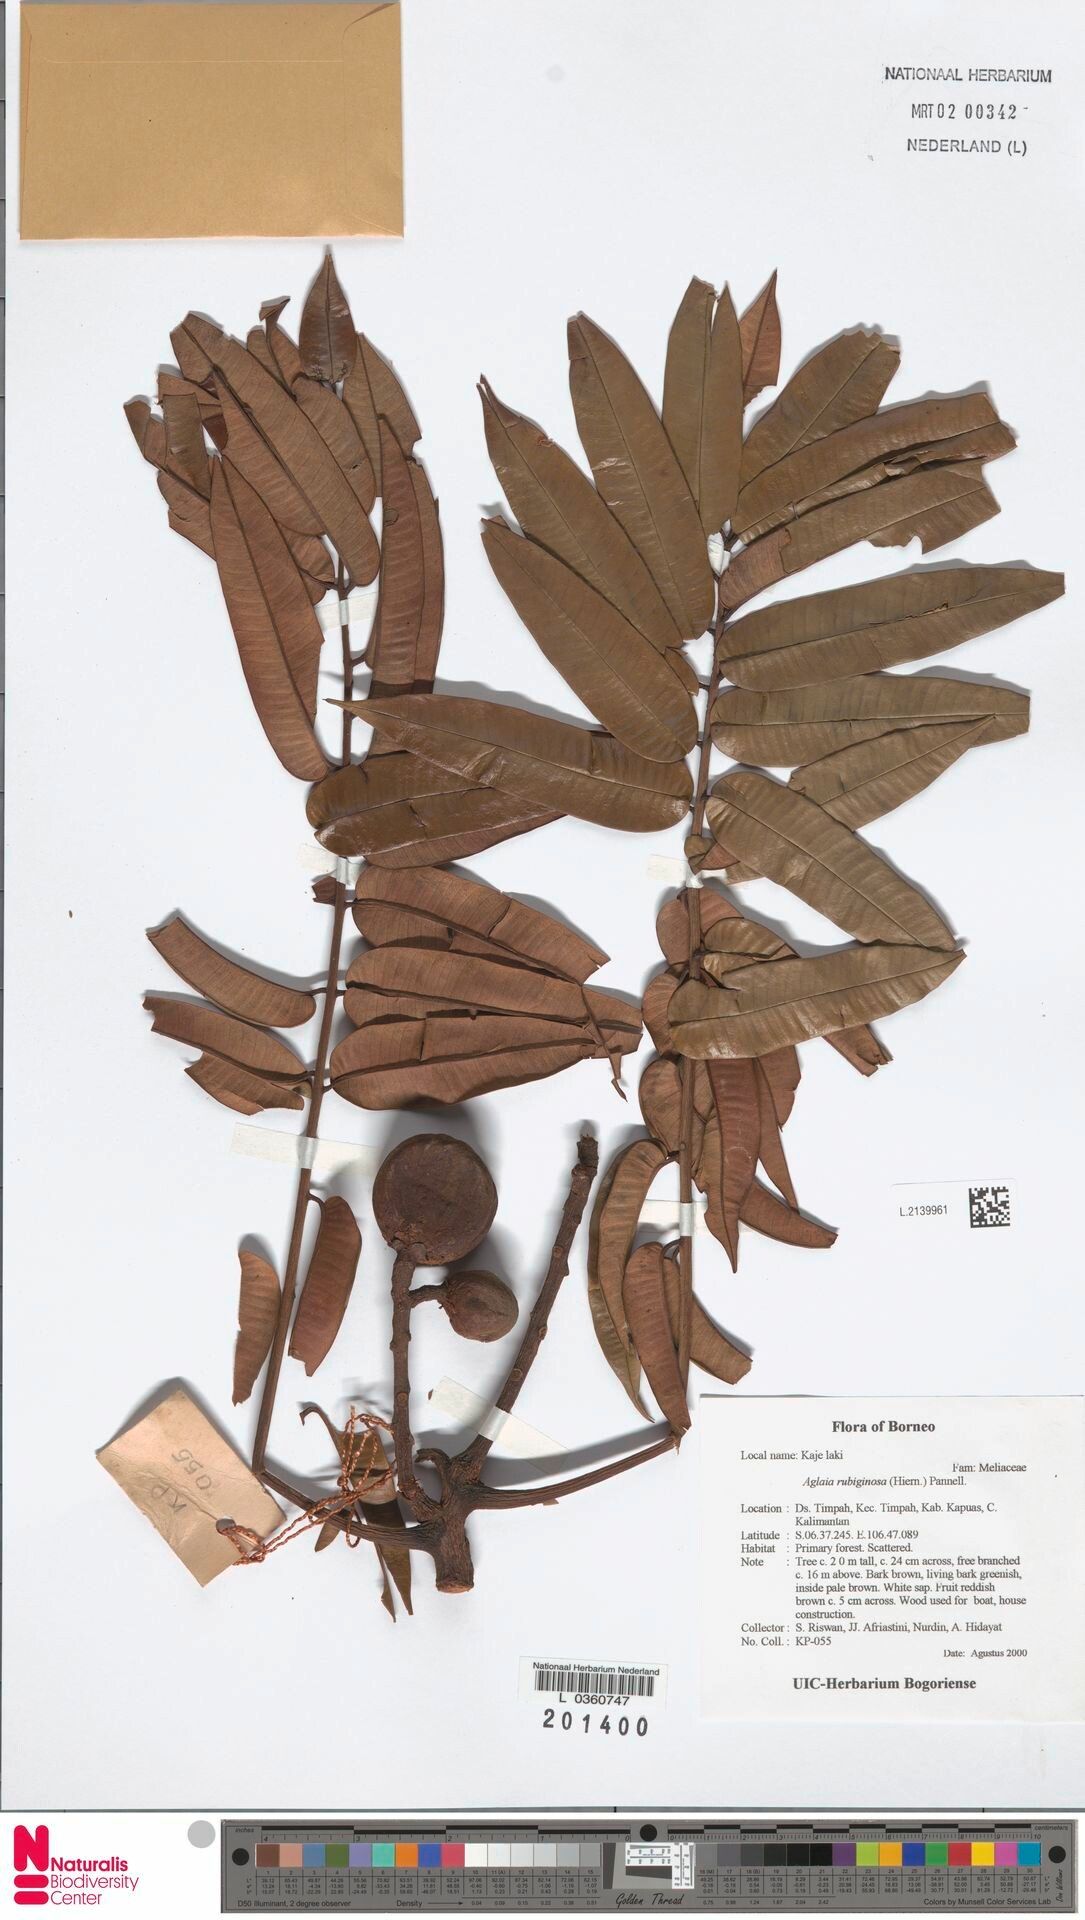
Hello fellow garden enthusiasts! Today, we’re diving into the wonderful world of Aglaia rubiginosa. If you’ve ever admired its glossy, deep green leaves and the subtle shimmer of reddish undertones, you know it’s a real charmer. Propagating plants like this is one of my absolute favorite things to do. It’s incredibly satisfying to take a piece of a beloved plant and give it a new life. Now, is Aglaia rubiginosa a push-over for beginners? I’d say it’s moderately easy, with a little patience and the right approach, you’ll be successful.
The Best Time to Start
My experience tells me that the late spring through early summer is your golden window for propagating Aglaia rubiginosa. This is when the plant is actively growing, full of energy, and most receptive to sending out roots. You want to take cuttings from healthy, vigorously growing stems that haven’t yet flowered. Think of it as harvesting the plant’s prime youthful exuberance!
Supplies You’ll Need
To set yourself up for success, gather these essentials:
- Sharp, clean pruning shears or a sharp knife: Essential for making clean cuts to avoid damaging the stem.
- Rooting hormone powder or gel: While not always strictly necessary for Aglaia, it significantly boosts your success rate, especially for woody stems.
- A well-draining potting mix: I like a blend of equal parts perlite, vermiculite, and peat-free compost. You could also use a commercial starter mix.
- Small pots or cell trays: Clean ones are key to preventing disease.
- Plastic bags or a humidity dome: To create a humid environment for your cuttings.
- Watering can or spray bottle: For gentle watering.
- Labels and a marker: To keep track of your babies!
Propagation Methods
I’ve found the most reliable method for Aglaia rubiginosa is stem cuttings. Let’s get our hands dirty!
- Select Your Cuttings: Look for healthy, semi-hardwood stems that are about 4-6 inches long. You want stems that are sturdy but not woody and old. Make a clean cut just below a leaf node. A leaf node is where a leaf emerges from the stem – this is where roots are most likely to form.
- Prepare Your Cuttings: Gently remove any leaves from the bottom half of the stem. You can leave 2-4 leaves at the top to help the cutting photosynthesize. If the leaves are very large, you can even cut them in half to reduce water loss.
- Dip in Rooting Hormone: Dip the cut end of the stem into the rooting hormone, tapping off any excess. This is like giving your cutting a little superhero boost.
- Planting: Fill your pots or cell trays with your prepared potting mix. Make a small hole with your finger or a pencil, then insert the prepared cutting. Gently firm the soil around the base.
- Create Humidity: Water the soil thoroughly but gently. Then, cover the pot with a plastic bag or place it inside a humidity dome. Make sure the leaves don’t touch the plastic if possible. This keeps moisture in and prevents the cuttings from drying out.
The “Secret Sauce” (Pro Tips)
After years of gardening, a few things really stand out for me when propagating:
- Bottom Heat is Your Friend: If you have a seedling heat mat, place your pots on it. This gentle warmth encourages root development from below, making a big difference, especially in cooler conditions.
- Air Circulation Matters: While we want humidity, completely stagnant air can lead to fungal issues. If using a plastic bag, open it for a few minutes each day to allow for some air exchange. You’ll notice condensation on the bag; when it starts to get heavy, it’s time for a little ventilation.
- Be Patient with Rooting Hormone Intensity: Don’t go overboard with the rooting hormone. A light coating is all that’s needed. Too much can actually inhibit rooting in some plants.
Aftercare & Troubleshooting
Once your cuttings are planted and humidified, place them in a bright spot that receives indirect sunlight. Avoid direct sun, which can scorch the delicate leaves. Keep the soil consistently moist but never waterlogged.
You’ll know your cutting has rooted when you see new leaf growth or feel a slight resistance when you gently tug on the stem. This usually takes anywhere from 4-8 weeks, sometimes longer.
The most common setback is rot. If you see your cutting turning mushy or black, it’s likely due to overwatering and poor air circulation. Don’t despair; start fresh with a new cutting and adjust your watering and ventilation strategy. Yellowing leaves can sometimes mean it’s not getting enough light, but before you move it, check the soil moisture first!
A Moment to Cherish
Watching those tiny roots emerge and new leaves unfurl is a truly rewarding experience. Don’t be discouraged if not every cutting makes it. Gardening is a journey of learning and experimenting. With a bit of care and these tips, you’ll be well on your way to successfully propagating your own beautiful Aglaia rubiginosa. Happy growing!
Resource:
https://identify.plantnet.org/k-world-flora/species/Aglaia%20rubiginosa%20(Hiern)%20Pannell/data