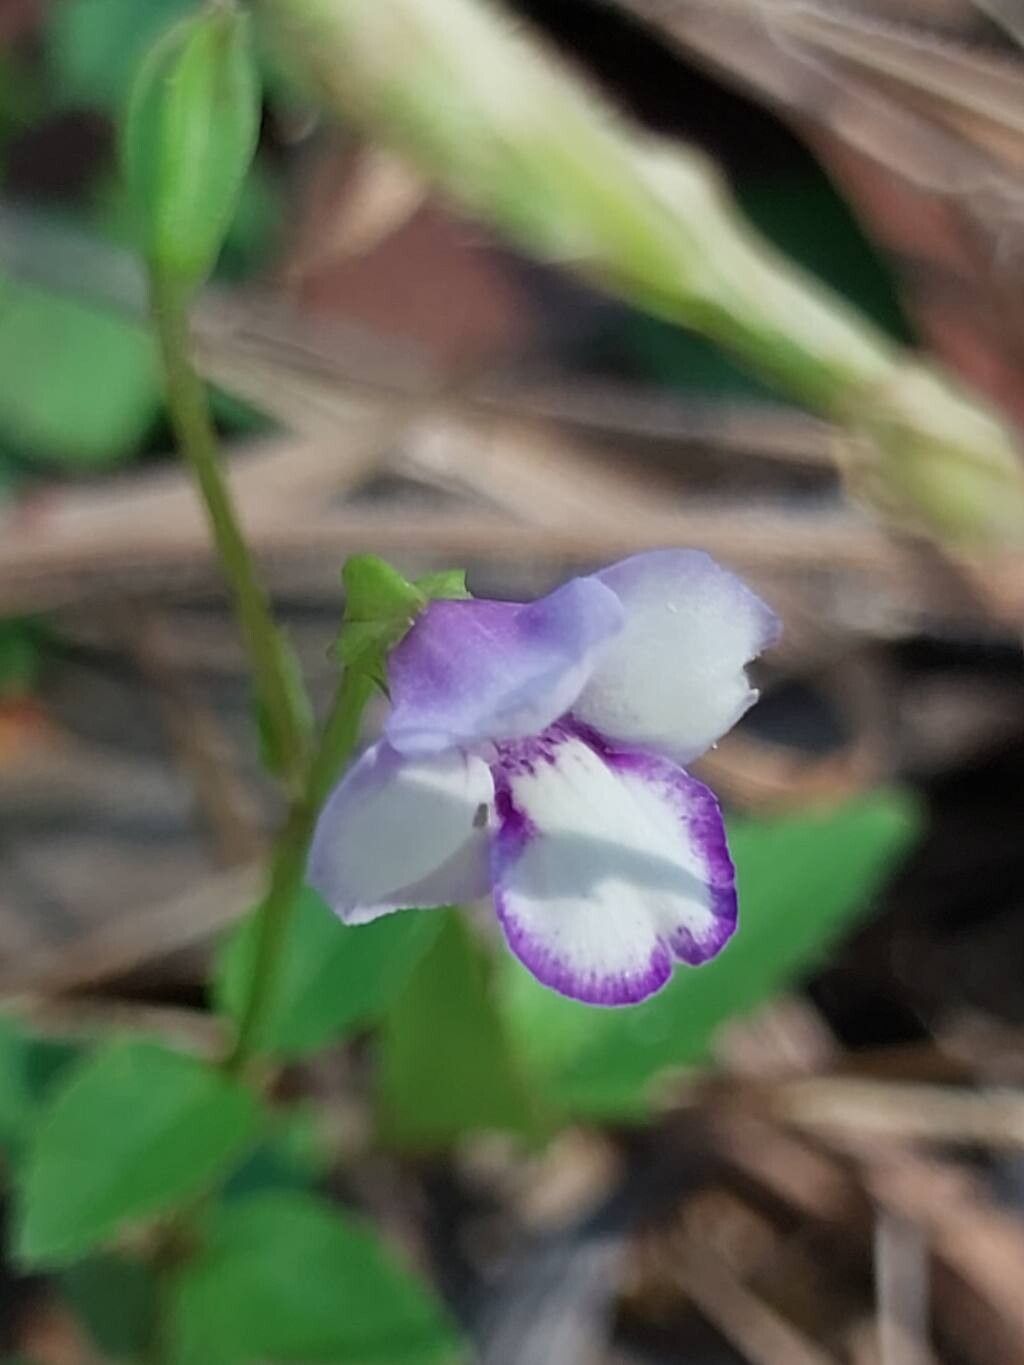
Hello fellow plant lovers! Today, we’re diving into the delightful world of Torenia thouarsii, also known as the Wishbone Flower. If you’ve ever admired those charming, orchid-like blossoms cascading from hanging baskets or peeking out from garden beds, you’re in for a treat. Propagating these beauties yourself is incredibly rewarding, and I’m happy to report that Torenia is generally quite forgiving, making it a wonderful project for beginners. Plus, who doesn’t love having more of their favorite plants for free?
The Best Time to Start
For the highest success rate with Torenia propagation, I find that early to mid-spring is your sweet spot. You’re aiming for actively growing, healthy stems. Waiting until after the initial flush of growth in spring gives you plenty of material to work with, and the warmer temperatures later in the season really encourage roots to establish.
Supplies You’ll Need
Gathering your supplies beforehand makes the whole process smoother. Here’s what I always have on hand for Torenia propagation:
- Sharp pruning shears or a clean knife: For making precise cuts.
- Rooting hormone (optional but recommended for cuttings): A powder or gel to give cuttings a helpful boost.
- Well-draining potting mix: A good blend of peat moss, perlite, and vermiculite works wonders. I often use a standard seed starting mix with extra perlite added.
- Small pots or trays: Clean containers with drainage holes are essential.
- Spray bottle: For misting.
- Clear plastic bag or humidity dome: To maintain humidity around your cuttings.
- Water (for water propagation): Clean tap water is usually fine.
Propagation Methods
Torenia thouarsii is quite adaptable, offering a couple of easy ways to multiply your plants. Let’s break them down.
Stem Cuttings: My Go-To for Torenia
This is my favorite method for Torenia because it’s efficient and usually yields great results.
- Take your cuttings: In early spring, when the plant is actively growing, select healthy, non-flowering stems. Make clean cuts just below a leaf node (where a leaf attaches to the stem). Aim for cuttings that are about 3-4 inches long. Remove the lower leaves, leaving just a couple at the top.
- Apply rooting hormone (optional): If you’re using rooting hormone, gently dip the cut end into the powder or gel. Tap off any excess.
- Plant your cuttings: Fill your small pots with the well-draining potting mix. Make a small hole in the center with your finger or a pencil. Insert the cut end of the Torenia cutting into the hole, ensuring the leaf nodes are buried. Gently firm the soil around the stem.
- Water and cover: Water the soil thoroughly but gently. You want it moist, not waterlogged. Place the pot inside a clear plastic bag or cover it with a humidity dome. This creates a mini-greenhouse effect, keeping the humidity high, which is crucial for cuttings to root.
- Provide bright, indirect light: Find a spot that receives bright, indirect sunlight. Avoid direct sun, which can scorch the delicate cuttings.
Water Propagation: Simple and Satisfying
If you prefer a no-soil approach, water propagation is also very effective for Torenia.
- Prepare your cuttings: Follow step 1 from the stem cutting method – take 3-4 inch cuttings with leaf nodes. Remove the bottom leaves.
- Place in water: Fill a clean jar or glass with water. Place the Torenia cuttings in the water, making sure that the leaf nodes are submerged, but the leaves themselves are out of the water. This prevents rot.
- Find a bright spot: Keep the container in a location with bright, indirect light.
- Change the water regularly: Every few days, refresh the water to keep it clean and oxygenated. You’ll start to see tiny white roots emerge from the nodes in a couple of weeks.
- Pot up once rooted: Once the roots are about an inch long, you can carefully transplant them into your well-draining potting mix, just as you would a store-bought plant.
The “Secret Sauce” (Pro Tips)
After years of getting my hands dirty, I’ve picked up a few tricks that make a difference.
- Bottom Heat is Your Friend: Torenia cuttings really love a little warmth from below. Using a seedling heat mat under your pots can significantly speed up rooting. It encourages the roots to emerge more quickly.
- Don’t Be Afraid to Pinch: Once your cuttings have rooted and you see new growth, give them a gentle pinch at the tip. This encourages branching, resulting in a bushier, more robust plant. It sounds counterintuitive, but it really promotes better overall growth.
- Watch for Wilting, Not Overwatering: It’s a fine line with cuttings. If they droop, it’s often a sign they need more humidity or water. However, soggy soil is a fast track to rot. Check the moisture by gently pressing the soil. It should feel cool and slightly damp, not wet.
Aftercare & Troubleshooting
Once your Torenia cuttings have developed a good root system (you can gently tug on them – if there’s resistance, they’re rooted!), it’s time for them to be treated like miniature versions of the parent plant.
- Gradual Acclimation: If you used a plastic bag or dome, slowly introduce your new plants to normal air humidity over a few days. Unzip the bag bit by bit, or remove the dome for increasing periods.
- Watering: Continue to water them when the top inch of soil feels dry. They appreciate consistent moisture but hate sitting in soggy conditions.
- Light: They’ll thrive in bright, indirect light. As they grow stronger, you can gradually introduce them to more direct morning sun.
- Common Issues: The most frequent problem is rot, usually caused by overwatering or poor drainage. You’ll see stems turn mushy and black. If you spot this, unfortunately, it’s often too late. Preventative care – good drainage and avoiding overwatering – is key. Another sign of trouble is yellowing leaves, which can indicate underwatering or a lack of nutrients.
A Little Patience Goes a Long Way
Propagating Torenia is a wonderfully satisfying journey. Don’t get discouraged if your first attempt isn’t perfect. Gardening is all about learning and observing. Enjoy the process, celebrate every new root you see, and soon you’ll have an abundance of these charming Wishbone Flowers to fill your garden or share with friends. Happy growing!
Resource: