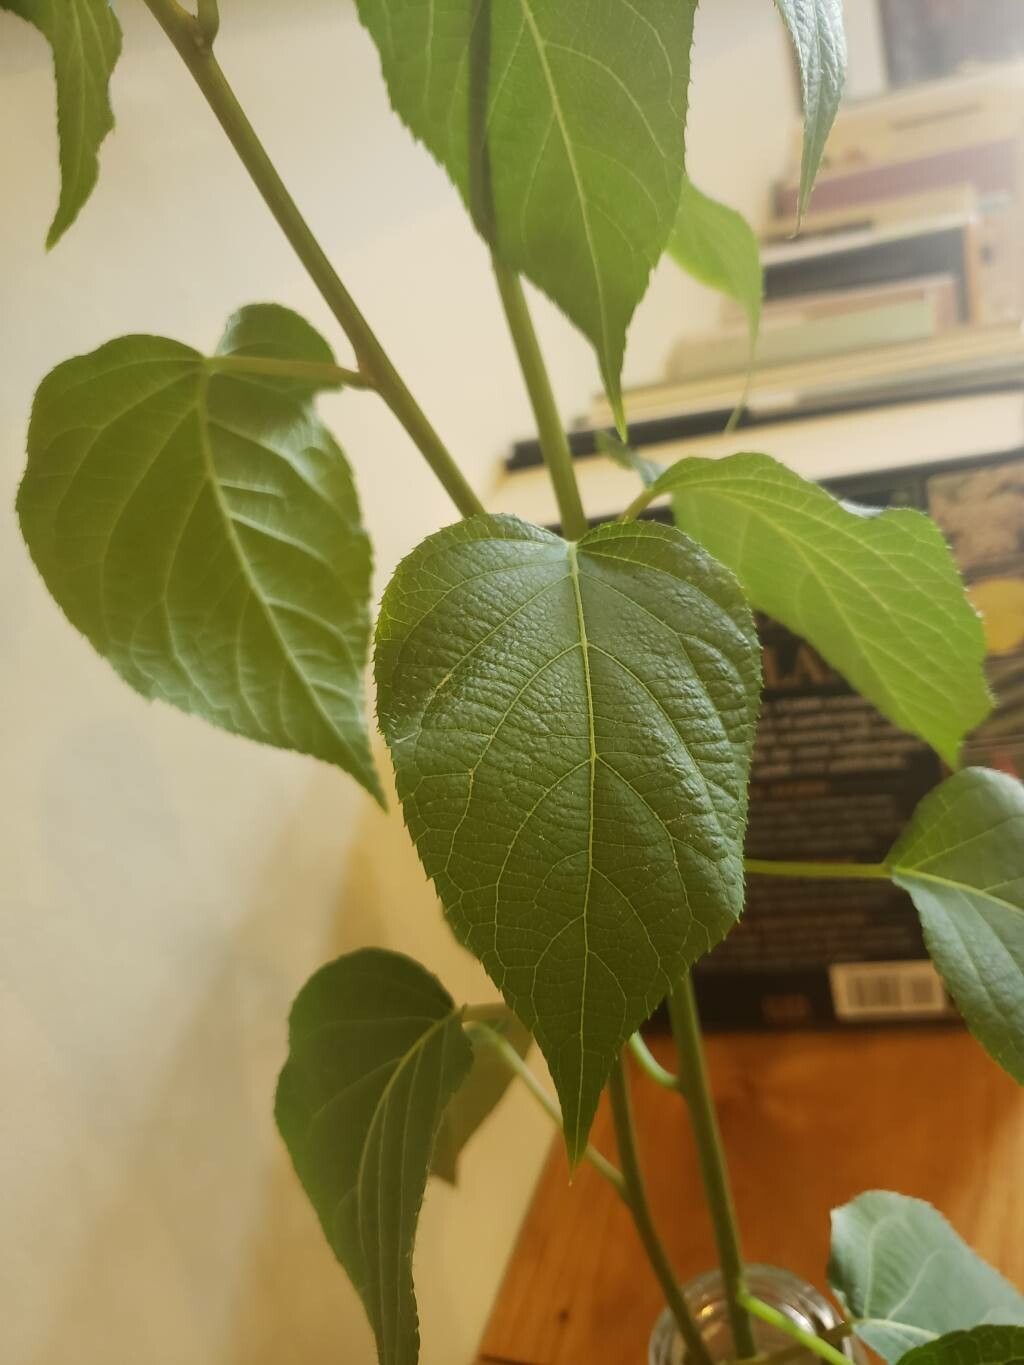
Well hello there, fellow plant lover! Today, we’re diving into the wonderful world of Actinidia polygama, also known as Silver Vine. If you’re not familiar, imagine a vigorous vine with beautiful, silver-splashed leaves that often unfurl a lovely pink in spring. It’s a real showstopper in the garden, and for cat lovers, it’s a delightful treat for your feline friends (though not all cats respond to it!).
Propagating your own Silver Vine is incredibly satisfying. It’s a fantastic way to get more of those gorgeous plants for your garden or to share the magic with friends. Let me tell you, it’s moderately easy to propagate, meaning a beginner can absolutely succeed with a little patience and the right approach. Don’t be intimidated; we’ll take it one step at a time.
The Best Time to Start
For Actinidia polygama, the sweet spot for propagation is usually mid-spring to early summer. This is when the plant is actively growing, and you can take advantage of softwood cuttings. These are the new, flexible shoots that haven’t yet hardened off. They root much more readily than older, woody stems.
Supplies You’ll Need
Before we get our hands dirty, let’s gather our tools. Think of this as setting yourself up for success!
- Sharp Pruning Shears or a Knife: Clean cuts are crucial.
- Potting Mix: A well-draining mix is key. I like to use a blend of peat moss, perlite, and a bit of compost. You can also find commercial seed-starting or propagation mixes.
- Small Pots or Trays: Clean pots are a must! Old yogurt cups with drainage holes poked in work wonders.
- Rooting Hormone (Optional but Recommended): This really gives your cuttings a boost. Look for one with IBA (indole-butyric acid).
- Plastic Bags or a Propagator Lid: To create a humid environment.
- Water: For misting and for water propagation.
- Labels and a Pen: To keep track of what you’ve planted and when.
Propagation Methods
Let’s get down to the nitty-gritty. I find stem cuttings to be the most reliable method for Silver Vine.
Stem Cuttings (The Go-To Method)
- Take Your Cuttings: On a mild morning, after the dew has dried, select bright, healthy stems. Look for shoots that are bendy but not floppy. You want to snip pieces about 4-6 inches long. Make your cut just below a leaf node (where a leaf attaches to the stem).
- Prepare the Cuttings: Gently remove the lower leaves, leaving just two or three leaves at the top. This reduces water loss and prevents leaves from rotting in the soil. If the remaining leaves are large, you can even cut them in half to further decrease transpiration.
- Apply Rooting Hormone (Optional): Dip the cut end of each stem into your rooting hormone powder, tapping off any excess.
- Plant Your Cuttings: Fill your small pots or trays with your prepared potting mix. Make a small hole with your finger or a pencil, and insert the cutting, ensuring the node where you removed the leaves is below the soil surface. Gently firm the soil around the stem.
- Water and Cover: Give the cuttings a good watering, making sure the soil is moist but not soggy. Then, cover the pots with a plastic bag or a propagator lid. This creates a mini-greenhouse to keep humidity high. Prop it up with a few sticks so the plastic doesn’t touch the leaves.
Water Propagation (A Simpler Start)
If you want to try a super simple method, water propagation is an option, though I find rooting hormone and soil give a stronger start.
- Prepare Cuttings: Follow steps 1 and 2 above.
- Place in Water: Put the cuttings in a clean jar or glass of water, ensuring the leaf nodes are submerged.
- Location: Place the jar in bright, indirect light. Keep an eye on the water level and change it every few days to keep it fresh.
- Rooting: You’ll start to see little white roots emerging from the nodes. Once these roots are about an inch long, it’s time to transplant them into pots with soil, following the steps in the aftercare section.
The “Secret Sauce” (Pro Tips)
Now, here are a few things I’ve learned over the years that can make a real difference.
- Bottom Heat is Your Friend: If you can, place your pots on a heat mat designed for seedlings. This gentle warmth encourages root development from below and can significantly speed up the process. It’s like giving your cuttings a warm hug!
- Don’t Let the Leaves Touch: When using the plastic bag method, it’s **crucial that the leaves do not touch the plastic]. If they do, they are more prone to fungal issues, and you’ll lose your cuttings. A few strategically placed twigs can create enough space.
- Patience with Air Circulation: While you want to keep the humidity high, it’s also good to “air out” your cuttings for a few minutes each day. This helps prevent fungal diseases and gets them used to normal air.
Aftercare & Troubleshooting
Once you see signs of new growth, or gently tug on a cutting and feel resistance (meaning roots have formed!), it’s time to transition to aftercare.
- Gradual Acclimation: Slowly reduce the humidity over a week. Start by opening the plastic bag a little, then remove it for longer periods until the plant is accustomed to normal humidity.
- Light: Keep the young plants in a bright spot, but avoid direct, harsh sunlight that can scorch their tender leaves.
- Watering: Water when the top inch of soil feels dry. Allow for good drainage; avoid waterlogged soil at all costs.
- Troubleshooting – Rot: The most common culprit for failure is rot. If your cuttings turn black and mushy, it’s usually a sign of too much moisture and not enough air circulation. Discard any rotted cuttings immediately to prevent it from spreading.
There you have it! Propagating Actinidia polygama is a rewarding journey. It’s all about observation, a little bit of care, and trusting the process. Don’t be discouraged if a few don’t make it; that’s part of learning. Enjoy watching those tiny new plants grow – it’s pure gardening joy! Happy propagating!
Resource: