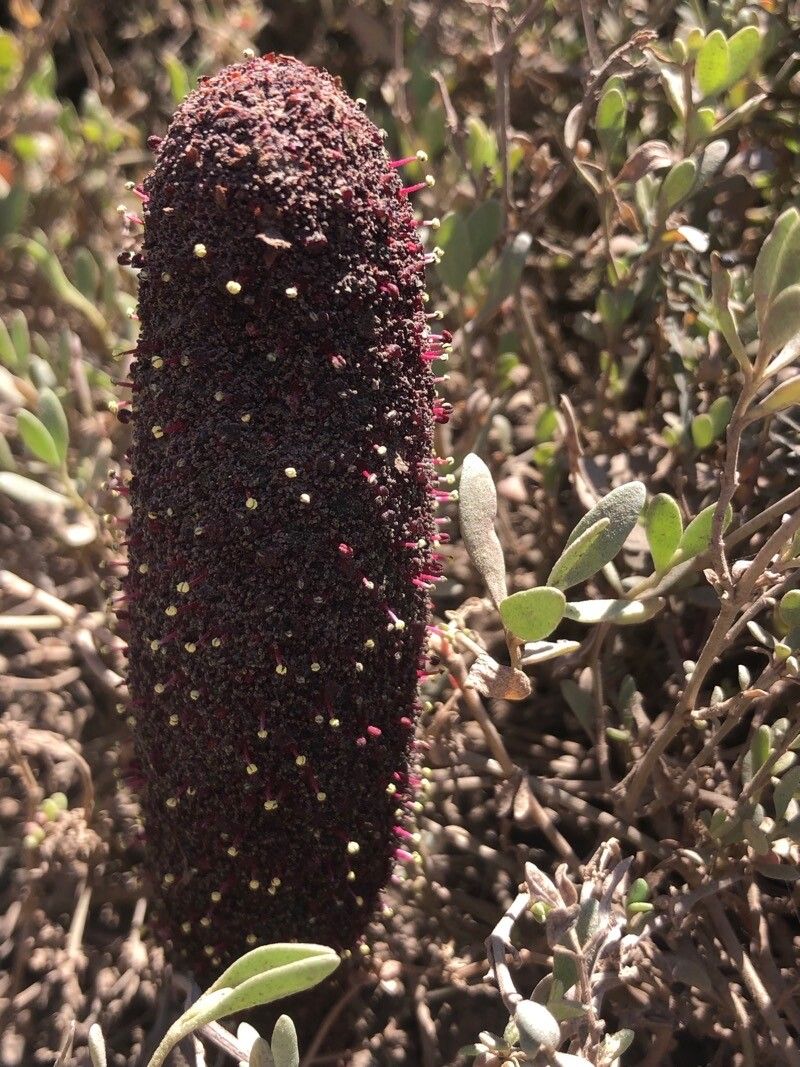
Hello fellow plant lovers! Today, we’re diving into the fascinating world of Cynomorium coccineum, a plant that truly sparks curiosity. I’ve spent a good two decades getting my hands dirty, and this one always brings a smile to my face. It’s not just its unique appearance that’s captivating; the sheer reward of successfully coaxing a new life from an existing one is a joy that never gets old. For beginners, I’d say it leans towards the moderately challenging side. It’s not impossible by any means, but it does require a bit of attention and understanding. But don’t let that deter you! With a little know-how, you’ll be well on your way.
The Best Time to Start
Timing is everything in gardening, isn’t it? For Cynomorium coccineum, the sweet spot is generally during its active growth period. For most of us, that means late spring to early summer. This is when the plant is bursting with energy, making it more receptive to propagating. Avoid trying to do this when the plant is dormant or stressed. You want to work with a happy, healthy specimen.
Supplies You’ll Need
Gathering your tools beforehand makes the whole process much smoother. Here’s what I typically have on hand:
- Sharp, clean pruning shears or a good knife: You need a clean cut to prevent disease.
- Well-draining potting mix: I like a mix of perlite, coarse sand, and a good quality peat-free compost. About a 1:1:1 ratio works wonders.
- Rooting hormone (optional but recommended): This really gives your cuttings a boost. Look for one with auxins.
- Small pots or propagation trays: Cleanliness is key here!
- Watering can with a fine rose: To water gently without disturbing your new starts.
- Plastic bags or a propagation dome: To create a humid environment.
- Labeling stakes: Trust me, you’ll thank yourself later!
Propagation Methods
While Cynomorium coccineum can be a bit particular, stem cuttings are usually your best bet. It’s the most reliable method I’ve found.
- Select Your Cuttings: Find a healthy, mature stem that’s not flowering. Look for a section that has at least a few sets of leaf nodes (the little bumps where leaves emerge).
- Make the Cut: Using your clean pruners or knife, make a clean cut about 4-6 inches down the stem. Try to cut just below a leaf node.
- Prepare the Cutting: Gently remove the lower leaves from the cutting. You want to expose at least two nodes. This is where roots will form. If the remaining leaves are very large, you can pinch or cut them in half to reduce water loss.
- Apply Rooting Hormone: If you’re using rooting hormone, dip the cut end of the stem into it, tapping off any excess.
- Plant Your Cuttings: Fill your pots with your prepared, moistened potting mix. Make a hole in the center with your finger or a pencil. Insert the cutting so that at least one or two leaf nodes are buried in the soil. Gently firm the soil around the base.
- Create Humidity: Water the soil lightly. Then, cover the pot with a plastic bag or place it inside a propagation dome. Make sure the leaves aren’t touching the plastic if possible. Place the pots in a location with bright, indirect light.
The “Secret Sauce” (Pro Tips)
Now, for those little tricks that make a difference.
- Bottom Heat is Your Friend: Cynomorium coccineum loves a bit of warmth from below. Placing your pots on a heating mat designed for propagation can significantly speed up root development. It mimics the soil temperature when new growth is naturally occurring.
- Condensation is a Good Sign: Keep an eye on that plastic bag or dome. You want to see condensation forming on the inside. This tells you the humidity is high enough. If it seems too dry, mist the inside of the bag or dome lightly.
- Patience, Young Grasshopper: This isn’t a plant that throws out roots overnight. Resist the urge to constantly check or tug on the cuttings. You want to see new growth emerging from the tip of the stem before you assume it’s rooted and ready to be un-earthed.
Aftercare & Troubleshooting
Once you see those encouraging signs of new growth – that’s your cue!
- Acclimatize Gradually: Don’t shock your new little ones. Slowly start to remove the plastic bag or lift the dome for increasing periods each day over a week or so. This helps them adjust to normal humidity levels.
- Watering: Keep the soil consistently moist but not waterlogged. Overwatering is the quickest way to invite root rot, which is one of the most common problems. If you see your cutting turning yellow and mushy at the base, it’s likely rot.
- Signs of Failure: Beyond rot, if your cuttings wilt and just won’t perk up even with adequate moisture and humidity, they likely haven’t formed roots. Sometimes, they just don’t take, and that’s okay!
- Transplanting: Once your new plant has a decent root system and looks robust, you can carefully transplant it into a slightly larger pot with fresh potting mix.
So there you have it! Propagating Cynomorium coccineum is a journey that’s as much about learning as it is about growing. Don’t be discouraged if your first attempt isn’t perfect. Every gardener has had their share of failed attempts – it’s part of the process! Enjoy the experiment, appreciate the small victories, and soon you’ll be sharing your own Cynomorium coccineum babies with friends. Happy propagating!
Resource:
https://identify.plantnet.org/k-world-flora/species/Cynomorium%20coccineum%20L./data