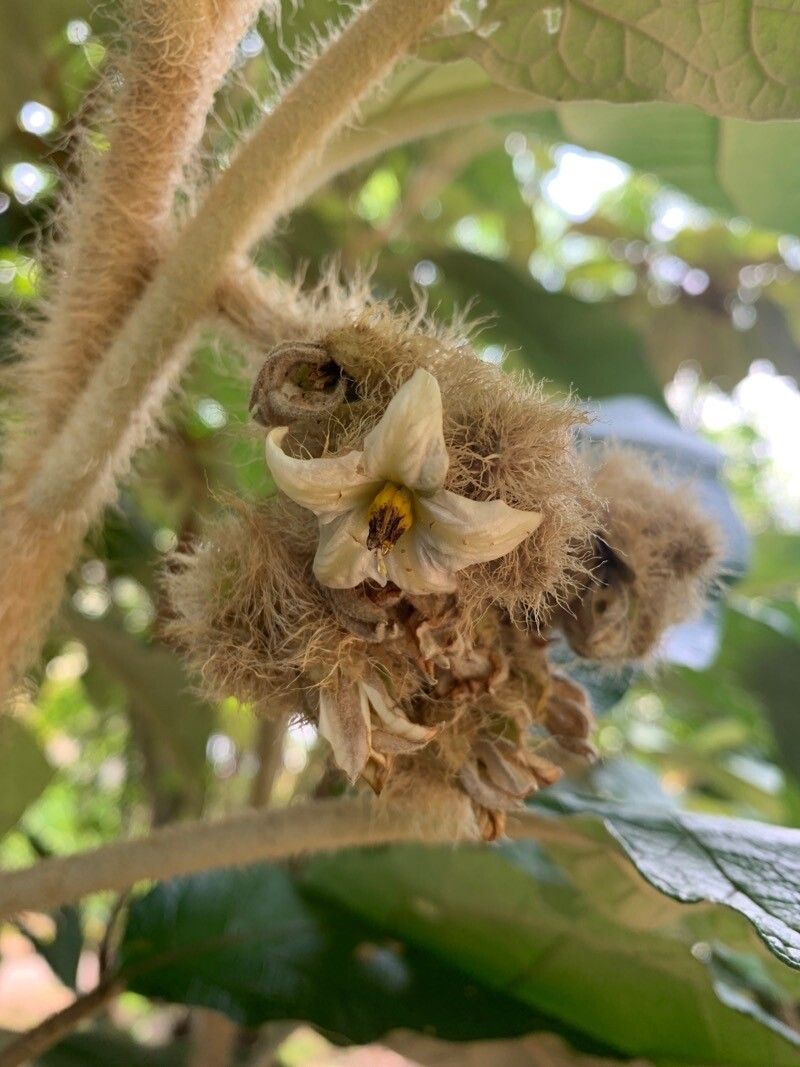
Hello, fellow plant lovers! I’m so excited to dive into propagating Solanum cernuum with you today. This little beauty, with its delicate blue flowers and charming, nodding habit, is a real gem for any garden. It brings this wonderful, almost ethereal touch to borders or hanging baskets. And the best part? Gathering new plants from your existing ones is incredibly satisfying. You get to share the joy!
Now, is Solanum cernuum a friend to beginners? I’d say it’s moderately easy. It’s not a fussy plant at all, but like most things, it has its sweet spots for success. If you’re just starting out with propagation, this is a great one to try your hand at. You’ll likely get a good crop of new plants with a little care and attention.
The Best Time to Start
The absolute best time to propagate Solanum cernuum is when the plant is actively growing, but not stressed. Late spring, after the last frost has firmly passed, is usually your golden window. You’re looking for new, healthy growth on the parent plant. Think vibrant green shoots that are still a little pliant. Avoid taking cuttings from woody, old stems or from a plant that’s just coming out of dormancy or wilting in extreme heat.
Supplies You’ll Need
Gathering your tools beforehand makes the whole process much smoother. Here’s what I usually have on hand:
- Sharp pruning shears or a clean, sharp knife: For making clean cuts.
- Rooting hormone (optional but recommended): A granular or powder form helps speed things up.
- Small pots or trays: Clean ones are crucial to avoid disease.
- Well-draining potting mix: I love a blend of equal parts peat moss (or coco coir), perlite, and a little bit of good quality compost.
- Plastic bags or a propagation dome: To create a humid environment.
- Water: For misting and for water propagation.
- A small watering can or mister: For gentle watering.
Propagation Methods
For Solanum cernuum, stem cuttings are my go-to method. They’re reliable and usually yield great results.
Stem Cuttings:
- Select Your Cuttings: Look for healthy, new growth. You want stems that are about 4-6 inches long and have at least two sets of leaves. Make your cut just below a leaf node (where a leaf attaches to the stem). This is where the magic happens for root development.
- Prepare the Cuttings: Gently remove the lower leaves from the cutting, leaving just the top 2-3 sets of leaves. This prevents them from rotting in the soil.
- Apply Rooting Hormone (Optional): Dip the cut end of the stem into your rooting hormone. Tap off any excess powder.
- Plant the Cuttings: Fill your clean pots with the well-draining potting mix. Make a small hole with your finger or a pencil and insert the prepared cutting. Gently firm the soil around the stem to ensure good contact.
- Water Gently: Water the soil thoroughly but carefully. You don’t want to dislodge the cuttings.
Water Propagation (An Alternative):
If you’re a bit hesitant about soil just yet, water propagation is a fun alternative.
- Prepare Cuttings: Same as step 1 and 2 above – get cuttings about 4-6 inches long with the lower leaves removed.
- Place in Water: Put the cuttings in a clear glass or jar of clean water. Make sure no leaves are submerged in the water. If a leaf is low, trim it off.
- Change Water Regularly: Change the water every few days to keep it fresh and prevent bacterial growth.
- Wait for Roots: You’ll start to see little white roots forming from the leaf nodes. Once these roots are about an inch long, you can transplant them into soil as described above.
The “Secret Sauce” (Pro Tips)
Over the years, I’ve picked up a few tricks that seem to make all the difference.
- Humidity is Key: New cuttings don’t have roots to take up water, so they rely on humidity. Once you’ve potted your cuttings, cover them with a plastic bag (make sure the bag doesn’t touch the leaves) or place a propagation dome over them. This creates a mini-greenhouse effect.
- Bottom Heat Helps: If you have a propagation mat or can place your pots on a warm spot (like near a gentle radiator, but not directly on it!), that warmth from below can significantly speed up root development. It mimics the warmth of spring soil.
Aftercare & Troubleshooting
Once your cuttings have been in their pots for a few weeks, you can give them a gentle tug. If you feel resistance, congratulations! Roots are forming. At this point, you can gradually acclimate them to normal room humidity by opening the plastic bag a little each day. Water them when the top inch of soil feels dry.
Now, what if things go wrong? The most common culprit is rot. If your cuttings turn mushy, black, or start to fall apart, it’s usually a sign of too much moisture, poor air circulation, or using unsterilized equipment. Ditch any rotted cuttings immediately to prevent it from spreading. If your cuttings just seem to be sitting there with no growth after several weeks, don’t despair! Some plants take their sweet time. Ensure they still have adequate humidity and aren’t too cold.
A Encouraging Closing
Propagating plants is a beautiful dance with nature. It’s about patience, observation, and a little bit of faith. Don’t be discouraged if your first attempt isn’t perfect. Each cutting you take is a chance to learn and connect with your plants. Enjoy the journey, celebrate the little roots that emerge, and soon you’ll have a whole new garden of Solanum cernuum to share! Happy potting!
Resource:
https://identify.plantnet.org/k-world-flora/species/Solanum%20cernuum%20Vell./data