Hello there, fellow plant enthusiasts! If you’ve ever admired the vibrant foliage and delicate blooms of Caperonia palustris, you might be wondering how to bring more of this beauty into your own garden or collection. Well, you’ve come to the right place. I’ve been working with plants for two decades now, and I can tell you, Caperonia palustris is a delightful plant to propagate. It’s surprisingly easy, even for those just starting their propagation journey. Seeing a tiny cutting transform into a robust new plant is one of the most rewarding feelings in gardening, don’t you think?
The Best Time to Start
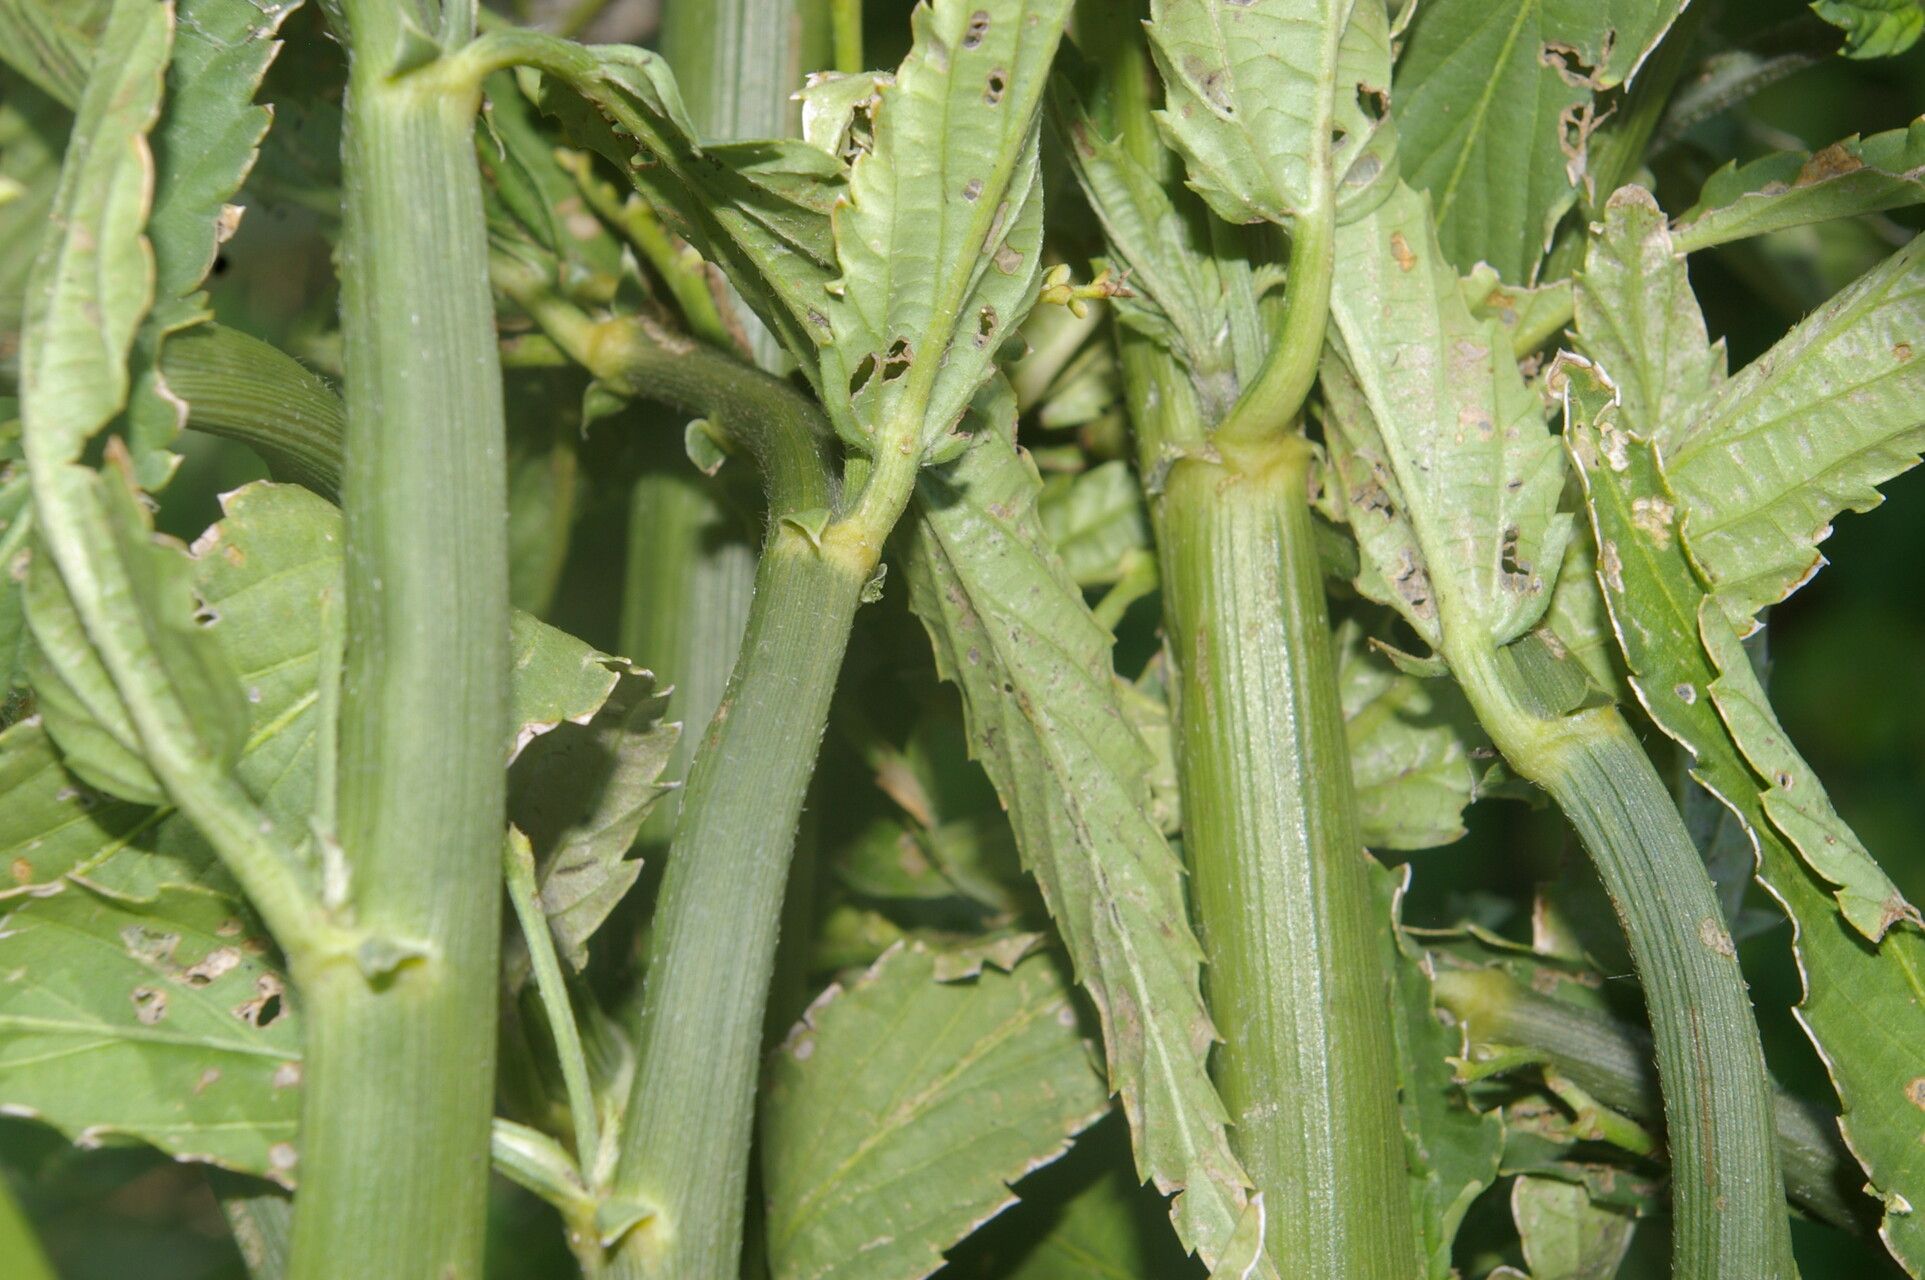
For Caperonia palustris, spring or early summer is your sweet spot. This is when the plant is actively growing and has plenty of energy to put into developing new roots. You want to take cuttings from stems that are healthy and vigorous, not those that are brand new and still a bit floppy, nor those that are old and woody. Think of it as taking a cutting from a stem that’s just reaching its prime.
Supplies You’ll Need
Before we get our hands dirty, let’s gather our tools. Having everything ready makes the process much smoother.
- Sharp Pruning Shears or a Clean Knife: For making clean cuts.
- Rooting Hormone (Optional but Recommended): A little boost can help things along. Look for one specifically for softwood cuttings.
- A Well-Draining Potting Mix: A good blend is about equal parts peat moss or coco coir and perlite or coarse sand. This is crucial for preventing rot.
- Small Pots or Propagation Trays: Clean pots are a must to avoid introducing disease.
- A Watering Can or Spray Bottle: For gentle watering.
- A Ziploc Bag or Clear Plastic Dome: To create a humid environment.
Propagation Methods
Caperonia palustris is quite amenable to a couple of propagation methods, but my favorite is stem cuttings:
- Select Your Stems: Find a healthy, non-flowering stem that’s at least 4-6 inches long. You’re looking for a stem that’s firm but not hard.
- Make the Cut: Using your sharp shears or knife, make a clean cut just below a leaf node. A leaf node is where a leaf attaches to the stem. This is where the magic happens, as roots are most likely to form.
- Prepare the Cutting: Gently remove the lower leaves from the cutting, leaving just the top two or three leaves. This prevents them from rotting in the soil. If the remaining leaves are very large, you can even cut them in half to reduce water loss.
- Apply Rooting Hormone (Optional): Dip the cut end of the stem into your rooting hormone powder or gel. Tap off any excess.
- Plant Your Cuttings: Fill your clean pots with the well-draining potting mix. Make a small hole with your finger or a pencil, and insert the cut end of the stem. Gently firm the soil around the base to ensure good contact.
- Water In: Water the newly potted cuttings gently but thoroughly. You want the soil to be moist but not waterlogged.
- Create Humidity: Cover the pot with a Ziploc bag or a clear plastic dome. This creates a mini-greenhouse effect, keeping the humidity high, which is essential for cuttings. Make sure the leaves aren’t touching the sides of the plastic. If they are, you can prop it up a bit.
Another incredibly easy method is water propagation. Simply take your prepared cuttings (as described above) and place them in a jar or glass of clean water, making sure the leaf nodes are submerged. Keep it out of direct sunlight and change the water every few days. Roots should appear within a few weeks. Once they’re a good inch or so long, you can transplant them into soil.
The “Secret Sauce” (Pro Tips)
Here are a couple of little tricks that have served me well over the years:
- Don’t Let the Leaves Touch the Water (When Water Propagating): This might sound obvious, but it’s incredibly important. Submerged leaves will quickly rot and can take your whole cutting down with them. If a leaf dips into the water, trim it off or adjust the cutting.
- Bottom Heat is Your Friend: While not strictly necessary for Caperonia palustris, placing your pots on a heat mat designed for propagation can significantly speed up root development. It mimics the warmth of spring soil and encourages those roots to get busy. Just make sure the mat isn’t too hot; a gentle warmth is all you need.
Aftercare & Troubleshooting
Once you see new leaf growth on your cuttings, that’s a great sign that roots have formed! You can carefully peek at the bottom of the pot to see if roots are emerging from the drainage holes.
Continue to keep the soil consistently moist but not soggy. Gradually remove the plastic cover over a few days to acclimate your new plant to normal humidity. Once it’s established, you can move it to its permanent home.
The most common problem you might encounter is rot. If your cutting turns black and mushy, it’s a sign of too much moisture and not enough air circulation. Unfortunately, rotted cuttings can’t be saved. If you notice this, discard the cutting and start again, paying extra attention to your soil mix and watering habits. Yellowing leaves can sometimes indicate a lack of light, while wilting might mean it’s too dry.
A Encouraging Closing
Remember, gardening is a journey, and propagation is a wonderful part of that journey. Don’t be discouraged if your first few attempts aren’t perfect. Be patient, observe your cuttings, and enjoy the process of nurturing new life. Happy propagating!
Resource:
https://identify.plantnet.org/k-world-flora/species/Caperonia%20palustris%20(L.)%20A.St.-Hil./data