Hello, fellow garden enthusiasts! It’s so lovely to connect with you again. Today, we’re diving into the wonderful world of propagating Emmotum acuminatum. If you’ve ever admired this plant’s lush foliage, its subtle elegance, or perhaps its fascinating growth habit, you’re in for a treat. Growing new plants from an existing one is one of the most rewarding aspects of gardening for me. It’s like unlocking a little bit of nature’s magic right in your own home. Don’t worry if you’re new to this; I’ll guide you step-by-step.
The Best Time to Start
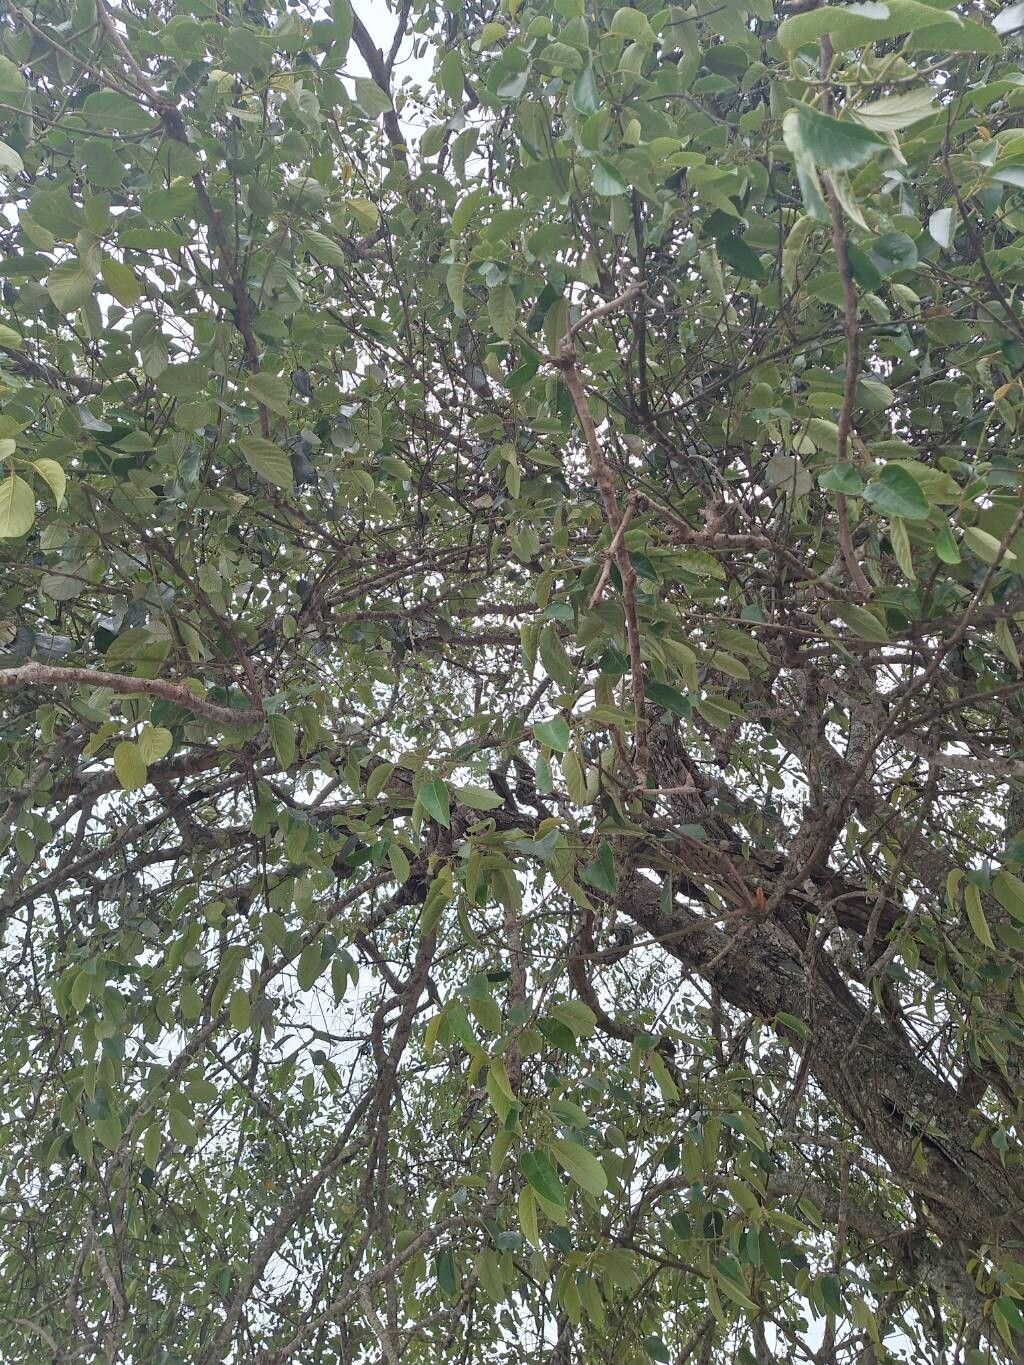
For Emmotum acuminatum, the sweet spot for propagation is generally late spring to early summer. This is when the plant is actively growing, meaning it has plenty of energy to channel into developing roots. You’re looking for stems that are firm but not yet woody. Think of it as collecting young, vibrant shoots – they’re most eager to embrace life in a new container!
Supplies You’ll Need
Before we get our hands dirty, let’s gather our tools. Here’s what you should have on hand:
- Sharp Pruning Shears or a Craft Knife: Clean cuts are crucial to prevent disease.
- Rooting Hormone (Optional but Recommended): This powder or gel helps stimulate root development.
- Small Pots or Seedling Trays: Make sure they have drainage holes.
- Well-Draining Potting Mix: A good blend is roughly 50% peat moss or coco coir and 50% perlite or coarse sand. You want it to hold some moisture but not become waterlogged.
- Plastic Bags or a Propagator: To create a humid microclimate.
- Watering Can or Spray Bottle: For gentle watering.
- Labels and a Permanent Marker: To keep track of your cuttings.
Propagation Methods
We’ll focus on stem cuttings, which is my go-to for Emmotum acuminatum. It’s straightforward and usually yields great results.
- Prepare Your Cuttings: With your clean shears, select a healthy, non-flowering stem from your mature Emmotum acuminatum. Aim for cuttings that are about 4-6 inches long. Make a clean cut just below a leaf node (where a leaf attaches to the stem). Remove the lower leaves from the cutting, leaving just two to four leaves at the top.
- Apply Rooting Hormone (If Using): Dip the cut end of the stem into your rooting hormone, tapping off any excess. This helps the cutting form roots more quickly.
- Plant Your Cuttings: Fill your small pots with your prepared potting mix. Make a small hole in the center of the mix with your finger or a pencil. Gently insert the treated end of the cutting into the hole, ensuring the leaf nodes that are now below the soil surface are covered. Lightly firm the soil around the stem.
- Create a Humid Environment: Water your cuttings gently. Then, cover each pot loosely with a plastic bag or place them in a propagator. This traps humidity, which is vital for cuttings that can’t yet absorb water through roots. You can prop the bag up with a chopstick or small stake so it doesn’t touch the leaves.
The “Secret Sauce” (Pro Tips)
Now for a couple of tricks I’ve learned over the years that can really tip the scales in your favor:
- Bottom Heat is Your Friend: Emmotum acuminatum loves a bit of warmth from below. Placing your pots on a heated propagator mat can significantly speed up root formation. It mimics the cozy conditions their roots crave.
- Don’t Drown Them! While humidity is key, overwatering is the fastest way to kill a cutting. The soil should be consistently moist, like a wrung-out sponge, not soggy. I like to check the soil moisture by gently poking my finger in. If it feels dry, then it’s time to water.
Aftercare & Troubleshooting
Once your cuttings have rooted, you’ll start to see new growth, which is a wonderful sign! This usually takes anywhere from 4 to 8 weeks, sometimes longer.
- Acclimatize Slowly: When you see healthy roots (you might see them peeking out the drainage holes or gently tugging the pot), it’s time to gradually remove the plastic bag or open the propagator vents over a week or so. This helps your new plant adjust to lower humidity.
- Watering: Continue to water when the top inch of soil feels dry. Don’t let them completely dry out, but avoid waterlogged conditions.
- Troubleshooting: The most common issue is rot, often caused by too much moisture and poor air circulation. If you notice the stem turning mushy or blackening at the soil line, unfortunately, that cutting is likely lost. Remove it promptly to prevent it from affecting others. If the leaves start to yellow and drop, it could be a sign of too much direct sun or inconsistent watering.
A Little Patience Goes a Long Way
Growing new plants is a journey, and Emmotum acuminatum is no exception. There will be moments of anticipation, perhaps a bit of concern, but the joy of seeing those tiny roots emerge and a new plant take hold is truly unparalleled. Be patient, observe your cuttings closely, and most importantly, enjoy the process! Happy propagating!
Resource:
https://identify.plantnet.org/k-world-flora/species/Emmotum%20acuminatum%20(Benth.)%20Miers/data