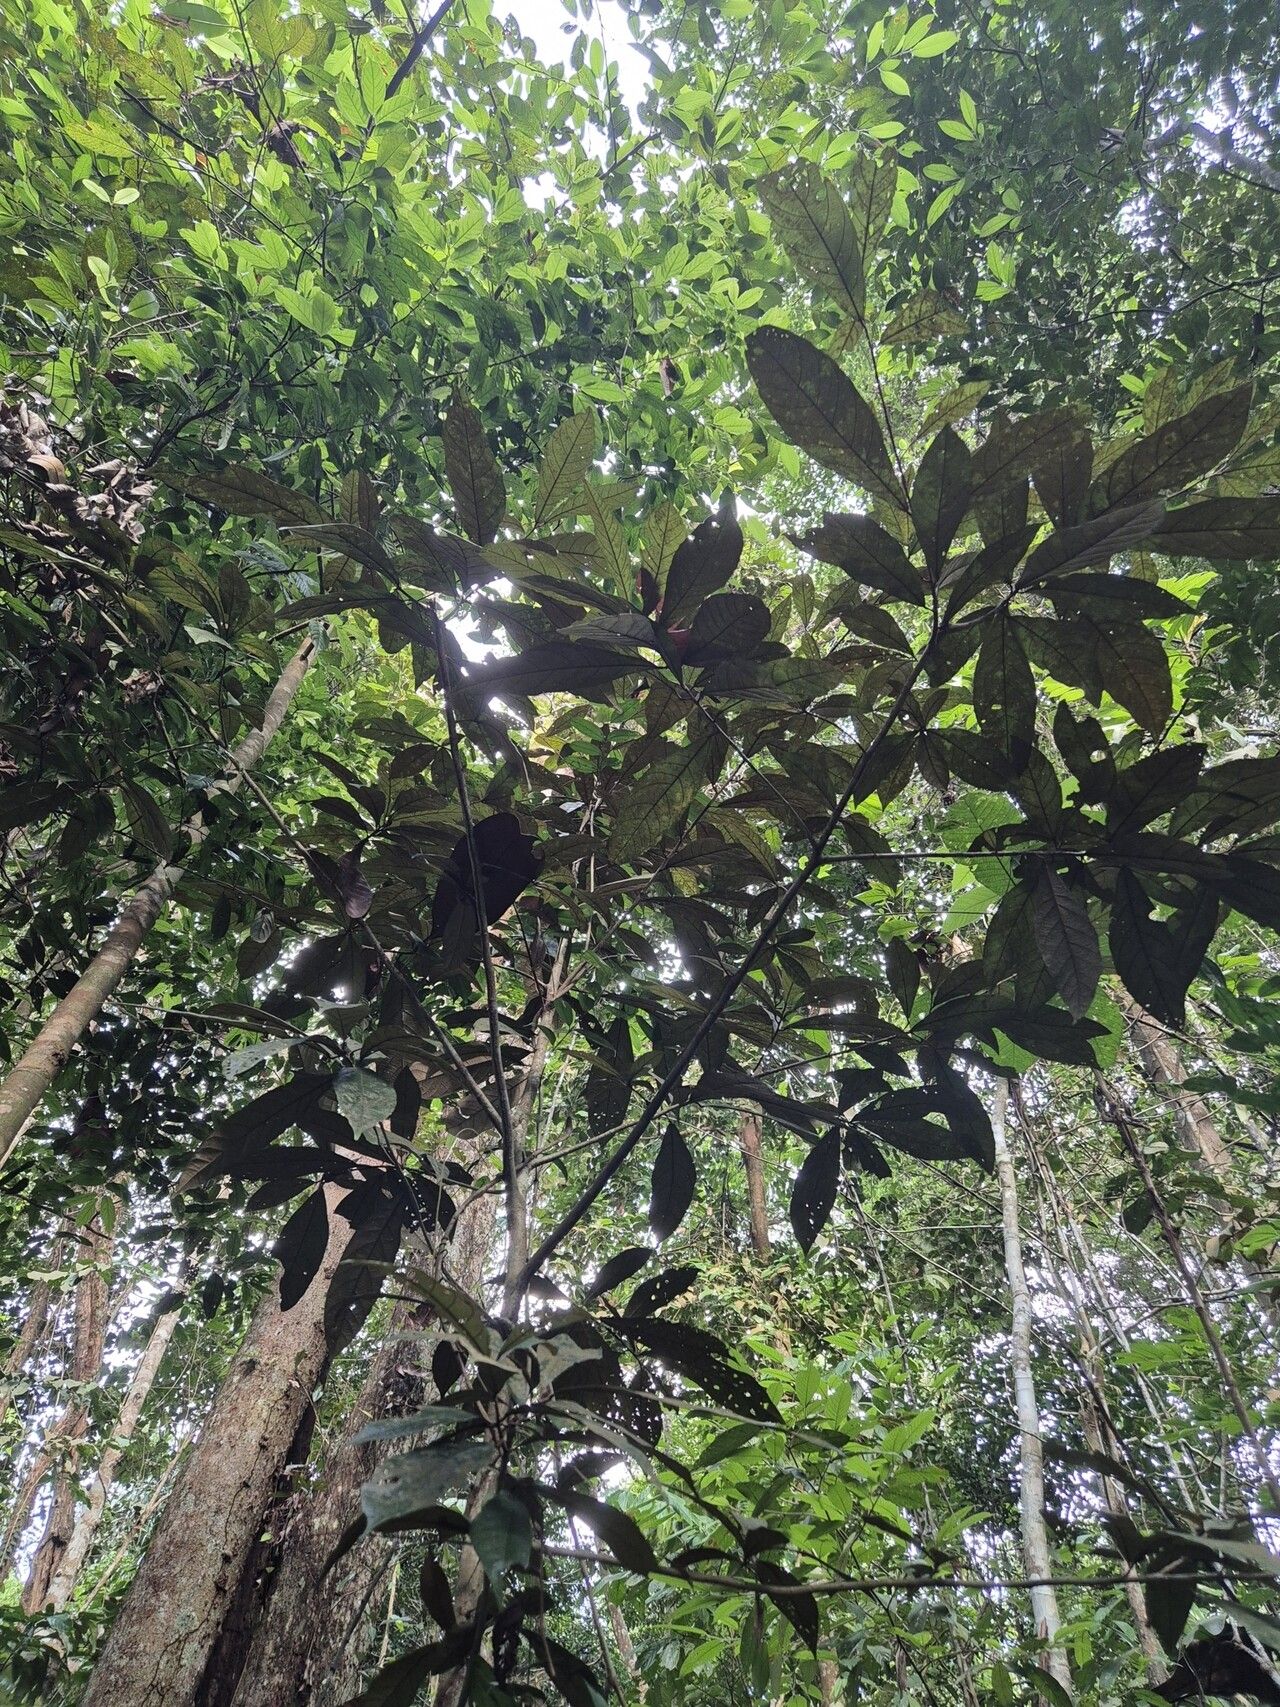
Oh, hello there! Come on in, grab a mug of something warm. I’m so glad you’re interested in Heritiera elata. Isn’t it a beauty? I’ve always admired its glossy, deep green leaves and that subtle elegance. Propagating these can be a really rewarding journey, and while it’s not quite “stick it in the ground and forget it” easy, it’s definitely within reach for most gardeners who are willing to give it a little thoughtful attention.
The Best Time to Start
For the highest success rates, I’ve found that taking cuttings in late spring to early summer is absolutely your best bet. This is when the plant is usually in a good, active growth phase. You want to look for semi-hardwood stems – ones that are no longer floppy and new, but not yet woody and stiff. It feels a bit like finding that sweet spot, doesn’t it?
Supplies You’ll Need
Before we dive in, let’s gather our little helpers:
- Sharp, clean pruning shears or a craft knife: Cleanliness is key to preventing disease.
- Rooting hormone powder or gel: This really gives your cuttings a helpful boost.
- A well-draining potting mix: I like a blend of perlite, peat moss, and a little bit of coarse sand. About 50% perlite to 50% peat is a good starting point.
- Small pots or trays with drainage holes: Nothing too big to start.
- A plastic bag or propagator lid: To create a humid environment.
- Filtered water or rainwater: For misting and watering.
- (Optional, but recommended) A heat mat: More on this later!
Propagation Methods
Let’s talk about getting your Heritieraelata to make new babies!
Stem Cuttings
This is my go-to method for Heritiera elata.
- Select your stems: Look for those healthy, semi-hardwood stems we talked about. You want pieces that are about 4-6 inches long.
- Make the cut: Using your sharp shears, make a clean cut just below a leaf node. This is where the magic happens for root development. Remove the lower leaves, leaving just a couple at the top.
- Dip and plant: Dip the cut end into your rooting hormone, tapping off any excess. Then, gently insert the cutting into your prepared potting mix. Make sure the leaf nodes are buried.
- Water and cover: Water the soil gently until it’s moist but not soggy. Then, pop it into a plastic bag or cover it with a propagator lid to keep humidity high.
The “Secret Sauce” (Pro Tips)
Here are a few things I’ve learned over the years that make a real difference:
- Bottom Heat is Your Friend: If you have a heat mat, place your pots on it. This gentle warmth encourages root development from below. It really speeds things up and improves your success rate, especially if your home isn’t consistently warm.
- Don’t Let Leaves Touch the Water (if using water propagation): While I primarily use soil for this plant, if you were to try water propagation later, it’s crucial that no leaves are submerged. They’ll just rot and take the whole cutting down with them. Keep those leaves high and dry!
- Patience, Young Grasshopper! Heritiera elata can be a little slow to root. Don’t be tempted to pull them up and check every day. Give them at least 4-8 weeks. Trust the process.
Aftercare & Troubleshooting
Once you see signs of new growth, or if you gently tug and feel resistance, roots are forming!
- Acclimatize gradually: Start by opening your propagator lid for a few hours each day. This helps the new plant adjust to lower humidity.
- Watering: Water whenever the top inch of soil feels dry. Always water from the bottom if you can, to avoid disturbing delicate new roots.
- Light: Keep them in bright, indirect light. No harsh, direct sun for these little ones.
The biggest thing to watch out for is rot. If your cutting turns mushy and black, sadly, it’s a sign of too much moisture and not enough air circulation. This is where that well-draining mix and careful watering come in.
A Encouraging Closing
Propagating plants is all about learning and observing. You’re giving a beautiful plant a second life, and that’s a wonderful feeling. Be patient, enjoy the process of watching your little Heritiera elata sprout new roots and leaves. You’ve got this! Happy gardening!
Resource:
https://identify.plantnet.org/k-world-flora/species/Heritiera%20elata%20Ridl./data