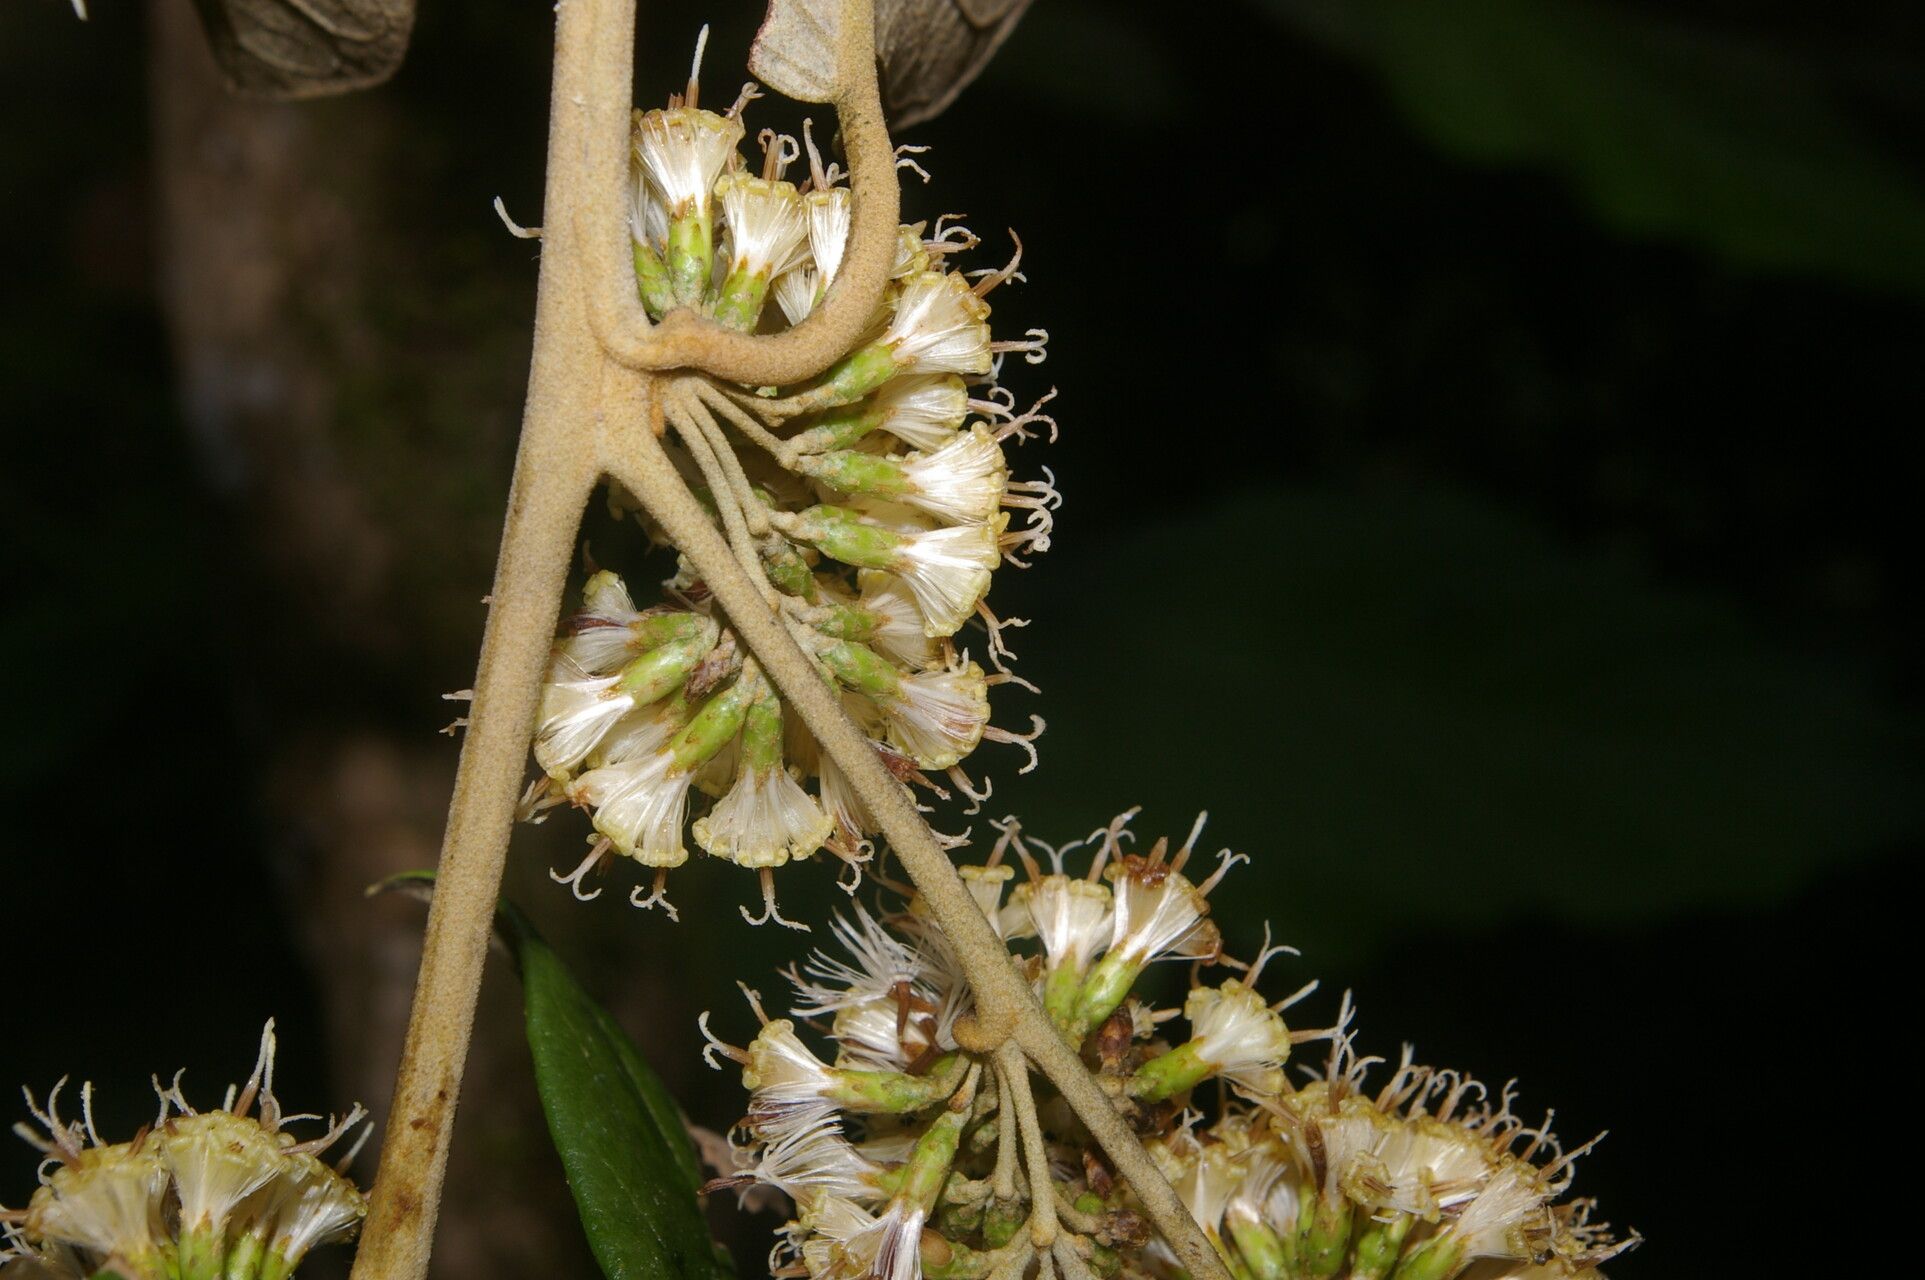
Oh, Piptocarpha poeppigiana! You know, I’ve always had a soft spot for this one. It’s got this wonderfully architectural, almost sculptural quality to its leaves, and when it throws up those lovely blooms, well, it’s just pure garden joy. If you’ve ever admired a Piptocarpha in someone’s garden (or maybe you have one yourself!), you’ve probably thought about adding more. And I’m here to tell you, propagating it is absolutely doable, and so incredibly rewarding. While it might present a little bit of a challenge for absolute beginners, with a few pointers, you’ll be well on your way to success. Think of it as a grand adventure in plant growing!
The Best Time to Start
For Piptocarpha poeppigiana, I find the sweet spot for propagation is really in late spring through early summer. This is when the plant is actively growing and has a good amount of energy stored up. You want to take cuttings from stems that are firm and somewhat mature, but not woody and old. Think of a stem that’s flexible but holds its shape. Starting during this vibrant growth period gives your new cuttings the best chance to root quickly.
Supplies You’ll Need
Here’s what I like to have on hand when I’m ready to start my Piptocarpha propagation projects:
- Sharp Pruning Shears or a Knife: Cleanliness is key to preventing disease.
- Rooting Hormone: A good quality powdered or gel hormone will really give your cuttings a boost.
- Well-Draining Potting Mix: I often use a blend of perlite, peat moss, and a bit of compost. You can also buy specific propagation mixes.
- Small Pots or Seed Starting Trays: Make sure they have drainage holes!
- Plastic Bags or a Small Greenhouse/Propagator: This creates that crucial humid environment.
- Watering Can or Spray Bottle: For gentle watering.
- Labels: So you don’t forget what you’ve potted!
Propagation Methods
Let’s get our hands dirty and talk about how to make more of these beauties.
Stem Cuttings
This is usually my go-to method for Piptocarpha.
- Select Your Stems: Choose healthy, semi-hardwood stems from your mature plant. Look for stems that are about 4-6 inches long.
- Make the Cut: Using your clean, sharp shears, make a cut just below a leaf node (where a leaf attaches to the stem). This node is where rooting is most likely to occur.
- Prepare the Cutting: Gently remove the lower leaves, leaving just the top two or three leaves. If the remaining leaves are large, I like to cut them in half crosswise. This reduces water loss while still allowing for photosynthesis.
- Apply Rooting Hormone: Dip the cut end of the stem into your rooting hormone, ensuring it’s coated well. Tap off any excess.
- Plant Your Cuttings: Fill your small pots with your prepared potting mix. Make a small hole with a pencil or your finger, and gently insert the cutting. Firm the mix around the base of the stem.
- Water Gently: Water your cuttings thoroughly but be careful not to dislodge them.
- Create Humidity: Place the pots into a plastic bag, or cover them with a plastic dome in a propagator. Make sure the plastic doesn’t touch the leaves too much.
- Find the Right Spot: Place your cuttings in a bright location, but out of direct sunlight. They prefer warmth, so a windowsill that gets indirect light is perfect.
Water Propagation (with a caveat!)
While some plants root beautifully in water, I find Piptocarpha can be a little fussier with this method. If you do try it, here’s what I’d recommend:
- Prepare the Cutting: Follow steps 1-3 from the stem cuttings method.
- Place in Water: Put the cutting in a clean jar or glass of room-temperature water.
- The Crucial Step: Make absolutely sure that no leaves are submerged in the water. Any leaves under the water will rot and can take the whole cutting down with them.
- Change Water Regularly: Change the water every few days to keep it fresh.
- Be Patient: Rooting in water can take longer, and sometimes you’ll find the roots that form aren’t as robust for transplanting as those from soil.
The “Secret Sauce” (Pro Tips)
Here are a few things I’ve learned over the years that often make a difference:
- Bottom Heat is Your Friend: If you have a propagation mat or can place your pots on top of a gently warm appliance (not hot!), the added warmth from below can significantly speed up root formation. It’s like a cozy little heating pad for your cuttings.
- Don’t Over-Water the Potting Mix: While humidity is key around the cutting, the potting mix itself should be moist but not soggy. Constantly waterlogged soil is a fast track to rot. I like to feel the soil a couple of inches down; if it feels dry, it’s time to water.
- Mist, Don’t Drench: If you’re opening up your humidity dome to ventilate, a light misting of the leaves can help keep them turgid, but avoid heavy watering from above onto the soil.
Aftercare & Troubleshooting
Once you start seeing new leaf growth or feel resistance when gently tugging on the cutting, that’s a good sign that roots have formed!
- Gradual Acclimation: Slowly start introducing your new plants to lower humidity. Open the plastic bag or dome for longer periods each day over a week or so.
- Move to a Slightly Larger Pot: Once they have a decent root system (you might see roots peeking out the drainage holes), you can transplant them into slightly larger pots with fresh, well-draining potting mix.
- Watch for Rot: The most common issue is rot, which usually looks like a brown, mushy stem base. This is often caused by too much moisture and poor air circulation. If you see this, unfortunately, the cutting is likely lost. Next time, try to be a little less eager with the watering can and ensure your mix is super well-draining.
- Wilting: A little wilting is normal as the plant adjusts, but if it persists, check your watering and humidity levels.
A Encouraging Closing
Propagating Piptocarpha poeppigiana is such a satisfying way to expand your collection or share these lovely plants with friends. The most important ingredients are patience and observation. Don’t be discouraged if every single cutting doesn’t make it – that’s a part of gardening! Just keep trying, learn from each attempt, and most importantly, enjoy the wonderful process of coaxing new life from your cherished plants. Happy propagating!
Resource:
https://identify.plantnet.org/k-world-flora/species/Piptocarpha%20poeppigiana%20(DC.)%20Baker/data