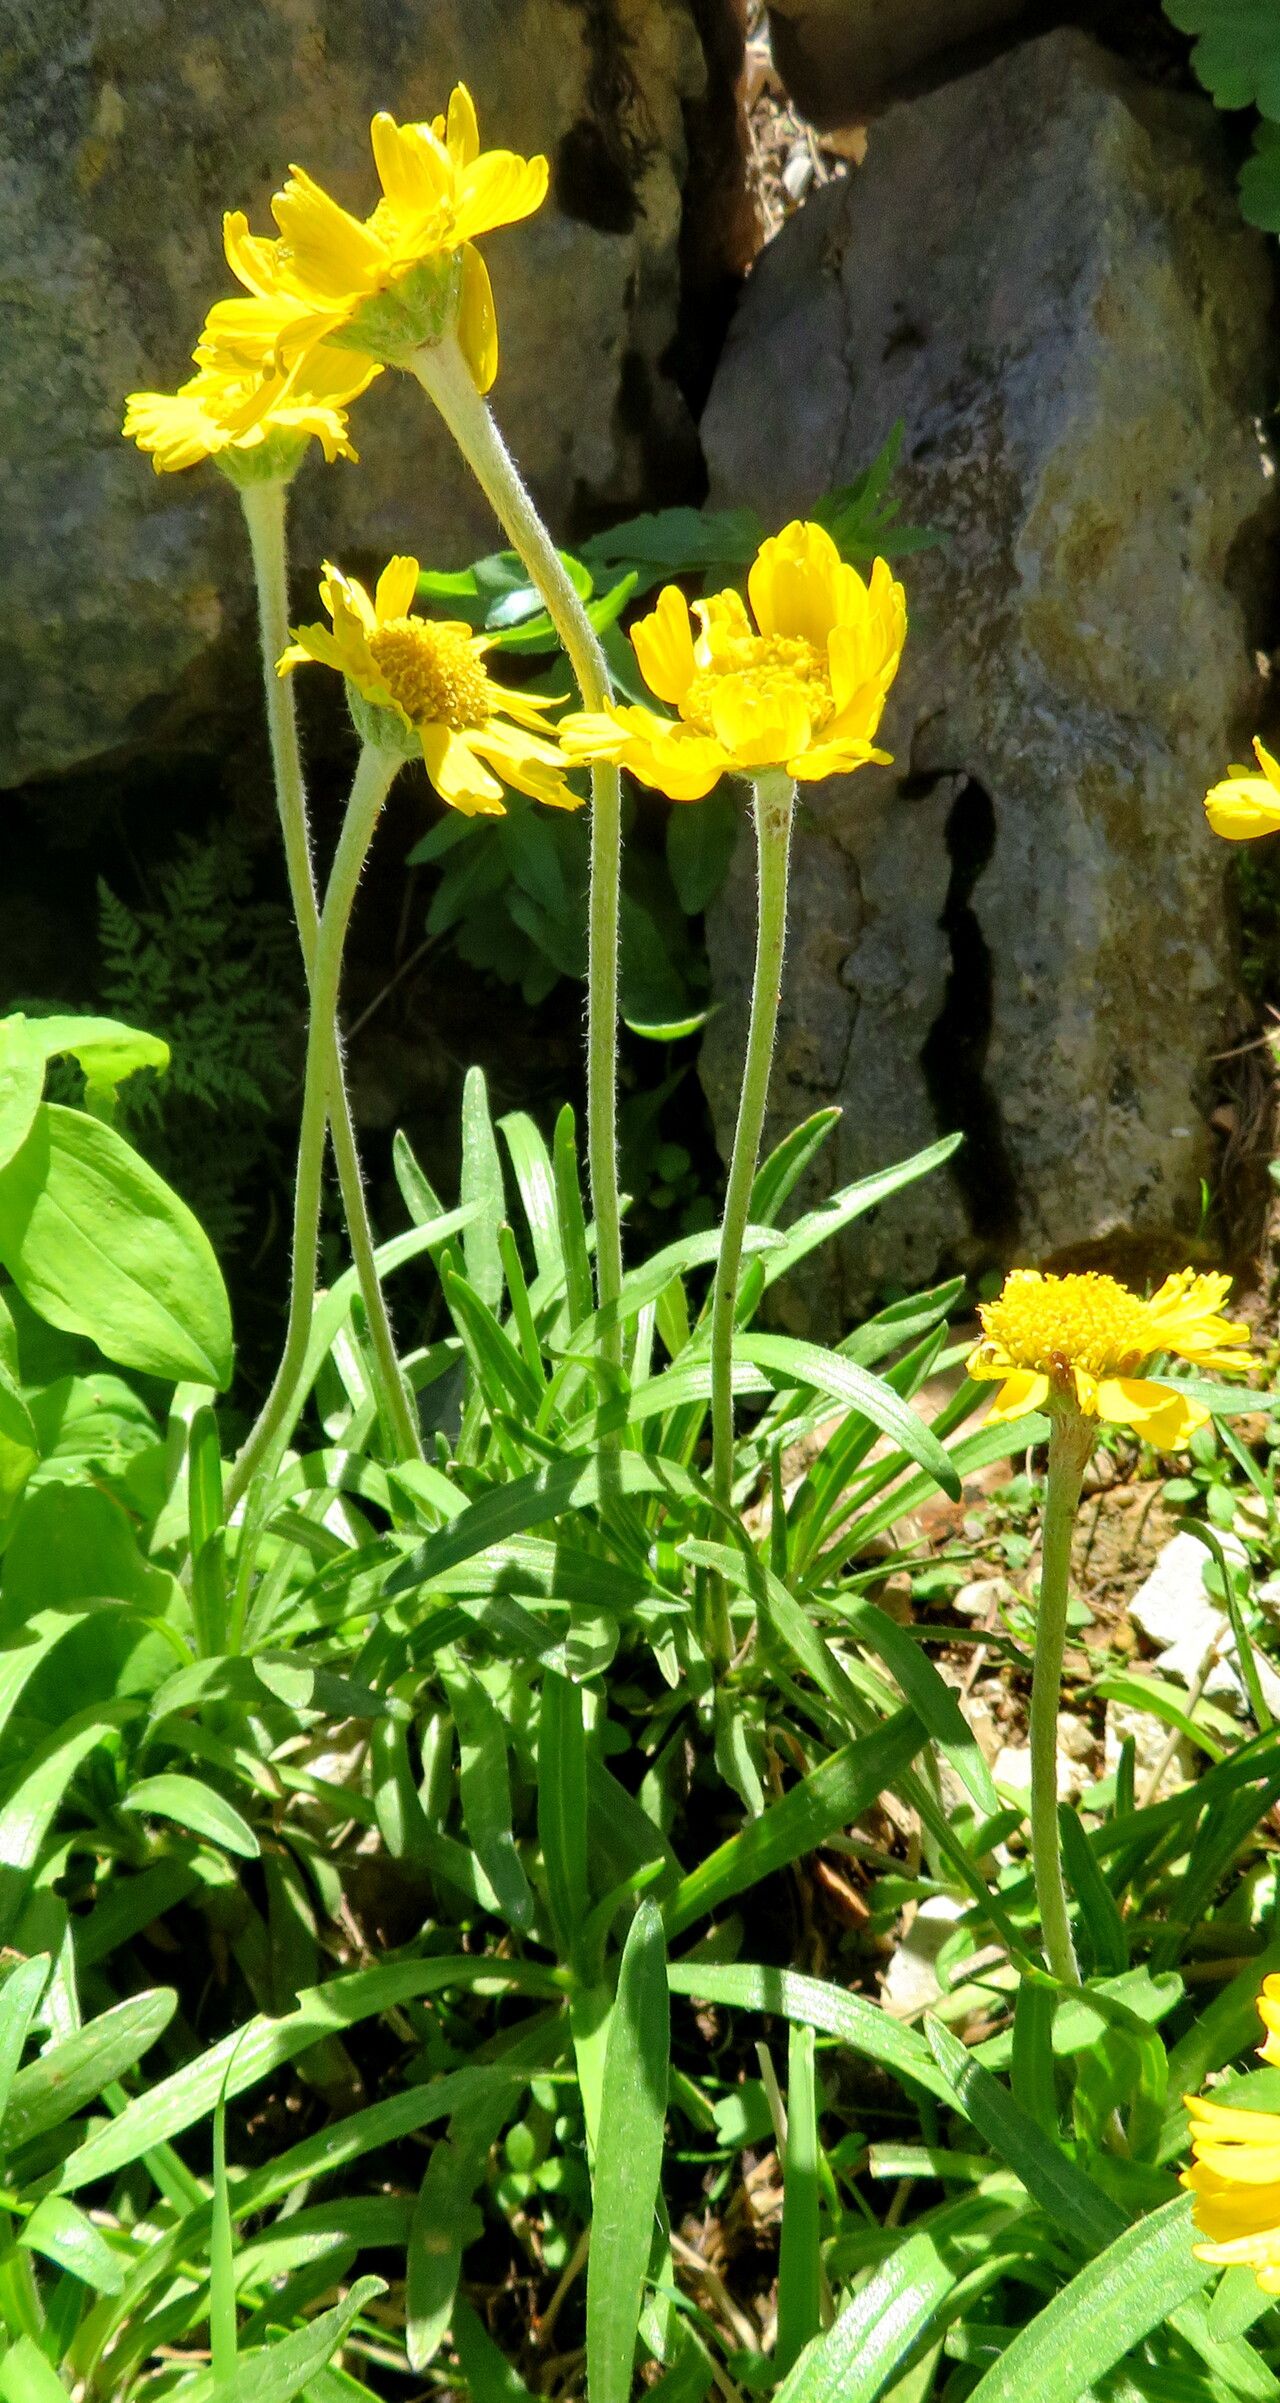
Hello, fellow plant enthusiasts! It’s so good to be chatting with you today. I’ve got a plant I’m really excited to talk about – Tetraneuris scaposa, though most of us know it by its common name, the Four-Nerve Daisy or Texas Daisy.
Why You’ll Love Propagating Tetraneuris scaposa
These cheerful little blooms are like sunshine in your garden. Their bright, daisy-like flowers, often with a delicate touch of peachy or buttery yellow, bring such cheer. And honestly, there’s a special kind of joy in taking a piece of your favorite plant and watching it grow into something new. The Four-Nerve Daisy is moderately easy to propagate, making it a rewarding project for most gardeners, even if you’re just starting to dip your toes into the world of plant babies.
When to Get Your Hands Dirty
For the best results when propagating Tetraneuris scaposa, I’ve found that spring and early summer are your golden ticket. This is when the plant is actively growing and has plenty of energy to dedicate to putting down new roots. Look for new, healthy growth – those are your best candidates!
Your Propagation Toolkit
Gathering your supplies beforehand makes the whole process so much smoother. Here’s what I usually have on hand:
- Sharp, clean pruning shears or scissors: Essential for making clean cuts.
- Well-draining potting mix: A blend for succulents or cacti works beautifully. You can also mix regular potting soil with perlite or coarse sand.
- Small pots or trays: Clean those out well!
- Rooting hormone (optional but recommended): A powder or gel can give your cuttings a great start.
- Watering can or spray bottle: For gentle watering.
- Labels: Because trust me, you’ll forget what you planted where!
Bringing New Life: Our Propagation Methods
There are a few ways to go about this, but for Tetraneuris scaposa, I find stem cuttings and division to be the most successful.
Method 1: Stem Cuttings
This is my go-to for multiplying my Texas Daisies.
- Take your cuttings: In the spring or early summer, select a healthy stem that’s about 3-6 inches long. Make a clean cut just below a leaf node (where a leaf attaches to the stem). You want to aim for stems that are not too soft (new growth) or too woody.
- Prepare the cutting: Gently remove the lower leaves from the stem, leaving just a couple of sets at the top. This prevents them from rotting once planted.
- Apply rooting hormone (if using): Dip the cut end of the stem into your rooting hormone, tapping off any excess.
- Plant your cutting: Fill your small pots with your well-draining soil mix. Make a small hole in the center with your finger or a pencil.
- Insert the cutting: Place the prepared cutting into the hole, ensuring the leaf nodes you removed are below the soil line. Gently firm the soil around the base of the cutting.
- Water gently: Give the soil a light watering until it’s evenly moist, but not waterlogged.
Method 2: Division
If your Tetraneuris scaposa has grown into a nice clump, division is a wonderful way to create multiples.
- Gently unpot your plant: Carefully remove the entire plant from its pot.
- Examine the root ball: You’ll likely see distinct sections or crowns.
- Separate the divisions: Using your hands or a sharp knife if necessary, carefully divide the root ball into smaller sections. Each section should have healthy roots and at least one or two shoots.
- Replant immediately: Plant each division into its own pot filled with your well-draining potting mix. Ensure the crown is at soil level.
- Water well: Water each newly planted division thoroughly.
My “Secret Sauce” Tips
Here are a couple of things I’ve learned over the years that really help boost success:
- Don’t let the leaves touch the soil: For stem cuttings, this is critical. Any leaves submerged in the soil are a prime invitation for rot. Keep them elevated and airy.
- Consider bottom heat: If you’re working with stem cuttings and have a slightly cooler environment, placing your pots on a heat mat (like those used for seeds) can really encourage root development. It mimics the warmth of spring soil.
Aftercare and Keeping an Eye Out
Once your cuttings are in the soil or your divisions are replanted, they need consistent, but not excessive, care.
- Light: Place your new plants in a bright location, but avoid direct, harsh sunlight for the first few weeks. A bit of dappled light is perfect.
- Watering: Keep the soil consistently moist but never soggy. Allow the top inch of soil to dry out slightly between waterings. For stem cuttings, misting the leaves occasionally can be beneficial.
- Patience is key! It can take anywhere from 4-8 weeks for stem cuttings to develop a good root system. You can test for roots by giving a very gentle tug; if there’s resistance, you’ve got roots!
Troubleshooting: The most common issue you’ll encounter is rot. If a cutting wilts and turns mushy, it’s likely due to overwatering or poor drainage. If this happens, try to salvage any healthy sections, clean them up, and start again with drier soil and better airflow.
Keep Growing!
Propagating Tetraneuris scaposa might take a little patience, but the rewards are so worth it. Think of all those cheerful blooms you’ll get to enjoy! Don’t be discouraged if your first attempt isn’t perfect – every gardener learns through trial and error. Just enjoy the process of nurturing new life. Happy gardening!
Resource:
https://identify.plantnet.org/k-world-flora/species/Tetraneuris%20scaposa%20(DC.)%20Greene/data