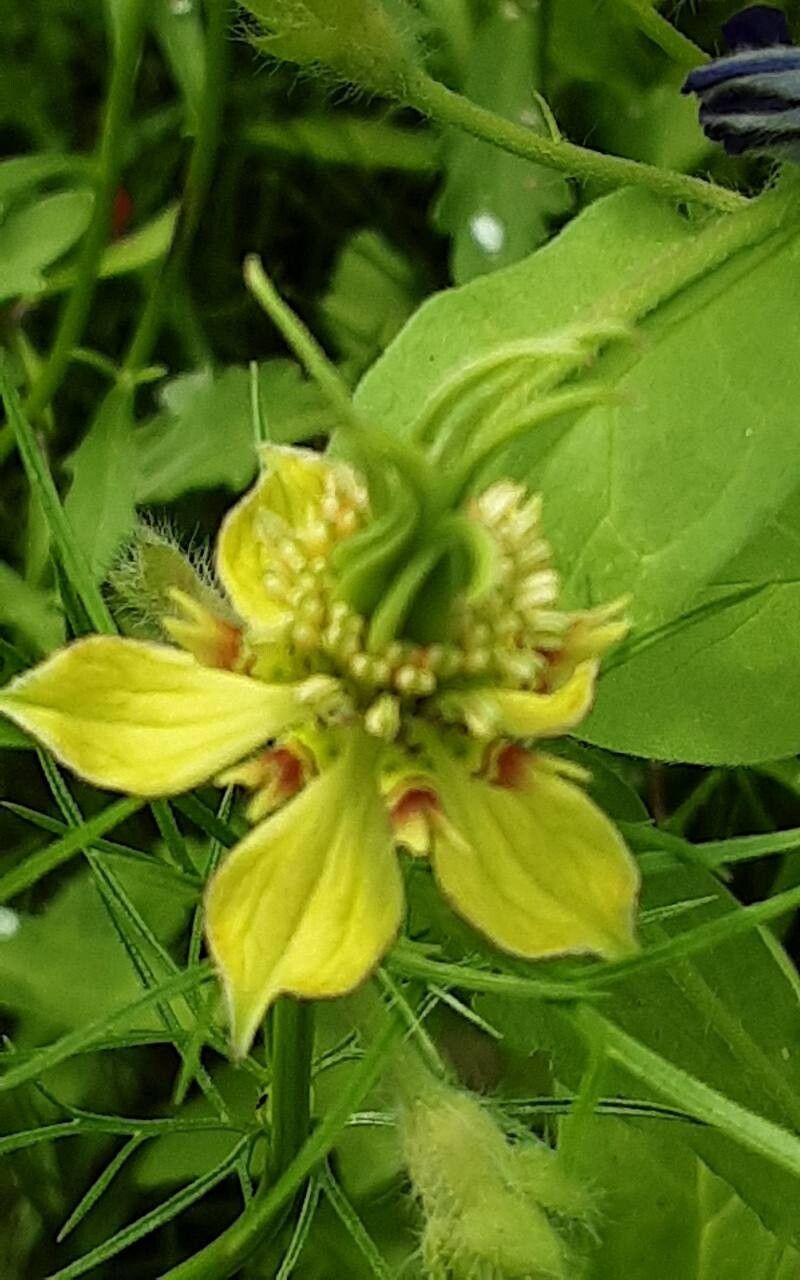
Hello, fellow plant lovers! Today, we’re diving into the delightful world of Nigella orientalis. If you’ve ever seen this beauty gracing a garden, you know it’s a showstopper. Its delicate, often architectural blooms and fascinating seed pods are simply captivating. And the best part? It’s remarkably easy to propagate. This is a fantastic plant for beginners looking to expand their green collection without too much fuss. Watching new life spring from a simple cutting or seed is one of gardening’s greatest joys, and Nigella orientalis delivers that satisfaction beautifully.
The Best Time to Start
For Nigella orientalis, the most successful propagation happens when the parent plant is actively growing. Spring is generally your golden ticket. You’ll want to take cuttings just as the plant is enthusiastic about putting on new growth. Alternatively, if you’re collecting seeds, allow the seed pods to mature and dry on the plant in late summer or early fall. That’s prime time for collecting those precious little propagules.
Supplies You’ll Need
Gathering your supplies ahead of time makes the whole process smoother. Here’s what I usually have on hand:
- Sharp, clean pruning shears or a sharp knife: Essential for making clean cuts.
- Small seed trays or pots: For starting seeds or potting up cuttings.
- A light, well-draining potting mix: I often use a mix of equal parts peat moss or coco coir, perlite, and a bit of compost. For seeds, a sterile seed-starting mix is ideal.
- Watering can with a fine rose or a spray bottle: Gentle watering is key.
- Rooting hormone (optional but helpful for cuttings): Available at most garden centers.
- Clear plastic bags or a propagator lid: To create a humid environment for cuttings.
Propagation Methods
Nigella orientalis is famously easy to propagate, primarily through seeds and cuttings.
From Seed
This is the most straightforward method.
- Collect Seeds: Once the flowers have faded, look for swollen, papery seed pods developing. Allow them to dry thoroughly on the stem until they turn brown and brittle. You can snip off the dried pods and gently shake them out into a paper bag. Store them in a cool, dry place until you’re ready to sow.
- Sow Indoors: In early spring, fill your seed trays with sterile seed-starting mix. Lightly moisten the soil. Sprinkle the seeds thinly over the surface. Do not cover them with soil, as they need light to germinate. You can gently press them into the surface instead.
- Provide Warmth and Light: Cover the tray with a clear lid or plastic wrap to maintain humidity. Place it in a warm spot, ideally around 65-70°F (18-21°C). Once seedlings appear, remove the cover and provide bright, indirect light.
- Transplant: When the seedlings are large enough to handle and have a few sets of true leaves, you can carefully transplant them into individual pots or directly into the garden after the last frost.
From Stem Cuttings
This method can be done in spring or early summer.
- Take Cuttings: Using your clean shears, take a tip cutting about 3-4 inches long from a healthy, non-flowering stem. Make the cut just below a leaf node.
- Prepare Cuttings: Gently remove the lower leaves, leaving only the top couple of leaves. If you’re using rooting hormone, dip the cut end into it.
- Pot Them Up: Fill small pots with your well-draining potting mix. Make a hole with a pencil or your finger and insert the cutting. Gently firm the soil around the base.
- Create Humidity: Water the cuttings lightly and then cover the pots with a clear plastic bag, securing it around the pot with a rubber band or a twist tie. You can also use a propagator lid. Place them in a bright spot out of direct sun.
The “Secret Sauce” (Pro Tips)
Here are a couple of things I’ve learned that really give your propagation efforts a boost:
- Bottom Heat is Your Friend for Cuttings: If you’re struggling with cuttings to root, try placing your pots on a heating mat. This gentle warmth from below encourages root development without overheating the foliage. It’s like giving those nascent roots a cozy incubator.
- Don’t Over-Water Seedlings: This is a classic beginner mistake. While seeds and cuttings need moisture, constantly soggy soil can lead to damping off, a fungal disease that can quickly kill young plants. Let the very top layer of soil dry slightly between waterings. Your spray bottle is perfect for misting the foliage of cuttings to keep them happy.
Aftercare & Troubleshooting
Once your Nigella orientalis cuttings have developed a good root system (you can gently tug on them to feel resistance, or look for roots peeking out of drainage holes), it’s time for a little extra care.
- Transitioning Cuttings: Gradually remove the plastic cover over a few days to acclimate them to drier air. Continue to water them regularly, ensuring good drainage. When they’re robust, you can transplant them into larger pots or their final garden spot.
- Troubleshooting: The most common issue you might face is rot. This is almost always due to overwatering and poor drainage. If you see stems wilting and turning mushy, it’s a sign of trouble. Discard affected cuttings immediately and ensure better air circulation and more careful watering for the remaining ones. If seeds fail to germinate, it could be due to old seed, insufficient warmth, or not enough light.
A Encouraging Closing
Don’t get discouraged if every single attempt doesn’t result in a new plant right away. Gardening is a journey of learning and observation. Be patient with your Nigella orientalis cuttings and seeds. Take joy in the process, and celebrate those little victories. Soon, you’ll have a delightful display of these captivating blooms all your own! Happy gardening!
Resource:
https://identify.plantnet.org/k-world-flora/species/Nigella%20orientalis%20L./data