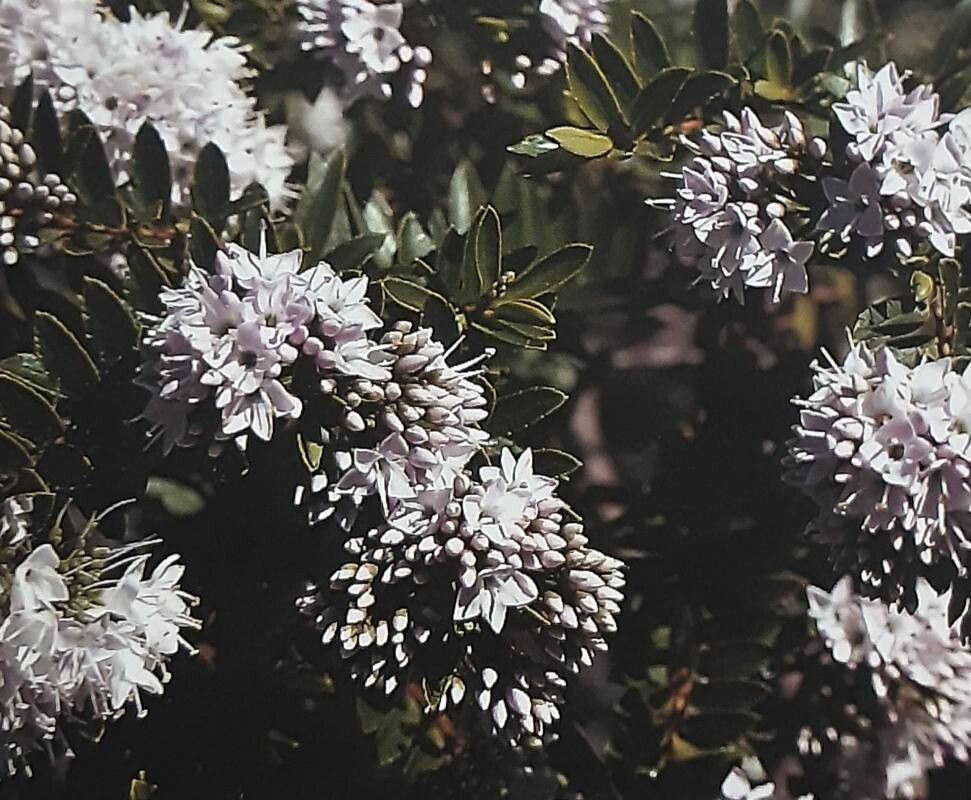
Oh, the joys of multiplying my favorite plants! Darwinia diosmoides, with its delicate, heath-like foliage and clusters of tiny, bell-shaped flowers, is such a charming addition to any garden. It brings a wonderful texture and a subtle beauty that I just adore. And the best part? You can share that beauty by propagating it yourself! Now, is it a walk in the park for absolute beginners? Honestly, it can be a little bit fussy, but with a bit of care and attention, you’ll be well on your way to success. Don’t let that deter you – it’s a truly rewarding journey to nurture a new life from a tiny cutting.
The Best Time to Start
For Darwinia diosmoides, I always find my best results come from taking cuttings in late spring or early summer. This is when the plant is actively growing, so it has plenty of energy to put into rooting. You’re looking for new, but not yet woody, growth. Think of it as semi-hardwood material – firm enough to hold its shape but still quite pliable. Avoid taking cuttings from old, woody stems or from flowers, as these won’t have the best chance of success.
Supplies You’ll Need
Getting your supplies ready is half the battle! Here’s what I always have on hand:
- Sharp pruning shears or a clean, sharp knife: Essential for making clean cuts, which is crucial for good rooting.
- Rooting hormone powder (optional but recommended): Helps give those cuttings a little boost. Not all plants need it, but for Darwinia, it can make a difference.
- Seed-starting mix or a well-draining potting mix: I like to mix my own sometimes, using about 50/50 peat moss and perlite or coarse sand. The key is excellent drainage.
- Small pots or seed trays: Clean and with drainage holes, of course!
- Plastic bags or a clear propagator lid: To create a humid environment for your cuttings.
- Watering can with a fine rose: For gentle watering.
- Labels: To keep track of what you’ve planted and when!
Propagation Methods
While Darwinia diosmoides can be a bit particular, stem cuttings are generally your most reliable method.
- Take Your Cuttings: Using your sharp shears or knife, take cuttings that are about 4-6 inches long from the current season’s growth. Make the cut just below a leaf node (where the leaves join the stem). Remove any lower leaves and any flower buds.
- Prepare the Cuttings: If you’re using rooting hormone, dip the cut end of the stem into the powder, tapping off any excess.
- Plant Your Cuttings: Fill your pots or trays with your prepared, moistened potting mix. Make small holes in the soil with a pencil or your finger. Gently insert the cuttings into the holes, ensuring the bottom leaf nodes are buried. Firm the soil gently around them.
- Create Humidity: Water the soil gently. Then, either cover the pots with a clear plastic bag (making sure the leaves don’t touch the plastic) or place them in a propagator lid. This will create a humid environment, which is key for cuttings.
The “Secret Sauce” (Pro Tips)
Over the years, I’ve learned a few tricks that really seem to help my Darwinia cuttings thrive.
- Bottom Heat is Your Friend: Darwinia diosmoides absolutely loves a bit of warmth from below. Placing your pots on a heat mat specifically designed for seedlings can significantly speed up rooting. It mimics the warm soil of spring and encourages root development. Make sure it’s not too hot, just gently warm.
- Don’t Overwater, But Keep it Moist: This is a delicate balance. The soil should feel consistently moist, but never soggy. Soggy soil is the quickest way to invite rot. I like to check the soil moisture by gently poking my finger in. If it feels dry, I water.
- Air Circulation is Important Too: While humidity is crucial, you don’t want stagnant air. I usually remove the plastic bag or propagator lid for an hour each day to allow for some air exchange. This helps prevent fungal issues.
Aftercare & Troubleshooting
Once your cuttings have rooted – you’ll know because you’ll feel resistance when you gently tug on them, or you might even see new growth appearing – it’s time for a little more attention.
Start by gradually acclimatizing them to lower humidity. This means taking off the plastic bag or propagator lid for longer periods each day. Water them from the bottom if possible, allowing the pot to soak up moisture. Once they’re truly established and showing good growth, you can transplant them into individual, slightly larger pots.
The most common problem you’ll encounter is rot. If you see a cutting turning black and mushy, it’s likely rotted. This is usually a sign of too much moisture and not enough drainage or air circulation. Don’t be discouraged! Just clean out the pot and try again, adjusting your watering and humidity levels. Sometimes, a cutting just won’t take, and that’s part of the process.
A Encouraging Closing
So there you have it! Propagating Darwinia diosmoides might take a little patience, but the reward of seeing those tiny green shoots develop into new plants is just wonderful. Enjoy the process, learn from your experience, and get ready to share these beauties with friends and family. Happy propagating!
Resource:
https://identify.plantnet.org/k-world-flora/species/Darwinia%20diosmoides%20(DC.)%20Benth./data