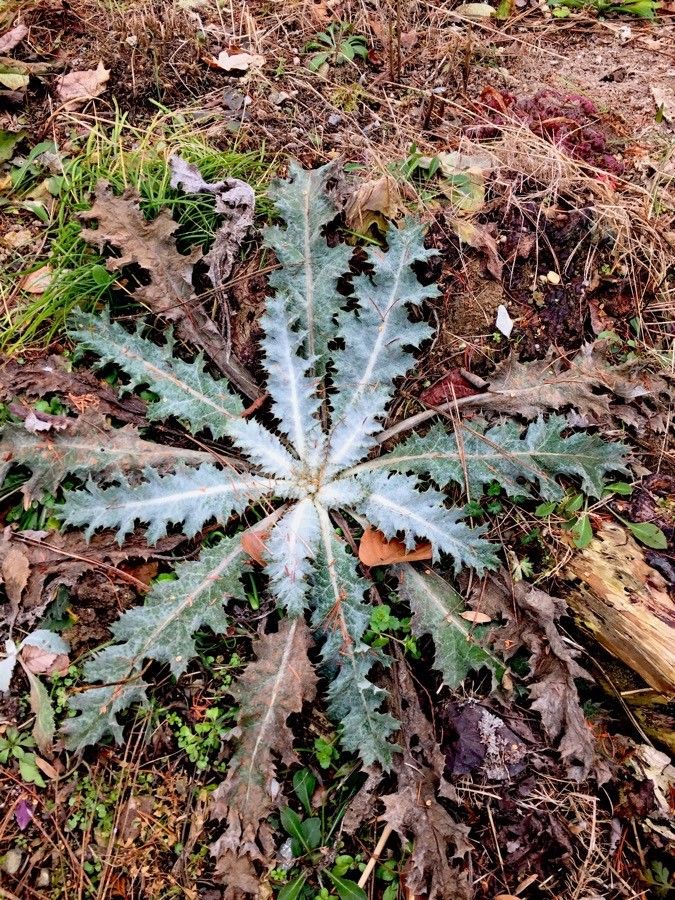
Onopordum acanthium, or Scotch Thistle, as it’s commonly called, is a plant that certainly makes a statement. Those towering, silvery-grey, spiky leaves and magnificent purple flower heads are simply breathtaking. For anyone who loves a bit of drama and striking architectural form in their garden, this is a real winner. Propagating these beauties yourself is incredibly satisfying. You get to witness that first spark of life, and honestly, it’s not as daunting as you might think. I’ve found it to be quite manageable, even for those just starting their gardening journey.
The Best Time to Start
The ideal time to get your Scotch Thistle propagation underway is late spring to early summer. This is when the plants are actively growing, and you’ll be able to take healthy cuttings from vigorous, non-flowering shoots. You can also collect seeds in the fall, but I find taking cuttings often yields a higher success rate and faster results.
Supplies You’ll Need
Here’s a little kit you’ll want to gather before you begin:
- Sharp pruning shears or a clean knife: For making neat cuts.
- Well-draining potting mix: A good blend of peat moss, perlite, and a bit of sand works wonderfully. You want something that won’t hold too much moisture.
- Rooting hormone (optional, but recommended): This little helper can really give your cuttings a boost.
- Small pots or seed trays: Clean ones, please!
- Watering can with a fine rose: To gently water your cuttings.
- Plastic bags or a propagator: To create a humid environment for your cuttings.
- Labels and a pen: To keep track of what you’ve planted where.
Propagation Methods
While you can collect seeds, I find stem cuttings to be the most reliable and rewarding method for Onopordum acanthium.
Propagating from Stem Cuttings:
- Select your source: Look for healthy, non-flowering side shoots on your mature Scotch Thistle. These are typically the most vigorous and will root best. Aim for cuttings that are about 4-6 inches long.
- Make the cut: Using your sharp pruning shears or knife, make a clean cut just below a leaf node (where a leaf attaches to the stem).
- Prepare the cutting: Remove the lower leaves from the cutting, leaving just a couple of pairs at the top. This helps prevent them from rotting in the soil. If the remaining leaves are very large, you can cut them in half to reduce water loss.
- Apply rooting hormone (if using): Dip the cut end of the stem into your rooting hormone powder or gel. Tap off any excess.
- Plant your cuttings: Fill your small pots or seed trays with your well-draining potting mix. Make a small hole in the center of the mix with your finger or a pencil.
- Insert the cutting: Gently place the prepared cutting into the hole, ensuring the leaf nodes are buried in the soil. Firm the soil gently around the base of the cutting.
- Water gently: Water thoroughly until the soil is evenly moist, but not waterlogged.
- Create humidity: This is key! Cover the pots loosely with a plastic bag or place them inside a propagator. This will create a humid environment that helps the cuttings stay hydrated until they develop roots. Make sure the leaves don’t touch the plastic bag.
The “Secret Sauce” (Pro Tips)
Here are a couple of things I’ve learned over the years that can make a big difference:
- Bottom Heat is Your Friend: If you have a heat mat or can place your cuttings in a warm spot (like on top of a refrigerator), gentle bottom heat can significantly speed up root development. It encourages the roots to start growing actively.
- Shadow and Patience: While they need warmth, direct, scorching sunlight can be too much for young cuttings. Keep them in a bright spot, but out of direct sun, especially during the hottest part of the day. And honestly, the biggest secret is patience. Don’t be tempted to pull them up too early to check for roots.
Aftercare & Troubleshooting
Once you start to see new leaf growth on your cuttings, that’s a good sign that roots have formed. You can then gently try to tug on the cutting; if there’s resistance, you’ve got roots!
- Acclimatize gradually: Once rooted, slowly acclimatize your new plants to less humid conditions. This means gradually removing the plastic bag over a few days.
- Potting up: Once your new plants are a few inches tall and have a decent root system, you can pot them up into slightly larger containers with fresh potting mix.
- Keep them moist: Continue to keep the soil evenly moist, but never soggy. Overwatering is the quickest way to invite rot, which is the most common problem you’ll encounter. If you see your cutting looking limp and mushy at the base, it’s likely rotted off. Discard it and try again, perhaps with your watering or soil mix.
A Rewarding Endeavor
Propagating Scotch Thistle is a wonderful way to fill your garden with these striking plants. It’s a process that connects you to the life cycle of these magnificent thistles. Be patient, enjoy the small victories, and don’t be discouraged if your first few attempts aren’t perfect. That’s how we learn and grow as gardeners! Happy propagating!
Resource:
https://identify.plantnet.org/k-world-flora/species/Onopordum%20acanthium%20L./data