Hello, fellow plant lovers!
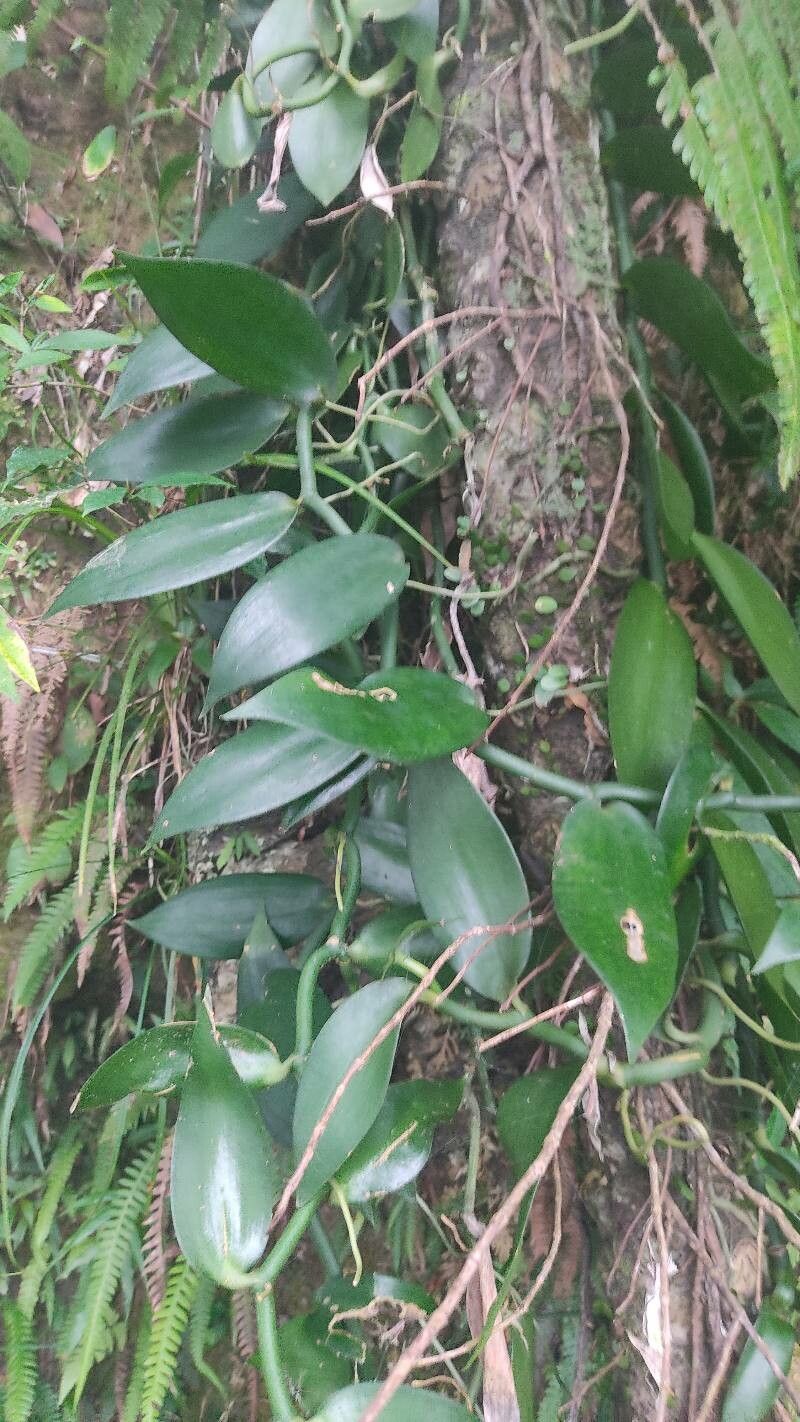
There’s something undeniably special about the Vanilla orchid, isn’t there? With its elegant, arching stems and that subtle, sweet aroma that hints at the beloved spice, it’s a plant that truly captivates. And let me tell you, coaxing a new Vanilla albida into existence from a piece of your existing one? That’s a gardening victory that feels incredibly rewarding. While some orchids can be a bit finicky, I’ve found propagating Vanilla albida to be quite manageable, even for those of you who are just starting to get your green thumbs dirty.
The Best Time to Start
For the highest chance of success, I like to start my Vanilla albida cuttings in the late spring or early summer. This is when the plant is in its most vigorous growth phase, meaning it’s got the energy to put into developing new roots. You’re essentially taking advantage of its natural desire to grow and reproduce.
Supplies You’ll Need
Here’s what I usually gather before I get my hands dirty:
- Sharp, clean pruning shears or a knife: Sterilize them with rubbing alcohol before you begin to prevent disease.
- A rooting hormone (optional but helpful): I prefer a powder form for this.
- Potting medium: A well-draining mix is key. I often use a blend of orchid bark, perlite, and a small amount of coco coir. You can also use a standard houseplant potting mix with extra perlite added.
- Small pots or containers: These should have drainage holes. Yogurt cups with holes poked in the bottom work in a pinch!
- Water: Clean, room-temperature water.
- A clear plastic bag or propagator: This helps maintain humidity.
- A spray bottle: For misting.
Propagation Methods
Vanilla albida is quite forgiving and can be propagated using a few different methods. My preferred way is through stem cuttings.
Stem Cuttings
- Find a healthy stem: Look for a mature, healthy stem that has at least two or three nodes. A node is the little bump where a leaf attaches to the stem.
- Make the cut: Using your sterilized shears, make a clean cut about an inch below a node. You want to ensure each cutting has at least one node, and ideally two.
- Prepare the cutting: Gently remove any lower leaves that might get buried in the soil, leaving just the top 1-2 leaves.
- Apply rooting hormone (optional): If you’re using rooting hormone, dip the cut end of the stem into the powder, tapping off any excess.
- Plant your cutting: Insert the cut end into your prepared potting mix, making sure at least one node is buried. Firm the soil gently around the stem.
- Water lightly: Give your cutting a gentle watering. You want the soil to be moist but not soggy.
- Create a humid environment: Place your pot inside a clear plastic bag or propagator. This creates a mini-greenhouse effect, keeping the humidity high. Make sure the leaves aren’t touching the sides of the bag if possible.
- Provide bright, indirect light: Place your cutting in a spot that gets plenty of bright, filtered light. Avoid direct sunlight, which can scorch the tender new growth.
Water Propagation (A simpler alternative!)
- Take your cutting: Follow steps 1 and 2 from the stem cutting method.
- Remove lower leaves: Just like before, take off any leaves that will sit below the water line.
- Place in water: Put your cutting in a clean jar or glass filled with room-temperature water. Crucially, ensure that the stem is submerged but the leaves remain above the water. This prevents rot.
- Find a bright spot: Place the jar in a location with bright, indirect light.
- Change water regularly: Change the water every 3-4 days to keep it fresh and prevent bacterial growth.
The “Secret Sauce” (Pro Tips)
Here are a couple of tricks I’ve learned over the years that can really give your Vanilla albida cuttings a boost:
- Don’t Drench, Mist! When propagating in soil, avoid the temptation to waterlogged the soil. Instead, I prefer to lightly mist the soil surface every few days, and mist the leaves occasionally once roots start to form. This keeps things humid without promoting rot.
- Think Warm Feet: Vanilla orchids absolutely love a bit of warmth at their roots. If you’re struggling with rooting, consider placing your potted cuttings on a seedling heat mat. It makes a remarkable difference in speeding up root development. Just set it to a low setting so it’s gently warm to the touch, not hot.
Aftercare & Troubleshooting
Once you start to see signs of new growth – tiny new leaves or even tentative roots pushing through the drainage holes – congratulations! You’ve got a new baby Vanilla albida.
- Gradually Acclimate: If you used a plastic bag, start by opening it for a few minutes each day, gradually increasing the time over a week. This helps the plant adjust to lower humidity.
- Watering: Continue to keep the potting mix consistently moist but not soggy. As the plant grows, you can water it more thoroughly, letting the top inch of soil dry out between waterings.
- Potting Up: When your new plant has several leaves and a decent root system, it’s time to pot it up into a slightly larger container with fresh potting mix.
Now, what if things don’t go as planned? The most common issue is rot, where the stem turns black and mushy. This is usually a sign of too much moisture and not enough air circulation. If you see this, unfortunately, that cutting is likely lost. The best thing to do is to discard it immediately to prevent the rot from spreading. Another sign of trouble can be yellowing leaves on a cutting that hasn’t yet rooted; this might mean it’s not getting enough light or the water is stagnant.
A Little Patience Goes a Long Way
Growing new plants takes time and a bit of Mother Nature’s magic. Don’t get discouraged if your first attempt isn’t perfect. Each cutting is a learning experience. Enjoy the process, celebrate the small successes, and before you know it, you’ll have a beautiful new Vanilla albida to admire and share! Happy propagating!
Resource:
https://identify.plantnet.org/k-world-flora/species/Vanilla%20albida%20Blume/data