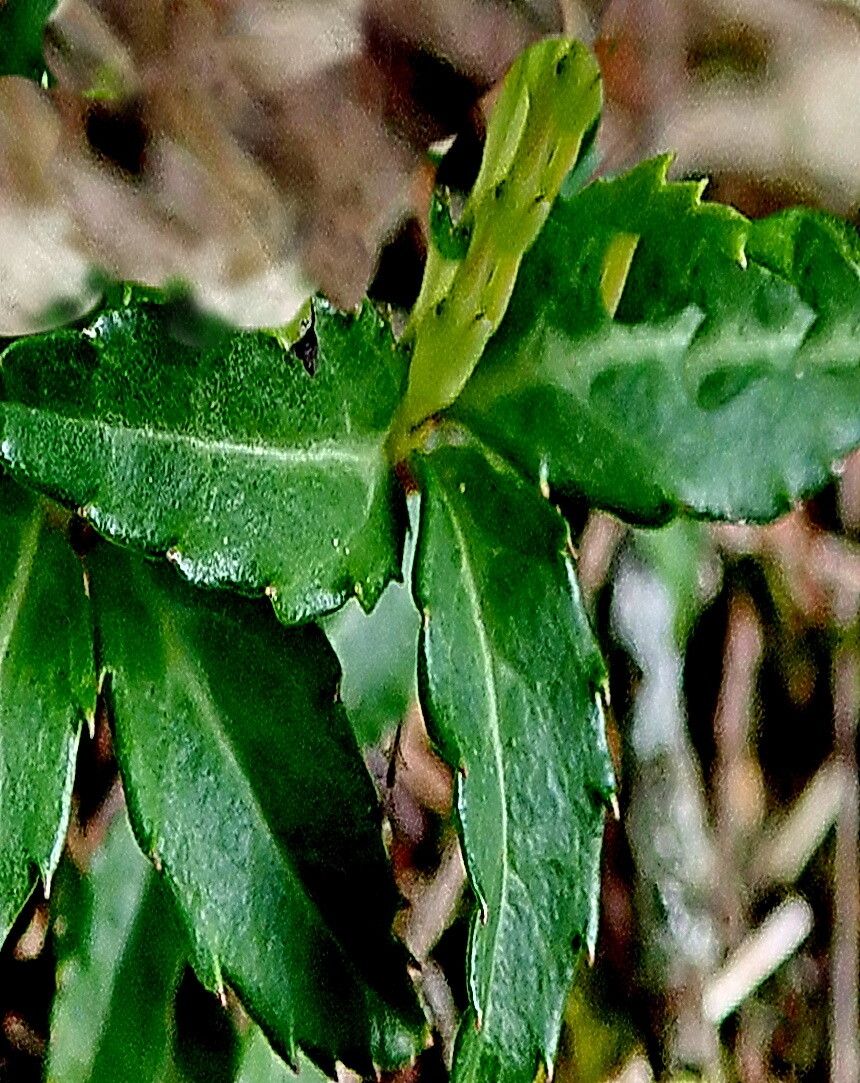
Hey there, fellow plant lovers! If you’ve ever been captivated by the delicate beauty of Chimaphila japonica, also known as Japanese Pipsissewa or Wintergreen, you’re in for a treat. This sweet little woodland gem, with its glossy evergreen leaves and dainty, nodding pinkish-white flowers, brings a whisper of the forest floor right into our gardens. Propagating it can feel like a bit of a horticultural treasure hunt, and I’ll be upfront – it’s not the easiest plant for absolute beginners to start with. But don’t let that discourage you! With a little patience and a few key techniques, you can absolutely succeed in growing more of this charming groundcover. The joy of seeing a tiny cutting mature into a thriving plant is truly special.
The Best Time to Start
For Chimaphila japonica, the sweet spot for propagation is late spring to early summer. This is when the plant is actively growing, and its stems have hardened off a bit from their initial spring flush. You’re looking for new growth that has started to firm up – not the super soft, floppy new shoots, but also not the woody, old stems. Think of it as that perfect stage where a branch is still flexible but has a bit of substance to it.
Supplies You’ll Need
Gathering your supplies beforehand makes the whole process smoother. Here’s what you’ll want to have on hand:
- Sharp, clean pruning shears or a sharp knife: For making clean cuts. Sterilize them with rubbing alcohol between cuts!
- Rooting hormone (optional, but recommended): A powdered hormone can give your cuttings a real boost.
- Well-draining potting mix: A good blend I love is 1 part peat moss or coco coir, 1 part perlite, and 1 part fine bark fines. You want excellent aeration.
- Small pots or trays: Clean pots are essential to prevent disease.
- Plastic bags or a propagation dome: To create a humid environment.
- Labels: To keep track of what you’ve planted and when.
Propagation Methods
While Chimaphila japonica can be propagated by seed, it’s incredibly slow and often has low germination rates. The most reliable and rewarding method for most home gardeners is stem cuttings. Division is also possible if you have an established clump, but cuttings are usually the way to go for increasing your plants.
Stem Cuttings:
- Select your softwood cuttings: As I mentioned, look for stems from late spring or early summer that are semi-hardwood. You want to be able to snap a stem cleanly, not bend it.
- Take your cuttings: Using your sterilized shears, cut sections of stem that are about 3-4 inches long. Make your cut just below a leaf node (where a leaf emerges from the stem).
- Prepare the cuttings: Gently remove the lower leaves from the cutting, leaving just 1-2 sets of leaves at the top. This prevents the leaves from rotting when buried.
- Apply rooting hormone (optional): Dip the cut end of the stem into your rooting hormone, tapping off any excess.
- Insert into the medium: Make a small hole in your prepared, moistened potting mix with a pencil or your finger. Carefully insert the cutting, ensuring the leaf node that was buried is now in contact with the soil. Gently firm the soil around the stem.
- Create humidity: Water the potting mix gently to settle it. Then, cover the pots with a clear plastic bag or a propagation dome, making sure the leaves don’t touch the plastic if possible. You can use stakes to hold the bag up.
- Place in bright, indirect light: Find a warm spot that receives bright, filtered light. Avoid direct sun, which can scorch your delicate cuttings.
- Be patient! Rooting can take anywhere from 6 weeks to several months. Check the moisture of the soil regularly, keeping it consistently damp but not waterlogged. You can gently tug on a cutting after a few months; if there’s resistance, roots are forming.
The “Secret Sauce” (Pro Tips)
Here are a couple of little tricks I’ve learned over the years that can make a big difference:
- Don’t let the leaves touch the water: If you’re using an open flat with frequent misting, or if your humidity dome isn’t perfectly sealed, ensure leaves aren’t sitting in stagnant water. This is a fast track to fungal issues and rot. Misting is great, but consistent, damp soil is key.
- Bottom heat is your friend: Chimaphila japonica roots best with a little warmth from below. If you have a seedling heat mat, placing your pots on it can significantly speed up root development. Just make sure the heat isn’t too intense – aim for consistently warm soil, not hot.
Aftercare & Troubleshooting
Once you see signs of root development – a gentle tug offering resistance, or even new leaf growth on your cutting – it’s time to start acclimatizing it to normal conditions. Gradually remove the plastic covering over a week or two. Continue to keep the soil consistently moist. Mist occasionally if the air is very dry.
The most common problem you’ll encounter is rot. This looks like blackened, mushy stems, usually at the soil line. It’s almost always a sign of too much moisture and poor air circulation. If this happens, unfortunately, the cutting is likely a goner. You can try taking more cuttings and ensuring your potting mix is extra free-draining and that you’re not overwatering. Sometimes, a bit of rot can be salvaged if caught early by trimming away the affected part with a sterile knife and repotting into fresh, drier medium, but it’s a tough recovery.
A Encouraging Closing
Propagating Chimaphila japonica is a journey of learning and observation. Don’t be discouraged if your first attempts aren’t wildly successful. Each plant you try to propagate teaches you something new. Be patient, enjoy the process of nurturing these tiny beginnings, and celebrate every little success. Happy gardening!
Resource:
https://identify.plantnet.org/k-world-flora/species/Chimaphila%20japonica%20Miq./data