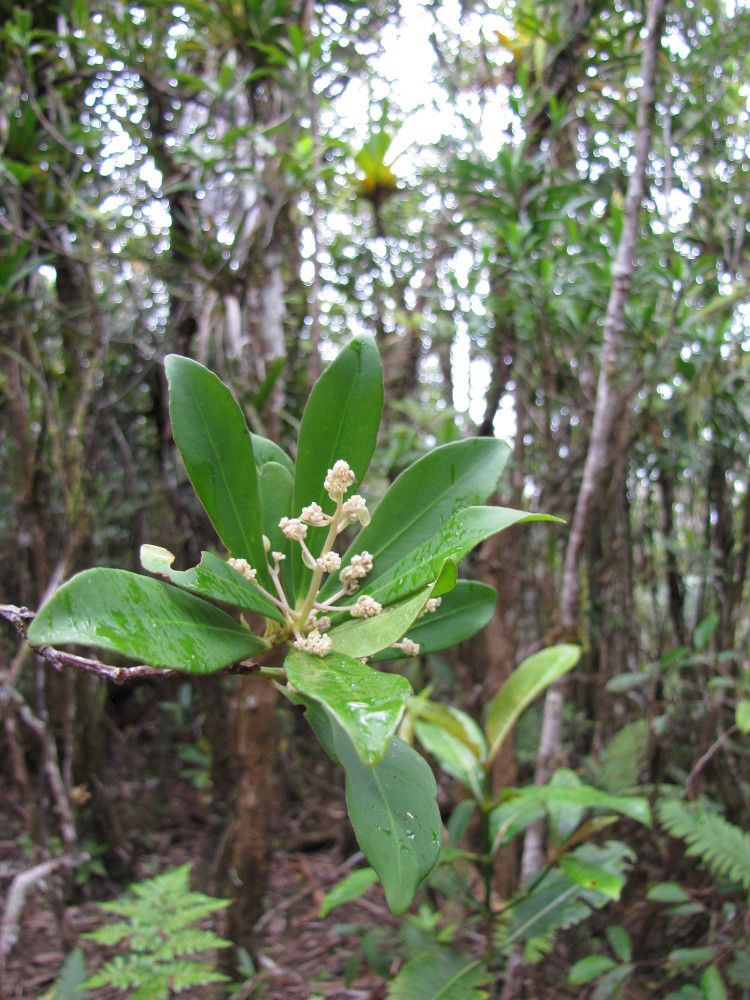
Hello fellow plant enthusiasts! If you’ve ever admired the glossy, architectural leaves of Tapeinosperma glandulosum, you’re not alone. This beauty adds a touch of the tropics to any space, and the satisfaction of coaxing new life from a single mature plant is truly something special. Think of it as adding to your plant family, one tiny root at a time!
Now, I won’t sugarcoat it. Tapeinosperma glandulosum can be a bit of a diva when it comes to propagation. It’s not the easiest plant for a complete beginner to start with, but with a little patience and the right approach, it’s absolutely achievable. And trust me, the rewards are well worth the effort!
The Best Time to Start
For these beauties, spring is generally your sweet spot. Once the plant has bounced back from winter and is showing active, new growth, it’s gearing up to produce those healthy cuttings. Think of it as nature’s cue for multiplication! Waiting until active growth is underway is key for the highest success rate.
Supplies You’ll Need
Before we get our hands dirty, let’s gather our tools:
- Sharp, clean pruning shears or a sharp knife: Essential for making clean cuts.
- Rooting hormone powder or gel: This is your best friend for encouraging robust root development.
- Well-draining potting mix: I like a blend of peat moss, perlite, and a bit of orchid bark.
- Small pots or trays: Clean ones, please!
- Plastic bag or clear plastic dome: To maintain humidity.
- Watering can with a fine rose: Gentle watering is important.
- Optional: Heating mat: Can significantly speed up rooting, especially in cooler conditions.
Propagation Methods
When it comes to Tapeinosperma glandulosum, stem cuttings are the most reliable method I’ve found.
- Select Your Cuttings: Look for healthy, non-flowering stems that are at least 4-6 inches long. They should be firm but not woody. Make your cuts just below a leaf node (where a leaf attaches to the stem). This is where the magic happens for root formation.
- Prepare the Cuttings: Gently remove the lower leaves from the cutting, leaving just a few at the top. If the leaves are very large, you can even cut them in half to reduce water loss.
- Apply Rooting Hormone: Dip the cut end of the stem into your rooting hormone, tap off any excess.
- Plant Your Cuttings: Fill your small pots or trays with your well-draining potting mix. Make a little hole in the center with your finger or a pencil and carefully insert the cutting. Firm the soil gently around it.
- Create a Humid Environment: This is crucial! Water the soil thoroughly until it begins to drain from the bottom. Then, cover the pot with a plastic bag or a clear dome. You want to create a mini-greenhouse.
- Provide Light and Warmth: Place your cuttings in a bright spot that receives indirect sunlight. If you have a heating mat, place the pots on top of it. This warmth from below really encourages root growth.
The “Secret Sauce” (Pro Tips)
Here are a couple of things I’ve learned over the years that can make a big difference:
- Don’t let the leaves touch the water if trying water propagation (though I prefer soil for this plant). If you are tempted to try water propagation at all, make sure that only the stem is submerged and not the leaves. Rot can set in quickly if leaves are constantly in water. For Tapeinosperma, I find this even more critical.
- Bottom heat is your best friend. I cannot stress this enough, especially for plants that can be a little slow to root. A gentle, consistent warmth from below mimics spring soil temperatures and provides the energy the cutting needs to focus on root development rather than just staying alive.
Aftercare & Troubleshooting
Once your cuttings are planted, keep that soil consistently moist but not soggy. Check the humidity daily and mist the inside of the plastic bag if needed. You should start to see new growth, like tiny leaves unfurling, within a few weeks. Gently tug on a cutting – if there’s resistance, you have roots!
The most common sign of failure is rot. If your cutting turns black and mushy, it’s a sign of too much moisture and not enough air circulation. Remove it immediately to prevent it from affecting other cuttings. If a cutting wilts and fails to perk up after watering, it might not have rooted. Don’t be discouraged; just try again!
A Little Patience Goes a Long Way
Propagating plants is a journey, and with Tapeinosperma glandulosum, it might be a slightly longer one. But watching those tiny roots develop and unfurl into a brand-new plant is an incredibly rewarding experience. Be patient, observe your cuttings, and don’t be afraid to experiment. Happy propagating!
Resource:
https://identify.plantnet.org/k-world-flora/species/Tapeinosperma%20glandulosum%20Guillaumin/data