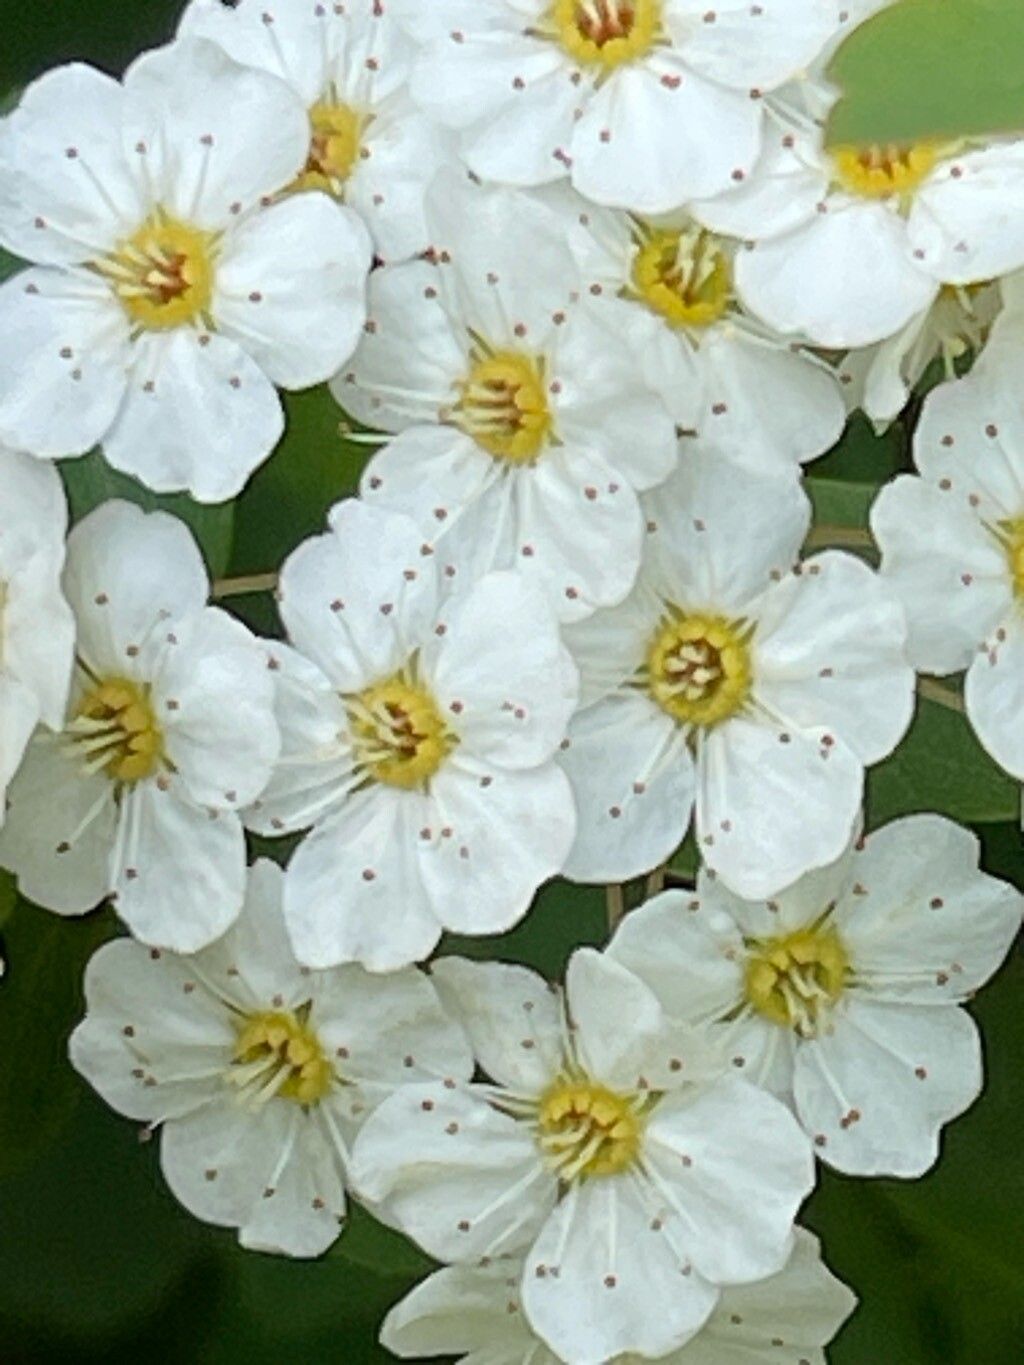
Oh, hello there! Come on in, grab a mug. Let’s talk about Spiraea. You know, those lovely little shrubs that burst with delicate white flowers. I’ve always had a soft spot for Spiraea chamaedryfolia, the germander speedwell – it’s got such a charming, old-fashioned feel to it. Watching a new plant emerge from something small and seemingly insignificant is just one of those quiet joys, isn’t it? And the best part? Spiraea are wonderfully obliging when it comes to making more of them. If you’re new to propagating, you’ll be happy to know this one is quite forgiving.
The Best Time to Start
For Spiraea, I find the sweet spot for taking cuttings is late spring to early summer. This is when the new growth is semi-hardened – meaning it’s not brand new and floppy, but not yet tough and woody. This “softwood” stage has just the right balance of flexibility and resilience to root successfully. You want stems that bend rather than snap.
Supplies You’ll Need
Here’s what I keep handy:
- Sharp Pruning Shears or a Knife: Clean cuts are key. I always sterilize mine with rubbing alcohol before I start.
- Rooting Hormone (Optional but Recommended): A light dusting can give your cuttings a real boost.
- Potting Mix: A good, well-draining mix is crucial. I like to use a blend of equal parts peat moss, perlite, and coarse sand. You can also buy pre-made propagation mixes.
- Small Pots or Trays: Clean containers with drainage holes are a must.
- Plastic Bags or a Clear Lid: This will help create a humid environment.
- Water: For hydrating your cuttings and for water propagation.
Propagation Methods
There are a couple of ways we can coax a new Spiraea into existence.
Stem Cuttings (My Go-To)
- Select Your Stems: Look for healthy, non-flowering shoots on your established plant. Aim for pieces about 4-6 inches long.
- Make the Cut: Using your sharp, clean shears, make a cut just below a leaf node (that little bump where a leaf attaches to the stem). This is where the rooting magic happens!
- Prepare the Cutting: Gently remove the lower leaves, leaving just a couple at the very top. If the leaves are still quite large, I might even snip them in half to reduce water loss.
- Dip in Rooting Hormone: If you’re using rooting hormone, dip the cut end into the powder. Tap off any excess.
- Pot Them Up: Fill your clean pots with your prepared potting mix. Water it thoroughly so it’s moist but not waterlogged.
- Insert the Cuttings: Make a hole in the soil with a pencil or your finger and gently insert the cutting, ensuring the bottom leaf nodes are buried. Firm the soil around it.
- Create the Humid Environment: Water the soil lightly again, then cover the pot with a clear plastic bag, secured with a rubber band, or place it in a propagator with a lid. This traps humidity, which is vital for cuttings.
- Find a Bright, Indirect Spot: Place your pots in a location that receives bright, indirect light. Avoid direct sun, as it can scorch the delicate leaves.
Water Propagation (Simple and Satisfying)
This method works well too, and it’s so visually rewarding!
- Take Cuttings: Follow steps 1 and 2 from the stem cutting method.
- Prepare the Cuttings: Remove all the lower leaves.
- Place in Water: Put the cuttings in a clean jar or glass filled with fresh water.
- Positioning is Key: Make sure no leaves are submerged in the water. Any leaves sitting in the water will just rot and can infect the whole cutting. It’s best if the leaf nodes are just above the water line.
- Change the Water Regularly: I like to change the water every couple of days to keep it fresh and prevent bacterial growth.
- Wait for Roots: You’ll start to see tiny white roots emerging from the submerged nodes. Once these roots are about an inch long, they’re ready to be transplanted into soil using the potting method described above.
The “Secret Sauce” (Pro Tips)
- Bottom Heat is Your Friend: If you have a heated propagator or can place your pots on a heat mat, it can significantly speed up root development. Those roots love a bit of warmth from below!
- Don’t Disturb Too Soon: Resist the urge to yank on your cuttings to check for roots. You’ll likely damage any delicate new growth. Wait at least 3-4 weeks before gently tugging to feel for resistance. A better indicator is new leaf growth.
- Misting the Leaves: Especially if you’re not using a fully enclosed propagator, mist the leaves of your cuttings lightly once a day with plain water. This helps keep them hydrated while they’re waiting to develop their own root system.
Aftercare & Troubleshooting
Once you see signs of new growth – tiny leaves unfurling or the cutting resisting a gentle tug – that’s a good sign roots are forming! Gradually introduce your new plants to less humid conditions by opening the plastic bag a little each day for a week. Once they’re growing happily, you can water them as you would any other young shrub. Keep the soil consistently moist but not soggy.
The biggest hurdle you might face is rot. If you see mushy, black stems or leaves, it’s usually a sign of too much moisture and not enough air circulation. Ensure your pots have good drainage, and don’t let the cuttings sit in standing water. If you catch rot early, you might be able to salvage healthy parts by taking new cuttings.
A Little Patience, A Lot of Reward
See? Not so daunting, is it? Propagating Spiraea is a wonderful way to fill your garden with these charming blooms or to share with fellow gardening friends. Be patient with the process. Some cuttings will take root faster than others, and that’s perfectly normal. Just keep them happy, keep them humid (at first!), and soon enough, you’ll be admiring your very own baby Spiraea. Happy propagating!
Resource:
https://identify.plantnet.org/k-world-flora/species/Spiraea%20chamaedryfolia%20L./data