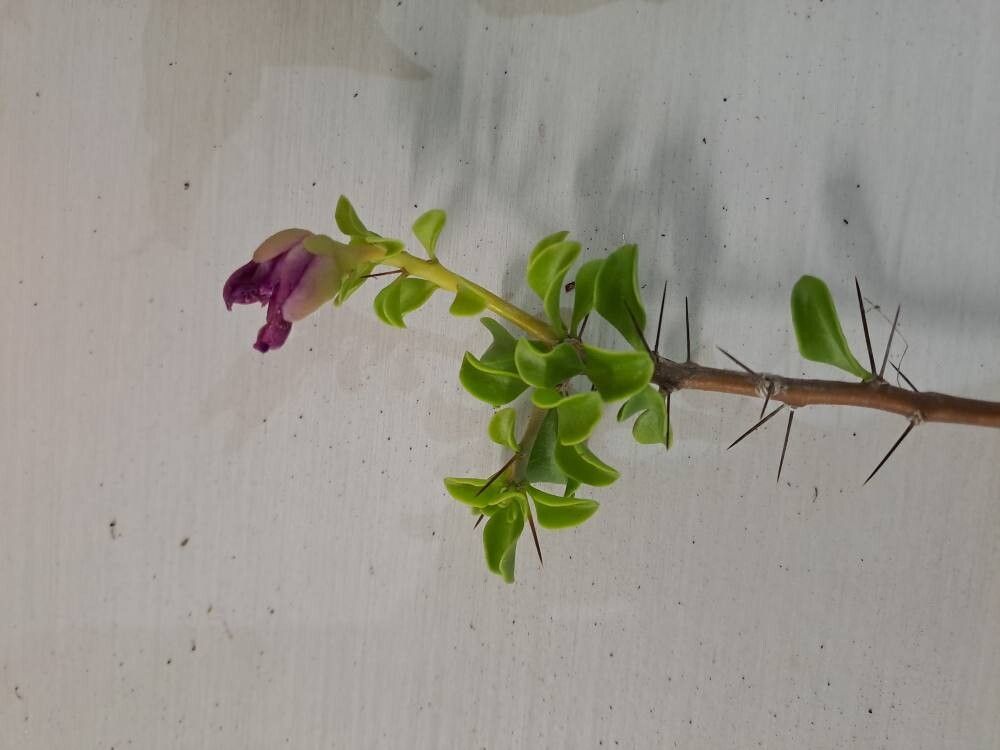
Hello, fellow garden enthusiasts! Today, we’re diving into the wonderful world of propagating Leuenbergeria portulacifolia, a plant that has truly captured my heart over the years. Its architectural form and lovely, sometimes fragrant, flowers make it a standout in any collection. And the best part? It’s a joy to share its beauty by creating new plants from your existing ones. If you’re new to the gardening game, don’t worry – this one is quite forgiving, making it a fantastic starting point for propagation adventures.
The Best Time to Start
For me, the sweet spot for propagating Leuenbergeria portulacifolia is during its active growing season. Think late spring through summer. This is when the plant has plenty of energy reserves to put into developing roots. You can take cuttings anytime during this period, but I find starting just as things are really heating up gives them an extra boost.
Supplies You’ll Need
Gathering your tools beforehand always makes the process smoother. Here’s what I keep handy:
- Sharp, clean pruning shears or a sharp knife: Essential for making clean cuts.
- Rooting hormone (optional but recommended): A little dip can speed things up.
- Well-draining potting mix: I like to use a cactus/succulent mix or create my own by combining potting soil with perlite or coarse sand.
- Small pots or trays: Clean containers are a must to prevent disease.
- Watering can or spray bottle: For gentle watering.
- Labels and a marker: So you don’t forget what you’ve propagated!
Propagation Methods
Leuenbergeria portulacifolia is pretty versatile, but my go-to method is stem cuttings. It’s reliable and yields great results.
Stem Cuttings:
- Select a healthy stem: Look for a mature, but not woody, stem on your parent plant. Aim for a section that has at least a few sets of leaves.
- Take the cutting: Using your sharp shears or knife, make a clean cut just below a leaf node. This is where roots are most likely to form. You want cuttings that are about 4-6 inches long.
- Prepare the cutting: Gently remove the lower leaves from your cutting. If the cutting is very long, you can reduce the size of the remaining leaves by cutting them in half. This helps reduce water loss.
- Apply rooting hormone (optional): Dip the cut end of the stem into rooting hormone, tapping off any excess.
- Plant the cutting: Fill your small pots with your well-draining potting mix. Make a small hole in the center with your finger or a pencil. Insert the cut end of the stem into the hole, ensuring the leaf nodes are below the soil surface. Gently firm the soil around the cutting.
- Water lightly: Water the soil thoroughly but gently. You want it moist, not soggy.
The “Secret Sauce”
Here are a few tricks I’ve learned over the years that really make a difference:
- Let cuttings callous: Before planting, I like to let newly taken cuttings sit for a day or two in a dry, shady spot. This allows the cut end to form a dry callus, which can help prevent rot and encourage rooting.
- Humidity is your friend: While you don’t want to suffocate your cuttings, a little humidity goes a long way. I often place cuttings in a clear plastic bag that’s loosely tented over the pot for a few weeks. Just make sure to open it for a bit of air circulation every few days.
- Bottom heat can be a game-changer: If you live in a cooler climate or are propagating in cooler months, placing your pots on a heat mat designed for seedlings can significantly speed up root development.
Aftercare & Troubleshooting
Once your cuttings are planted, place them in a bright, indirect light location. Avoid direct sunlight, which can scorch them. Water sparingly, allowing the soil to dry out slightly between waterings. You’re looking for that sweet spot of consistently moist, not waterlogged.
You’ll know your cuttings have rooted when you see new growth emerging or when you gently tug on the cutting and feel resistance. This can take anywhere from a few weeks to a couple of months.
The most common issue is rot. If you see your cutting turning mushy or black, it’s usually a sign of too much moisture or insufficient drainage. Unfortunately, rotted cuttings are usually a lost cause. The best prevention is excellent drainage and careful watering.
A Little Patience, Please!
Propagating plants is a rewarding journey, and Leuenbergeria portulacifolia is a wonderful specimen to practice on. Don’t get discouraged if not every cutting takes. Gardening is all about learning and experimenting. So, get your hands dirty, enjoy the process of nurturing new life, and soon you’ll have a whole collection of these beauties! Happy growing!
Resource: