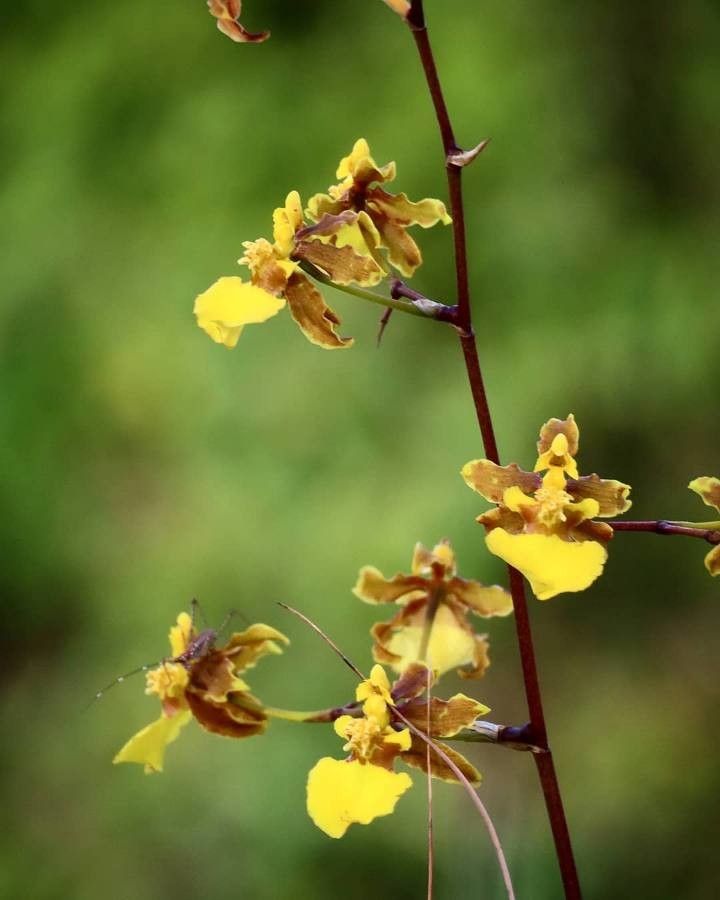
Oh, hello there! It’s so lovely to have you join me. Today, we’re diving into the wonderful world of Oncidium ensatum, also affectionately known as the Mexican Dancing Lady orchid. Its delicate, cascading blooms are a true spectacle, bringing a touch of ethereal beauty to any space. And the best part? You can multiply that joy by propagating your own!
While orchids can sometimes feel a bit intimidating, Oncidium ensatum is actually quite forgiving. I’d say it’s on the moderately easy side when it comes to propagating, especially if you’re willing to give it a little TLC. It’s incredibly rewarding to nurture a tiny division into a magnificent specimen, watching it bloom year after year.
The Best Time to Start
Timing, as they say, is everything in gardening. For Oncidium ensatum, the late spring or early summer is your sweet spot. This is when the plant is actively growing and has the most energy reserves to bounce back from division and produce new roots. Look for a plant that has finished flowering and is showing signs of new growth, like a fresh pseudobulb or a developing leaf.
Supplies You’ll Need
Gathering your tools before you begin will make the process so much smoother. Here’s what you’ll want to have on hand:
- Sharp, sterile pruning shears or a clean knife: For making precise cuts. Sterilizing is key to preventing disease transfer.
- Orchid potting mix: A well-draining mix is crucial. I prefer a blend of bark chips, perlite, and a bit of sphagnum moss. You can buy pre-made orchid mixes or create your own.
- New pots or community trays: Clean and appropriately sized for your divisions.
- Optional: Rooting hormone: While Oncidium ensatum doesn’t always need it, a little can give your new divisions a helpful boost. Look for a powdered or gel form specifically for orchids.
- Watering can or mister: For gentle hydration.
- Patience and a positive attitude!
Propagation Methods: Division is Best!
For Oncidium ensatum, the most reliable and successful method of propagation is division. This is when you separate a mature plant into smaller sections, each with its own healthy roots and pseudobulbs.
Here’s how I like to do it:
- Gently remove the orchid from its pot. If it’s tightly wedged, a gentle squeeze around the sides of the pot might help.
- Carefully remove as much of the old potting mix as you can from the roots. You want to see the structure of the rhizome (the thick, horizontal stem from which new growths emerge).
- Inspect the plant. Look for natural separation points. Healthy divisions should ideally have at least two to three pseudobulbs and a good network of roots attached. If the rhizome is long, you can cut it between pseudobulbs.
- Using your sterile shears or knife, make a clean cut through the rhizome to separate your divisions. Ensure each division has a good root system and healthy-looking pseudobulbs.
- Remove any dead or damaged leaves or roots. This helps the plant put its energy into new growth.
- Allow the cut surfaces to air dry for a day or two. This is a really important step! It helps to form a callus and prevent rot when you repot. You can place the divisions on a paper towel in a dry, shaded spot.
- Pot up your divisions. Place each division in its new pot, tucking the potting mix around the roots. The pseudobulbs should be sitting on top of the mix, not buried. Make sure the division is stable.
The “Secret Sauce” (Pro Tips)
Over the years, I’ve learned a few tricks that can really make a difference:
- Don’t over-pot. It’s tempting to put a tiny division in a large pot, but this can lead to the potting mix staying too wet for too long, which is the quickest way to rot. Use pots that are just big enough for the current root system.
- Bottom heat is your friend. Especially if your home or greenhouse is a bit on the cooler side, placing your newly potted divisions on a gentle seedling heat mat can significantly encourage root development. Just a low, consistent warmth can work wonders.
- Think about humidity, not constant saturation. While new divisions need a bit more humidity, drenching them is a mistake. I often place them in a slightly more humid part of my grow area, perhaps near a humidifier, or even tent them loosely with a clear plastic bag, making sure to open it daily for air circulation.
Aftercare & Troubleshooting
Once your divisions are potted, keep them in bright, indirect light and water them only when the potting mix is starting to dry out. You’ll want to be a bit more cautious with watering initially. Misting the leaves can provide some humidity, but avoid letting water sit in the crown of the pseudobulbs.
The most common issue you’ll encounter is root rot, often caused by overwatering or insufficient drainage. You might see the pseudobulbs start to shrivel and turn mushy, or the leaves may yellow and drop off prematurely. If you suspect rot, unpot the division immediately, trim away any rotted roots, let it air dry for a few days, and repot in fresh, dry mix.
New root growth is your best indicator of success! It might take a few weeks, so be patient. You’ll often see tiny, green root tips emerging from the base of the pseudobulbs.
Happy Growing!
Propagating Oncidium ensatum is a journey, and like all good horticultural adventures, it requires a dash of patience. Watching those new roots emerge and eventually seeing your division bloom is pure magic. So get your hands dirty, embrace the process, and enjoy the incredible satisfaction of multiplying your orchid collection. Happy growing!
Resource:
https://identify.plantnet.org/k-world-flora/species/Oncidium%20ensatum%20Lindl./data