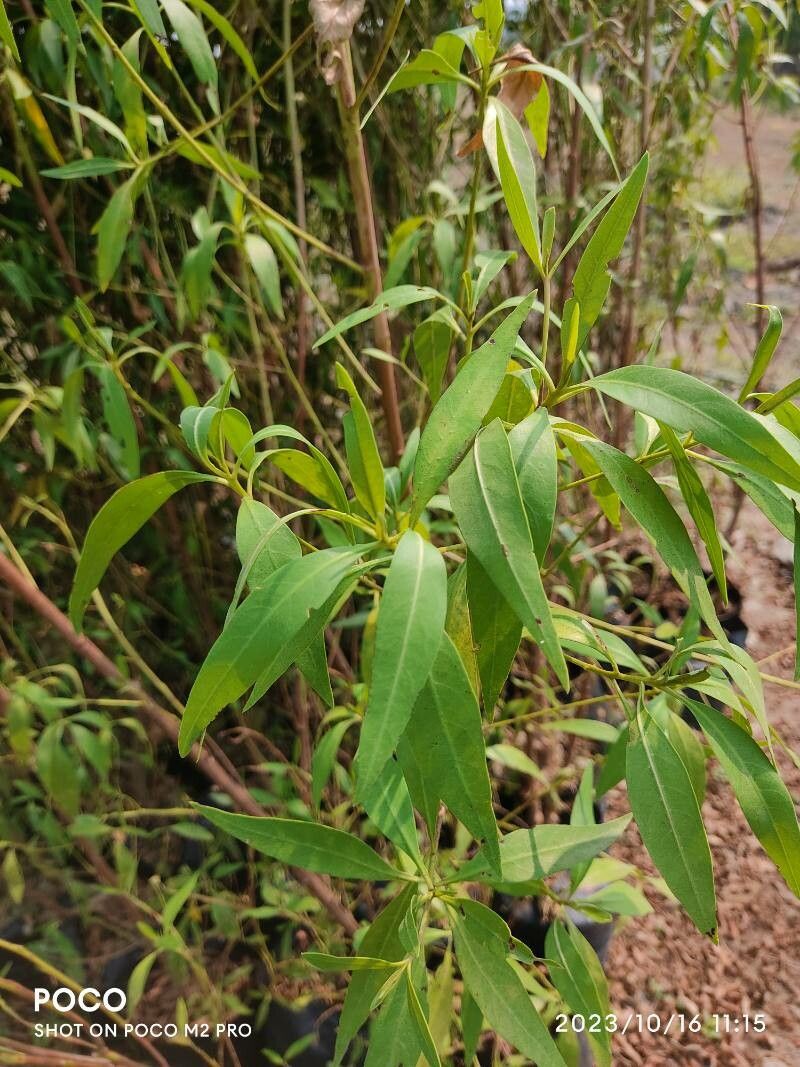
Oh, hello there! Grab a cuppa, and let’s chat about coaxing more of those gorgeous Conocarpus lancifolius into your garden. I’ve spent two decades with plants, and even after all this time, there’s a special kind of magic in growing something from a tiny cutting. Conocarpus, with its lovely silvery foliage and graceful form, is a real stunner. Propagating it yourself? Well, that’s the ultimate satisfaction – creating new life with your own hands!
For beginners, I’d say Conocarpus is moderately easy. It’s not as forgiving as some of the succulents, but with a little attention and the right approach, you’ll be rewarded with success.
The Best Time to Start
When it comes to Conocarpus, the sweet spot for propagation is during its active growing season. Think late spring through summer. This is when the plant has plenty of energy to push out roots. You’ll want to select stems that are firm but not overly woody. Tender, floppy growth usually won’t make the cut.
Supplies You’ll Need
Before we dive in, let’s make sure you’re prepped. Having everything ready makes the whole process smoother:
- Sharp pruning shears or a clean knife: For taking clean cuts.
- Rooting hormone: A powder or gel really boosts your chances.
- A well-draining potting mix: I like a blend of peat moss, perlite, and a little sand. Coconut coir works beautifully too.
- Small pots or trays: With drainage holes, of course!
- A plastic bag or propagation dome: To create a mini-greenhouse.
- Watering can with a fine rose: For gentle watering.
- Optional: Bottom heat mat: This can significantly speed things up.
Propagation Methods
I find that stem cuttings are the most reliable way to go with Conocarpus. It’s straightforward and generally yields the best results.
Stem Cuttings: Your Best Bet
- Select Your Cuttings: Look for healthy, semi-ripe stems. These are typically found on new growth that has started to firm up. Aim for cuttings that are about 4-6 inches long.
- Make the Cut: Using your sharp pruning shears or knife, take a clean cut just below a leaf node. A leaf node is where a leaf attaches to the stem, and it’s often where roots will emerge.
- Prepare the Cutting: Gently remove the lower leaves, leaving just a couple at the very top. You don’t want leaves dangling in the soil or water, as they’ll just rot.
- Dip in Rooting Hormone: Lightly moisten the cut end of the stem and then dip it into your rooting hormone powder or gel. Tap off any excess.
- Pot Them Up: Fill your pots with your well-draining potting mix. Make a hole with your finger or a pencil and insert the cutting. Gently firm the soil around the stem to ensure good contact.
- Water and Cover: Water thoroughly but gently. Then, place your pots into a plastic bag or cover them with a propagation dome. This keeps humidity high, which is crucial for root development.
The “Secret Sauce” (Pro Tips)
Now, for a couple of little tricks I’ve picked up over the years:
- Don’t Overcrowd: Even with a bunch of cuttings, give them a bit of space. Overcrowding can lead to poor air circulation and fungal issues. I usually pop 2-3 cuttings per small pot.
- Bottom Heat is King:Seriously, if you can swing it, put your pots on a gentle bottom heat mat. It mimics the warmth of the soil in summer and encourages roots to form much, much faster. It’s been a game-changer for me!
Aftercare & Troubleshooting
Once your cuttings are potted up, place them in a spot with bright, indirect light. Avoid direct sun, as it can scorch the delicate leaves. If you’re using a plastic bag, open it daily for a few minutes to allow for some air exchange.
You’ll know roots are developing when you see new leaf growth or feel a gentle resistance when you lightly tug on the cutting. This usually takes anywhere from 4-8 weeks, sometimes longer depending on conditions.
The biggest problem you might encounter is rot. If the stems turn mushy and black, it’s a sign of too much moisture and not enough air circulation. If you see this, try reducing watering, ensuring good airflow, and perhaps even stepping up the bottom heat if it’s consistent and gentle.
A Warm Encouraging Closing
Growing plants from cuttings is such a rewarding journey. There will be times when things don’t work out, and that’s part of the learning process for all of us gardeners. But with Conocarpus, and by following these steps, I have a good feeling you’ll be enjoying countless new plants of your own. Be patient, enjoy the ritual of tending to your little propagations, and celebrate every bit of new growth! Happy gardening!
Resource:
https://identify.plantnet.org/k-world-flora/species/Conocarpus%20lancifolius%20Engl./data