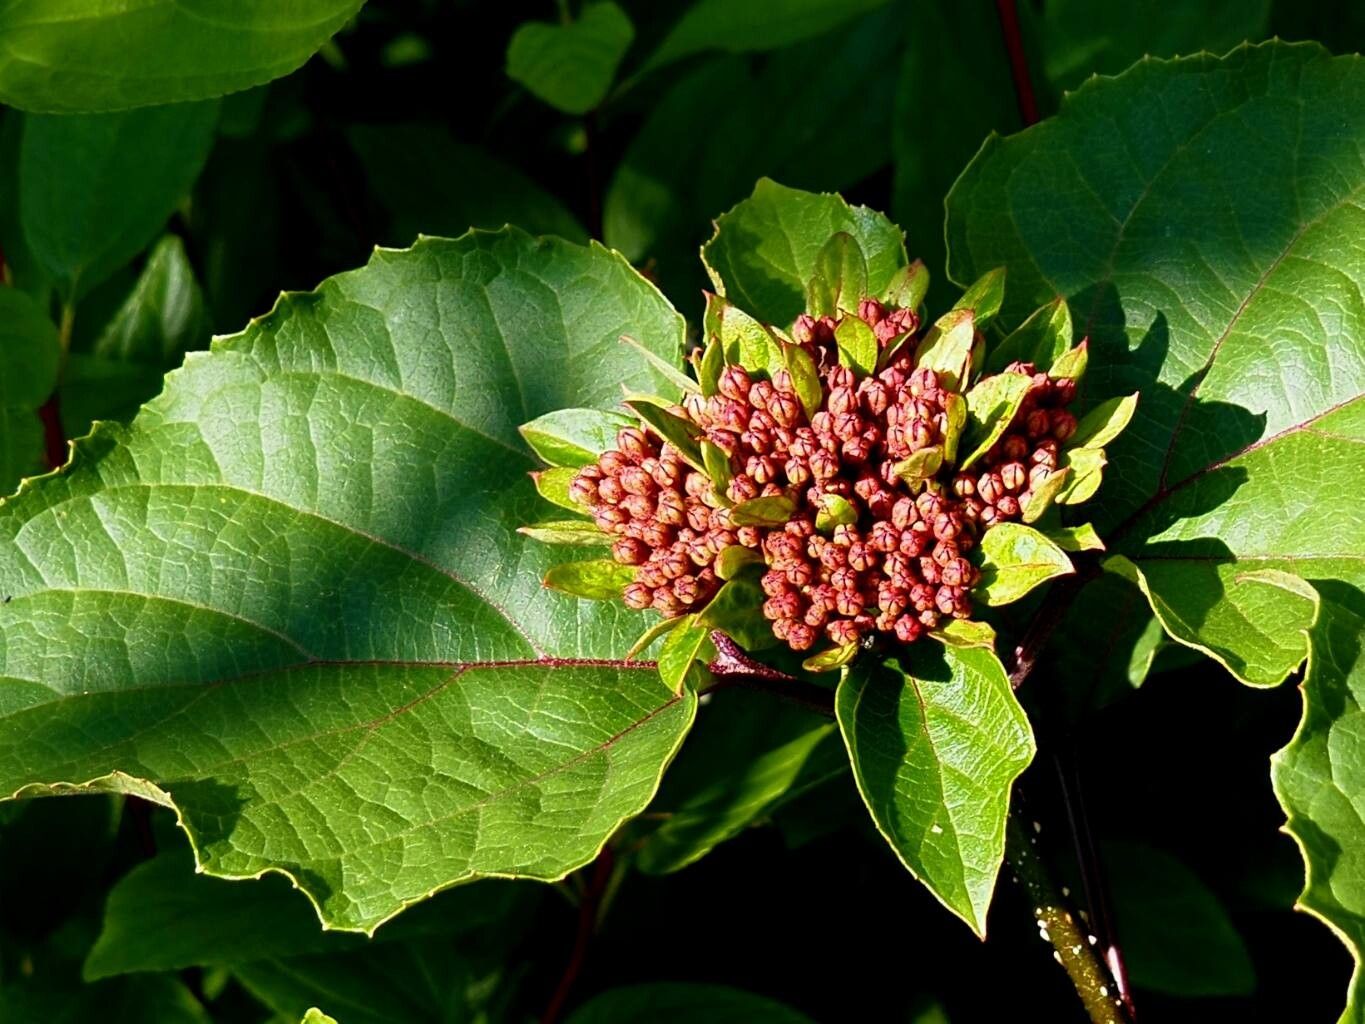
Hello there, fellow garden enthusiasts! It’s so lovely to connect with you today. We’re going to dive into something truly special: multiplying those gorgeous Clerodendrum bungei, also known as Bells of the Caribbean or Glory Bower. If you’ve ever been captivated by its fragrant, cluster of bright pink blooms that beg for a second look, you’re in for a treat. Propagating this beauty is incredibly rewarding, and I’m thrilled to share how I do it. For those just starting their gardening journey, Clerodendrum bungei is an excellent plant to practice your propagation skills on – it’s quite forgiving!
The Best Time to Start
When it comes to getting the most bang for your propagation buck, late spring to early summer, right as the plant is in its vigorous growth phase, is absolutely your golden ticket. After the initial burst of spring growth, you’ll find plenty of healthy, pliable stems that are just begging to be turned into new plants. Starting during this active period means your cuttings have the best chance to establish quickly.
Supplies You’ll Need
Here’s what I always have on hand when I’m ready to get my Clerodendrum bungei multiplying:
- Sharp pruning shears or a clean knife: A clean cut is crucial for preventing disease.
- Rooting hormone (optional but recommended for faster results): I prefer the powder form, but liquid works too.
- Potting mix: A light, well-draining mix is key. I often use a blend of peat moss, perlite, and a bit of compost. You can also buy specialized seedling mixes.
- Small pots or propagation trays: Clean ones, please!
- Clear plastic bags or a propagation dome: To create a humid environment.
- Water: For watering and, if you choose, water propagation.
- Spray bottle: For misting.
Propagation Methods
I find two methods particularly successful for Clerodendrum bungei: stem cuttings and water propagation.
Stem Cuttings
This is my go-to for generating a good number of new plants.
- Take Your Cuttings: With your sharp shears, select a healthy, non-flowering stem that’s about 4-6 inches long. Look for stems that are firm but still a little flexible – this is called semi-hardwood. Make your cut just below a leaf node (where a leaf attaches to the stem).
- Prepare the Cuttings: Gently remove the leaves from the bottom half of the cutting. You want to leave just one or two sets of leaves at the top to help with photosynthesis. If the remaining leaves are very large, I’ll often cut them in half crosswise to reduce water loss.
- Dip in Rooting Hormone (Optional): Lightly dip the cut end into your rooting hormone powder, tapping off any excess. This step really gives your cuttings a boost!
- Plant Your Cuttings: Fill your small pots or trays with your prepared potting mix. Make a hole in the center of the soil with your finger or a pencil. Insert the cutting into the hole, ensuring the roots will be able to reach the soil when you firm it gently around the base.
- Water and Cover: Water the soil thoroughly until it drains from the bottom. Then, cover the pots with a clear plastic bag, creating a mini-greenhouse, or place them under a propagation dome. Make sure the leaves aren’t touching the plastic.
Water Propagation
This method is a bit more visual and fun to watch!
- Select and Prepare Cuttings: Follow steps 1 and 2 from the stem cutting method. You can use slightly younger, more pliable stems for this.
- Place in Water: Pop your cuttings into a clean jar or glass filled with fresh, room-temperature water. Make sure the leaf nodes (where you removed the leaves) are submerged. It’s important that no leaves are submerged as this can lead to rot.
- Location, Location, Location: Place the jar in a bright spot with indirect sunlight.
- Change Water Regularly: This is crucial! Change the water every few days to keep it fresh and prevent bacterial growth. You’ll be amazed as you watch little white roots start to emerge.
The “Secret Sauce” (Pro Tips)
Here are a couple of little tricks I’ve picked up over the years that often make a big difference:
- Bottom Heat is Your Friend: If you’re using the soil propagation method, and especially if your house is a bit on the cooler side, a heat mat designed for seedlings can significantly speed up root development. It mimics the warmth of spring soil and really encourages those roots to get going.
- Don’t Be Afraid to Mist: Even with a plastic cover, misting the leaves of your cuttings every day or two with your spray bottle can help keep them plump and hydrated, especially in dry indoor air. It’s like a refreshing drink for them!
Aftercare & Troubleshooting
Once your cuttings have developed a good root system – you’ll see roots emerging from the drainage holes in pots, or a substantial root ball in water propagation – it’s time for a little more care.
For soil-propagated cuttings, gradually acclimate them to less humid conditions before removing the plastic cover. You can do this by opening the bag for a few hours each day. Once they’re no longer covered, water them as you would a mature Clerodendrum, allowing the soil to dry slightly between waterings.
For water-propagated cuttings, wait until the roots are at least an inch long before gently transplanting them into small pots filled with your potting mix. Water them thoroughly after planting.
The most common issue you might encounter is rot. This usually happens when the soil stays too wet or if leaves are submerged in water. If you see stems turning mushy and brown, it’s a sign of rot. Unfortunately, there’s not much you can do once it sets in, so focus on prevention by ensuring good drainage and not overwatering. If you catch it early, you might be able to trim away the rotted part and try taking a fresh cutting. Patience is your best tool here!
A Encouraging Closing
Propagating Clerodendrum bungei is such a joy, and seeing those tiny plants flourish into their own established beauties is incredibly satisfying. Don’t be discouraged if your first try isn’t perfect – gardening is all about learning and experimenting. Embrace the process, enjoy watching life sprout from your efforts, and soon you’ll have a whole new collection of these lovely blooms to share! Happy propagating!
Resource:
https://identify.plantnet.org/k-world-flora/species/Clerodendrum%20bungei%20Steud./data