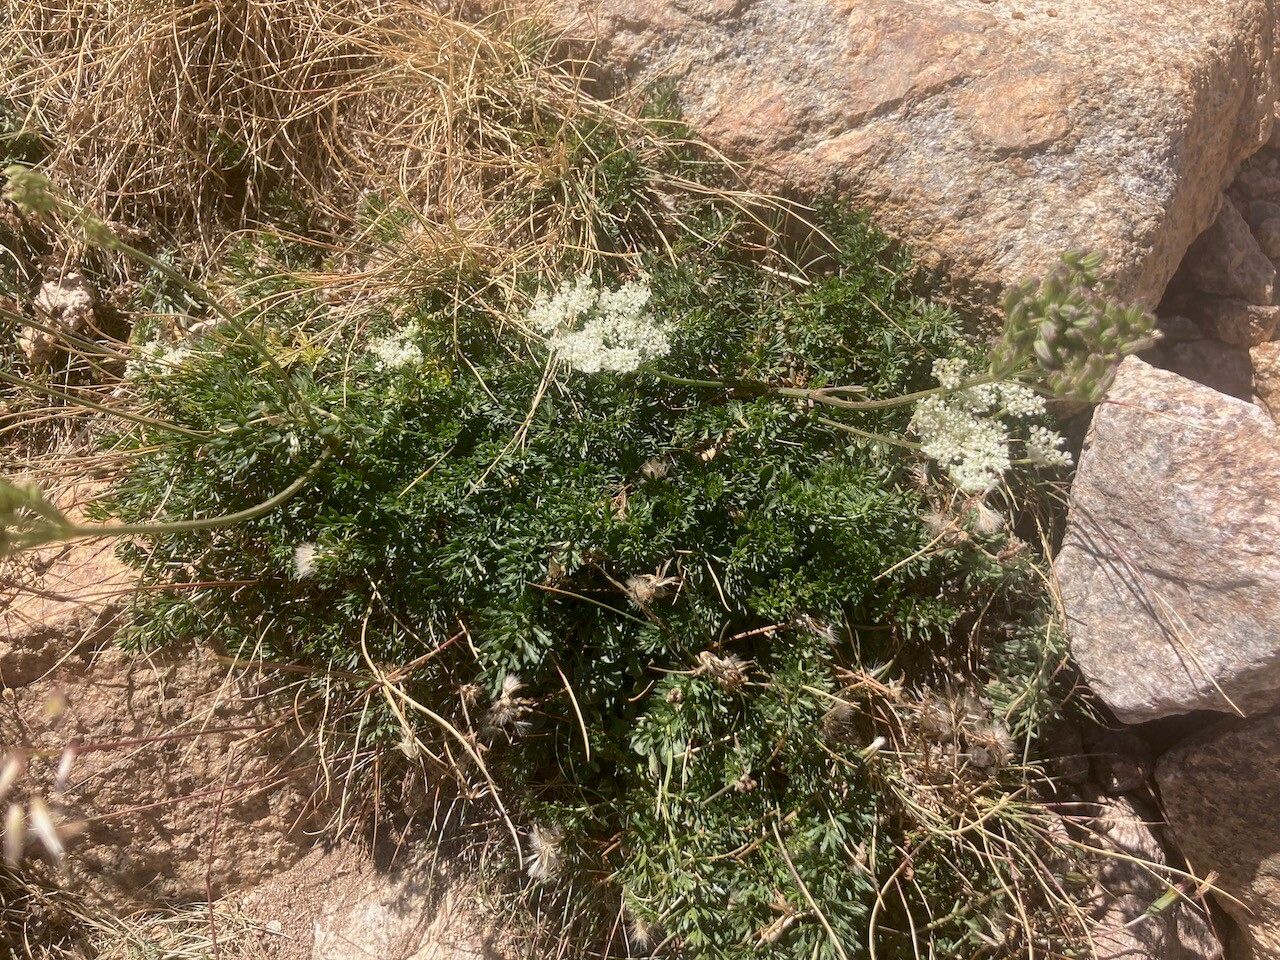
Oh, hello there! Come on in, grab a mug of something warm. Today, we’re going to chat about a real charmer: Mutellina corsica. Isn’t she lovely? She’s got these delicate, almost ethereal little blooms that just sing in the garden. And the best part? She’s surprisingly rewarding to propagate. Now, for beginners, I’d say she’s moderately easy. Not quite as forgiving as a pothos, but with a little care and attention, you’ll be well on your way to a whole gaggle of happy Mutellina plants. Think of it as a wonderful learning opportunity!
The Best Time to Start
For Mutellina corsica, I find the late spring to early summer is absolutely your golden window. Right after the main flush of flowering is done, but before the intense heat of mid-summer sets in, is perfect. The plant is actively growing, and the cuttings you take will have plenty of time to establish before winter. Think of it as giving your little ones a good head start.
Supplies You’ll Need
Here’s what you’ll want to gather before we get our hands dirty:
- Sharp Pruning Shears or a Clean Knife: For making clean cuts. A dull tool will just crush those delicate stems.
- Potting Mix: A well-draining, peaty mix is ideal. I often use a blend of equal parts peat moss and perlite, but a good quality seed-starting mix works wonders too.
- Small Pots or Trays: Whatever you have on hand, as long as they have drainage holes.
- Rooting Hormone (Optional but Recommended): A powder or gel can give your cuttings a nice little boost.
- Plastic Bags or a Small Greenhouse: To create a humid environment for your cuttings.
- Labels: Because trust me, you’ll forget what you planted!
Propagation Methods
We’ll focus on the most reliable method for Mutellina corsica, which is stem cuttings. It’s tried and true!
- Take Your Cuttings: Select healthy stems that haven’t flowered recently. Look for stems that are firm but slightly flexible. Using your sharp shears, take cuttings about 4-6 inches long. Make the cut just below a leaf node (where a leaf attaches to the stem).
- Prepare the Cuttings: Gently remove the lower leaves from the bottom couple of inches of each cutting. This prevents them from rotting when they’re in the soil or water.
- Apply Rooting Hormone (If Using): Dip the cut end of each stem into your rooting hormone, tapping off any excess.
- Plant Your Cuttings: Prepare your pots with your well-draining potting mix. Insert the cuttings about an inch deep into the soil, spacing them a few inches apart. Gently firm the soil around them.
- Create Humidity: Water the soil lightly. Then, cover the pot loosely with a plastic bag or place it in a small propagator. This traps moisture and keeps the air around the cuttings humid, which is crucial for them to root.
The “Secret Sauce” (Pro Tips)
Here are a couple of things I’ve learned over the years that really make a difference:
- Don’t Drown Them: When you water the initial cuttings, you want the soil to be moist but not waterlogged. Soggy soil is the fast track to rot. I often water from the bottom by setting the pot in a tray of water for about 15-20 minutes, letting the soil soak up what it needs.
- A Touch of Warmth: If you can, place your cuttings in a spot where they get gentle bottom heat. A seedling heat mat works wonders. This encourages root development from below, giving them that extra push.
Aftercare & Troubleshooting
Once your cuttings are planted, the key is patience and consistent moisture. Keep them in bright, indirect light. Don’t let the soil dry out completely, but also avoid overwatering.
You’ll know your cuttings are rooting when you see new little leaves starting to sprout. This can take anywhere from 4-8 weeks, sometimes even longer. Don’t be discouraged if a few don’t make it. It’s part of the process!
The main thing to watch out for is rot. If a cutting turns mushy, black, or just looks sadly wilted and doesn’t perk up, it’s probably rotted. This usually means too much moisture and not enough air circulation. Remove any rotting cuttings immediately to prevent it from spreading.
A Little Encouragement
So there you have it! Propagating Mutellina corsica is a journey, and like any good gardening adventure, it requires a bit of patience. Don’t get discouraged if things don’t happen overnight. Just keep an eye on your little wonders, offer them a bit of care, and I have a feeling you’ll be rewarded with plenty of new beauties. Happy propagating!
Resource: