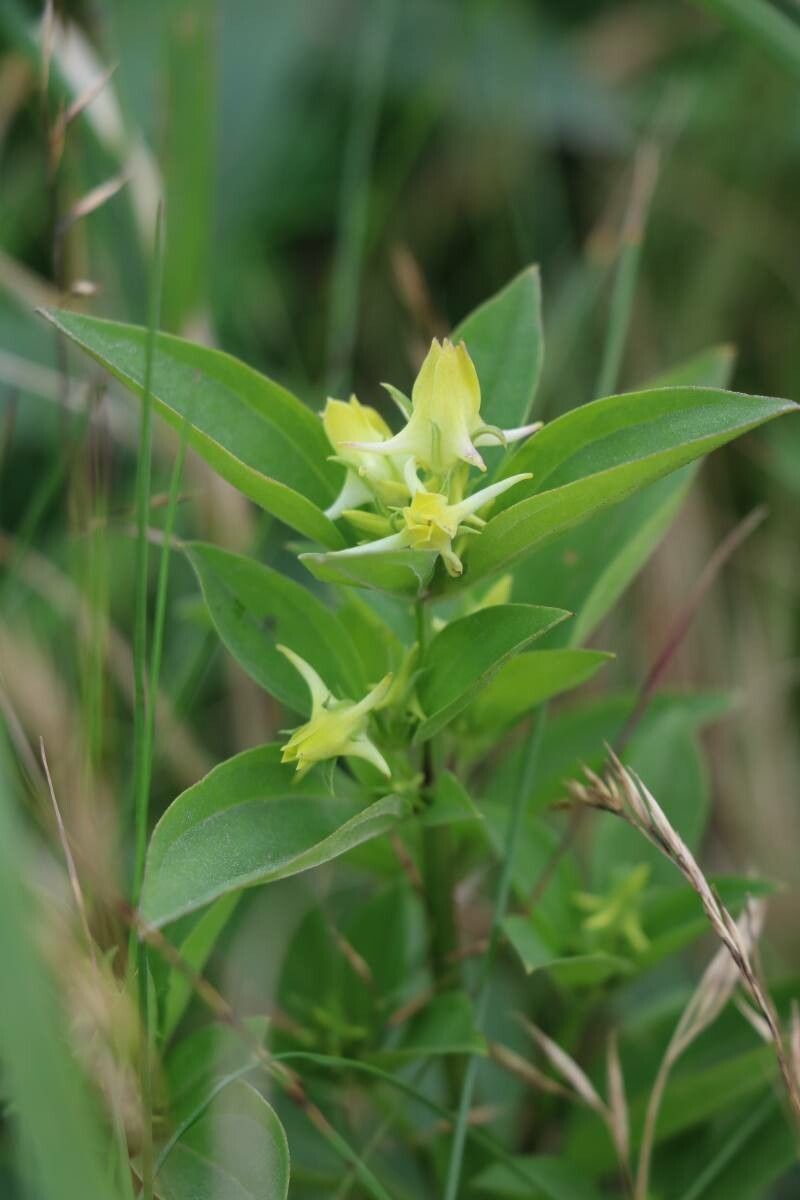
Hello there, fellow plant enthusiasts! Today, we’re diving into the wonderful world of propagating a truly special bloom: Halenia corniculata. If you’ve ever admired its delicate, spur-shaped flowers and vibrant colors, you’re not alone. Bringing more of these beauties into your garden or home is incredibly satisfying, and I’m here to guide you through it. Now, I’ll be honest, Halenia corniculata isn’t quite a beginner’s plant for propagation. It requires a little patience and attention to detail, but the rewards are absolutely worth it!
When is the Magic Time to Propagate?
For the best shot at success with Halenia corniculata, I find that the late spring or early summer is the sweet spot. This is when the plant is actively growing and has plenty of energy to put into developing new roots. You want to look for healthy, non-flowering stems. Stems that are already putting on a good show of flowers are often too stressed and won’t have the reserves for successful propagation.
Gather Your Toolkit
Before we get our hands dirty, let’s make sure we have everything we need. You might have most of these things already in your gardening arsenal!
- Sharp Pruning Shears or a Clean Knife: For making clean cuts on stems.
- Rooting Hormone (Optional but Recommended): A powder or gel to encourage root development.
- Well-Draining Potting Mix: A good blend for propagation is often equal parts peat moss, perlite, and vermiculite. Commercial seed-starting mixes also work well.
- Small Pots or Seedling Trays: Clean pots are essential to prevent disease.
- Plastic Bags or a Humidity Dome: To maintain consistent moisture levels.
- Watering Can with a Fine Rose or a Spray Bottle: For gentle watering.
- Labels: So you don’t forget what you planted where!
Let’s Get Propagating: Stem Cuttings
This is my go-to method for Halenia corniculata. It’s tried and true.
- Select Your Stems: Find healthy, vigorous stems that are about 4-6 inches long.
- Make the Cut: Using your sterilized pruning shears or knife, make a clean cut just below a leaf node (where a leaf attaches to the stem). This node is where roots are most likely to form.
- Prepare the Cutting: Gently remove the lower leaves, leaving just a few at the top. If the cutting is very long, you can even prune it slightly to encourage bushier growth later.
- Apply Rooting Hormone (Optional): Dip the cut end of the stem into your rooting hormone, tapping off any excess.
- Plant Your Cuttings: Fill your small pots with your well-draining potting mix. Make a small hole in the center with your finger or a pencil. Insert the cutting into the hole, ensuring the node is buried. Gently firm the soil around the stem.
- Water Gently: Water thoroughly but gently so as not to disturb the cuttings.
- Create a Humid Environment: Cover the pots with a clear plastic bag, a plastic dome, or place them in a propagation tray. Make sure the leaves do not touch the sides of the bag if possible. This traps moisture and creates the high humidity Halenia corniculata cuttings love.
The “Secret Sauce”: My Tried-and-True Tips
After years of trying different methods and observing what works best, here are a couple of tricks I’ve learned that really give these cuttings a boost.
- Bottom Heat is Your Friend: If you have a seedling heat mat, placing your pots on it can make a world of difference. The gentle warmth encourages root development from below, speeding up the process significantly. It’s like giving your cuttings a cozy heated blanket to get comfy in!
- Don’t Drench, Mist: While you want consistent moisture, ‘soggy’ is the enemy of stem cuttings, especially with plants like Halenia corniculata that can be prone to rot. Mist the soil and the leaves regularly if you’re not using a closed dome system. If you see water accumulating in the bottom of the pot, drain it away.
Aftercare and What to Watch For
Once your cuttings have successfully rooted – you’ll know this when you see new leaf growth or gently tug on the stem and feel resistance – it’s time for a little adjustment.
- Acclimatization: Gradually remove the plastic bag or dome over a few days. This allows the new plants to adjust to lower humidity levels.
- Watering: Water when the top inch of soil feels dry to the touch.
- Light: Place them in bright, indirect light. Avoid direct sun, which can scorch their delicate new leaves.
Now, what if things aren’t looking quite right? The most common issue you might encounter is rot. This usually happens if the soil is too wet and there isn’t enough air circulation. If you see stems turning mushy or blackening, it’s a sign of rot. Sadly, these cuttings are often beyond saving. Prevention is key here: ensure excellent drainage and don’t overwater!
Happy Rooting!
Propagating Halenia corniculata is a journey, and like any rewarding endeavor, it requires a bit of patience. Don’t get discouraged if your first attempt isn’t perfect. Each time you try, you learn a little more about what your plant needs. Enjoy the process of nurturing these tiny new lives, and soon you’ll have a beautiful collection of your own Halenia corniculata to admire! Happy gardening!
Resource:
https://identify.plantnet.org/k-world-flora/species/Halenia%20corniculata%20(L.)%20Cornaz/data