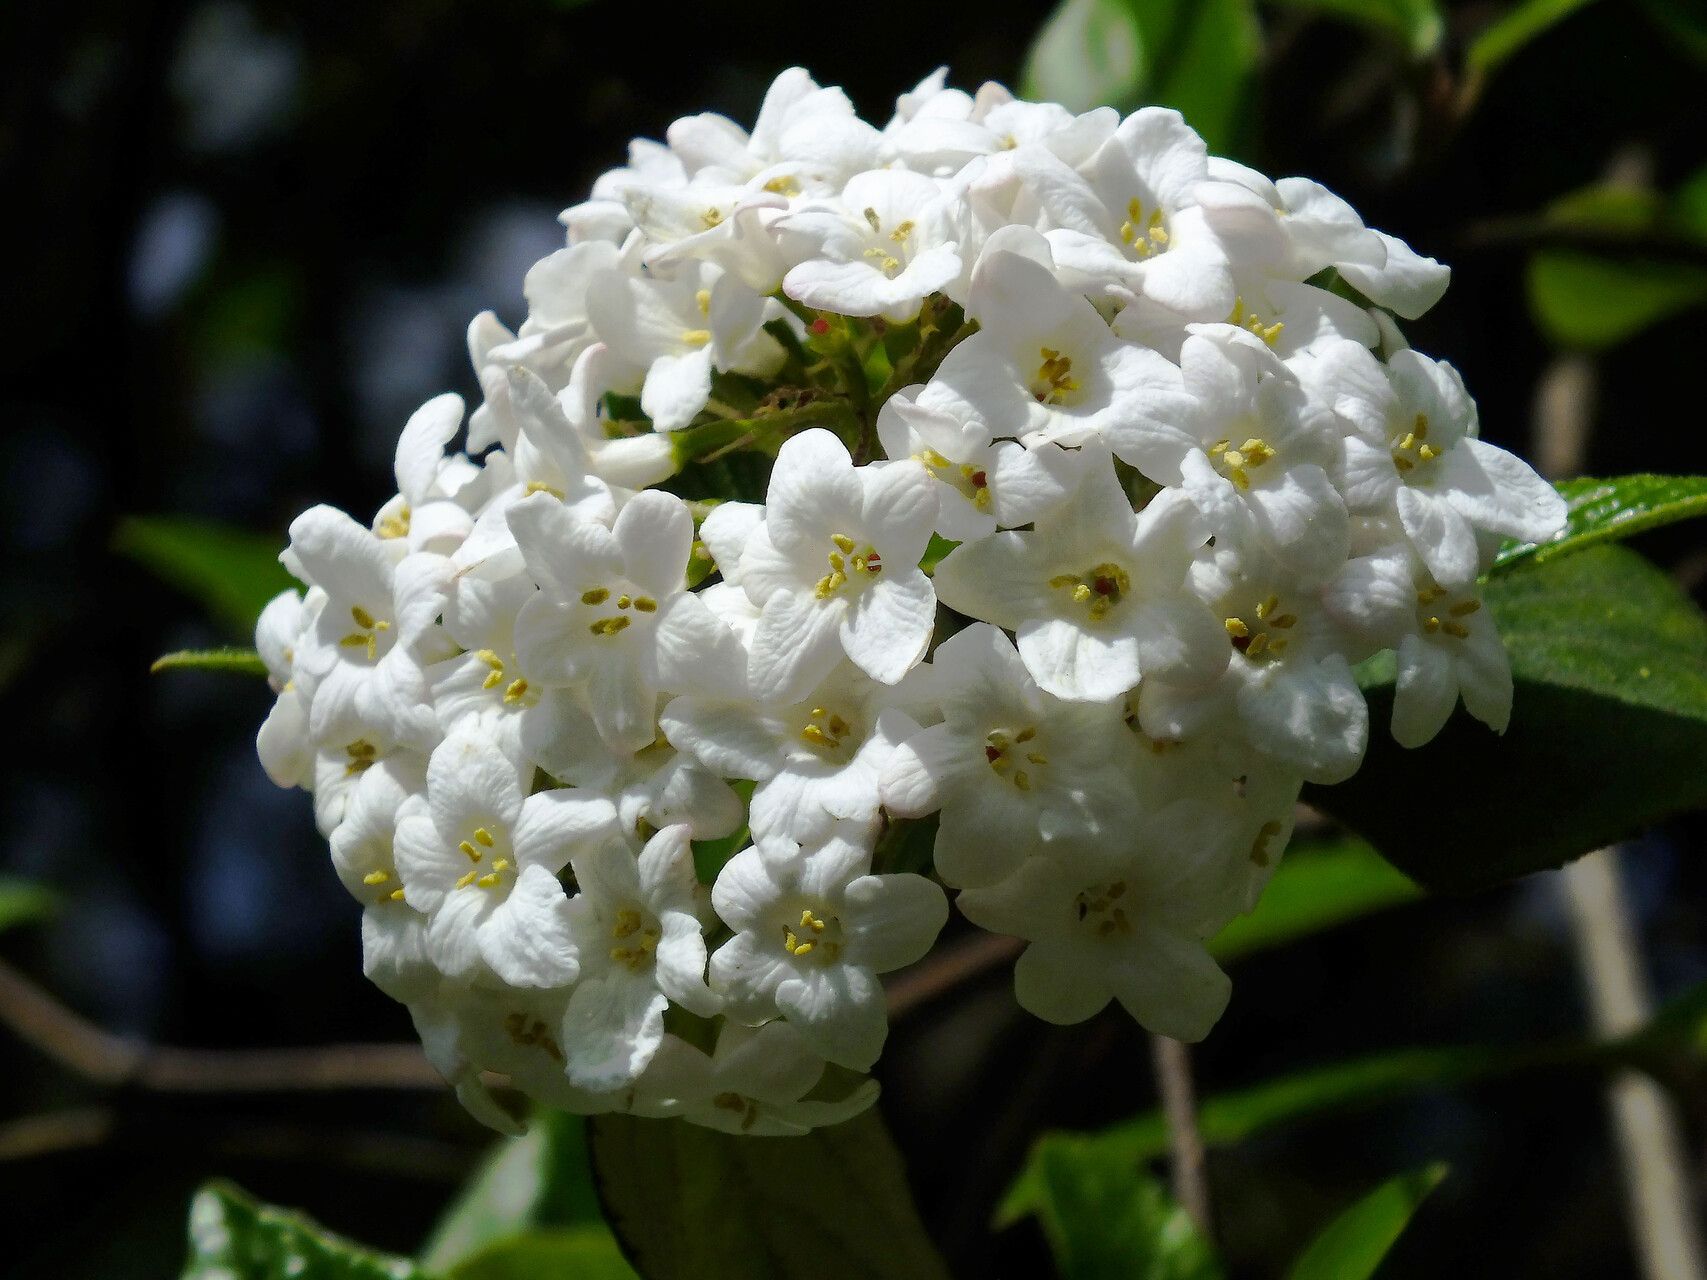
Oh, hello there! Pull up a chair, and let’s talk about one of my absolute favorite shrubs: Viburnum carlesii. If you’ve ever stumbled upon this beauty, you know exactly why I’m so smitten. Its fragrant, star-shaped flowers are pure magic, especially in late spring, filling the air with the sweetest perfume. And the best part? You can easily multiply this joy! Propagating Viburnum carlesii is a truly rewarding experience, and I find it’s a pretty good one for beginners to try their hand at. It’s not overly tricky, which is always a plus in my book.
The Best Time to Start
For the highest success rate with Viburnum carlesii, you want to work with semi-hardwood cuttings. This means waiting until the current season’s growth has started to toughen up a bit, but it’s not yet completely woody. The perfect window for this is generally late summer or early fall, usually August through September in most climates. The plant has had a good growing season, the stems are still somewhat flexible, and there’s enough time for them to develop roots before winter really sets in.
Supplies You’ll Need
Before we get our hands dirty, let’s gather our tools. Having everything ready makes the whole process so much smoother.
- Sharp Pruning Shears or Knife: Clean cuts are crucial.
- Rooting Hormone Powder or Gel: Helps encourage root development.
- Well-Draining Potting Mix: A good blend is about 50% peat moss or coco coir and 50% perlite or coarse sand.
- Small Pots or Trays: With drainage holes, of course!
- Clear Plastic Bags or Humidity Domes: To maintain moisture.
- Watering Can or Spray Bottle: For gentle watering.
- Labels and a Marker: To keep track of what you’ve planted.
Propagation Methods
I usually stick to stem cuttings for Viburnum carlesii. It’s the most reliable and straightforward method for me.
- Take Your Cuttings: On a cool, overcast day if possible (less stress on the cuttings!), select healthy, disease-free stems from your parent plant. Look for stems that are about 4-6 inches long and have started to firm up. They should bend slightly without snapping readily. Using your clean shears, make a cut just below a leaf node (where a leaf attaches to the stem). Remove any lower leaves, leaving only the top two or three.
- Prepare the Cuttings: Dip the cut end of each cutting into your rooting hormone. Gently tap off any excess.
- Potting Up: Fill your small pots with your prepared, moist potting mix. Make a hole in the center of the soil with your finger or a pencil. Insert the prepared cutting into the hole, ensuring the rooting hormone is covered by the soil. Gently firm the soil around the stem.
- Create the Humid Environment: Water the soil gently. Then, cover the pot with a clear plastic bag (making sure the leaves don’t touch the inside of the bag) or place it under a humidity dome. This is key to keeping the cuttings from drying out while they try to root.
- Provide Light and Warmth: Place the pots in a bright location out of direct sunlight. A spot on a windowsill that gets bright, indirect light is perfect.
The “Secret Sauce” (Pro Tips)
Okay, here are a few little tricks I’ve learned over the years that really seem to give my Viburnum cuttings a boost.
- Don’t Skip the Bottom Heat: Viburnum cuttings really appreciate a little warmth from below. I often place my pots on a heated propagation mat set to a mild temperature (around 70-75°F). This encourages root development from the base of the cutting.
- Mist Relentlessly (but gently!): I like to lightly mist the inside of the plastic bag or humidity dome and the leaves of the cuttings every couple of days. This keeps the humidity levels high without making the soil soggy. Just a fine spray is all you need.
- The Cleanliness Factor is Non-Negotiable: I can’t stress this enough: sterilize your pruning shears before you even start. Any sign of disease on your parent plant or your tools can quickly lead to rot and failure in your cuttings. A quick dip in rubbing alcohol between cuts is a good habit.
Aftercare & Troubleshooting
Be patient! It can take anywhere from 4 to 8 weeks, sometimes even longer, for your cuttings to develop a good root system. You’ll know they’re ready when you see new leaf growth.
Once they show signs of rooting, you can gradually acclimatize them to less humid conditions by opening the plastic bag a little each day over a week. Then, you can remove the bag entirely.
The most common problem you’ll encounter is rot. If a cutting turns black and mushy, it’s likely succumbed to rot, usually due to too much moisture and not enough air circulation. Don’t be discouraged; just discard the affected cutting and learn from it. If the leaves start to turn yellow and drop, it might mean the cutting is drying out, or it’s receiving too much direct sun. Ensure your humidity is maintained.
A Encouraging Closing
See? It’s really not as daunting as it might seem. With a little care and patience, you’ll soon be enjoying the satisfaction of growing your very own Viburnum carlesii from cuttings. It’s a wonderful way to expand your garden or even share the love with fellow plant enthusiasts. Happy propagating!
Resource:
https://identify.plantnet.org/k-world-flora/species/Viburnum%20carlesii%20Hemsl./data