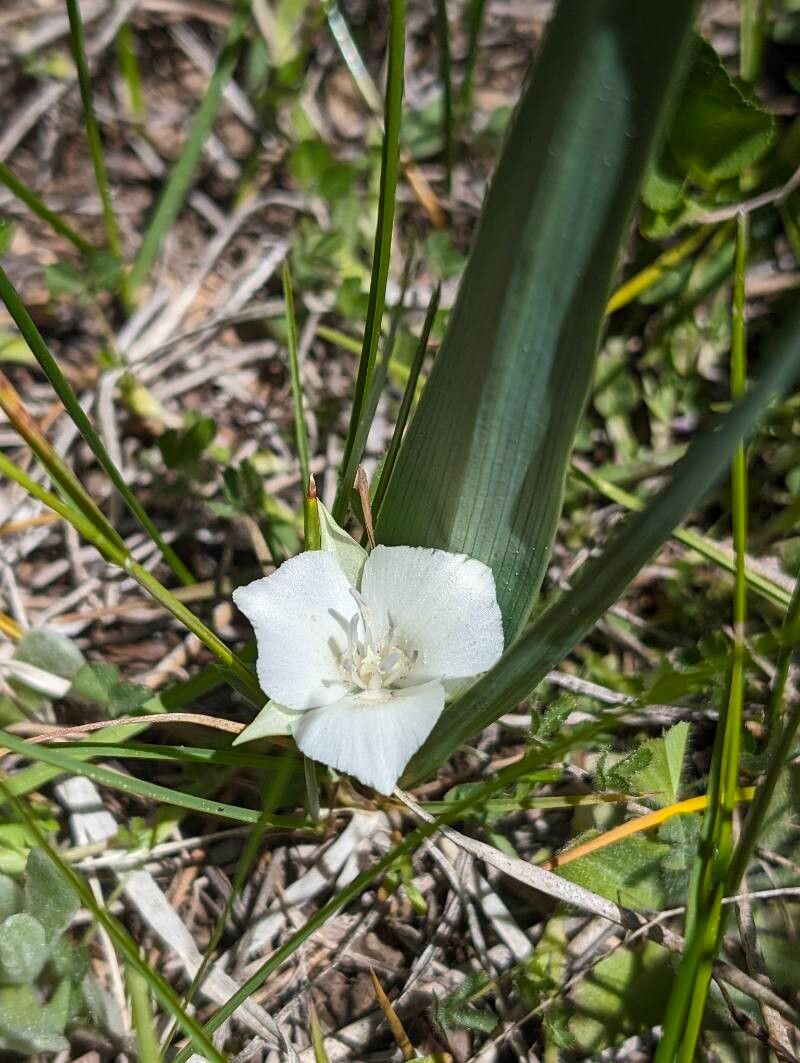
Hello fellow plant lovers! Today, we’re diving into the magical world of Calochortus minimus, also known as the Mariposa Lily. These tiny gems, with their delicate, jewel-like petals, are an absolute joy to behold in any garden. If you’ve ever admired their fleeting beauty and wished you could fill your own patch with them, you’re in the right place. Propagating these little wonders is incredibly rewarding, and while they might seem a bit shy to start, with a little know-how, it’s absolutely achievable. Don’t be intimidated; we’ll take it step by step.
The Best Time to Start
For Calochortus minimus, the sweetest spot for propagation is during their dormant period. Think late summer or early fall, after they’ve finished their blooming cycle and their foliage has started to die back naturally. This is when the plant is storing energy and less stressed, giving your new propagations the best chance to establish themselves before winter’s chill or the next growing season’s demands.
Supplies You’ll Need
Gathering your tools beforehand makes the whole process so much smoother. Here’s what I usually have on hand:
- Well-draining potting mix: A blend of perlite, coarse sand, and a good quality potting soil works wonders. You want to mimic their natural sandy, well-drained habitat.
- Small pots or seed trays: Clean and appropriately sized for your propagations.
- Sharp pruning shears or a clean knife: For making precise cuts. Sterilize them with rubbing alcohol between uses!
- Rooting hormone (optional but helpful): Especially if you’re a bit nervous about root development. A powder or gel will do.
- Watering can with a fine rose or spray bottle: For gentle watering.
- Labels and a permanent marker: Never underestimate how helpful it is to know what you planted where!
- A warm, bright location: Out of direct, scorching sun for seedlings.
Propagation Methods
While Calochortus are often propagated from seed, division of their corms is a more direct and usually successful route for gardeners.
Corm Division
This is my go-to method for Calochortus minimus. They produce small bulblets, or corms, around their base.
- Gently excavate: Once the plant is dormant and the soil is dry, carefully dig around the parent plant. You don’t want to damage the main corm or any developing bulblets. A small trowel or even your hands can work here.
- Identify the bulblets: You’ll see small, bulb-like structures attached to the main corm or growing nearby. They might be tiny and clustered.
- Carefully separate: Using your clean knife or pruning shears, gently detach the smaller bulblets from the parent corm. Try to get a little bit of the parent corm attached to the bulblet if possible, though it’s not always necessary. The key is to make a clean cut.
- Allow to air dry (optional but recommended): Let the separated bulblets sit out in a dry, airy spot for a day or two. This helps any cut surfaces callus over, reducing the risk of rot.
- Plant them up: Fill your clean pots with your well-draining mix. Plant the bulblets about an inch deep, with the pointed end facing up if you can discern it. If they are very small, you can plant them closer together in a seed tray.
- Water lightly: Give them a gentle watering. Don’t drench them; you want the soil to be moist, not soggy.
The “Secret Sauce” (Pro Tips)
Over the years, I’ve learned a few things that seem to make all the difference:
- Don’t overwater, ever! This is probably the single most important tip for Calochortus. They absolutely detest sitting in soggy soil. Think of it as giving them a sip of water when they’re thirsty, not a bath.
- Mimic their native soil as much as possible: That means lots of grit! If your soil mix doesn’t drain freely, your Calochortus will be unhappy. A good rule of thumb is at least 50% inorganic material like perlite or pumice.
- Be patient with dormancy: Resist the urge to water them if they look a bit dry during their dormancy. They need that rest period. If you’re not sure, check the soil an inch down.
Aftercare & Troubleshooting
Once your bulblets are planted, place the pots in a cool, dry spot that gets bright, indirect light. Water sparingly only when the top inch of soil feels dry. You likely won’t see much activity until spring when they begin their active growth cycle.
The biggest challenge you’ll face is rot. If you notice a bulblet turning mushy or developing dark spots, it’s likely succumbing to rot. This is almost always due to overwatering or poor drainage. Remove any affected material immediately to prevent it from spreading. If you consistently have rot issues, it’s a sign your soil mix needs to be even freer draining.
A Little Patience Goes a Long Way
Growing new plants is a journey, and Calochortus minimus are no exception. Embrace the process, learn from each attempt, and celebrate the tiny triumphs. Soon enough, you’ll have a beautiful display of these exquisite lilies gracing your garden. Happy growing!
Resource:
https://identify.plantnet.org/k-world-flora/species/Calochortus%20minimus%20Ownbey/data