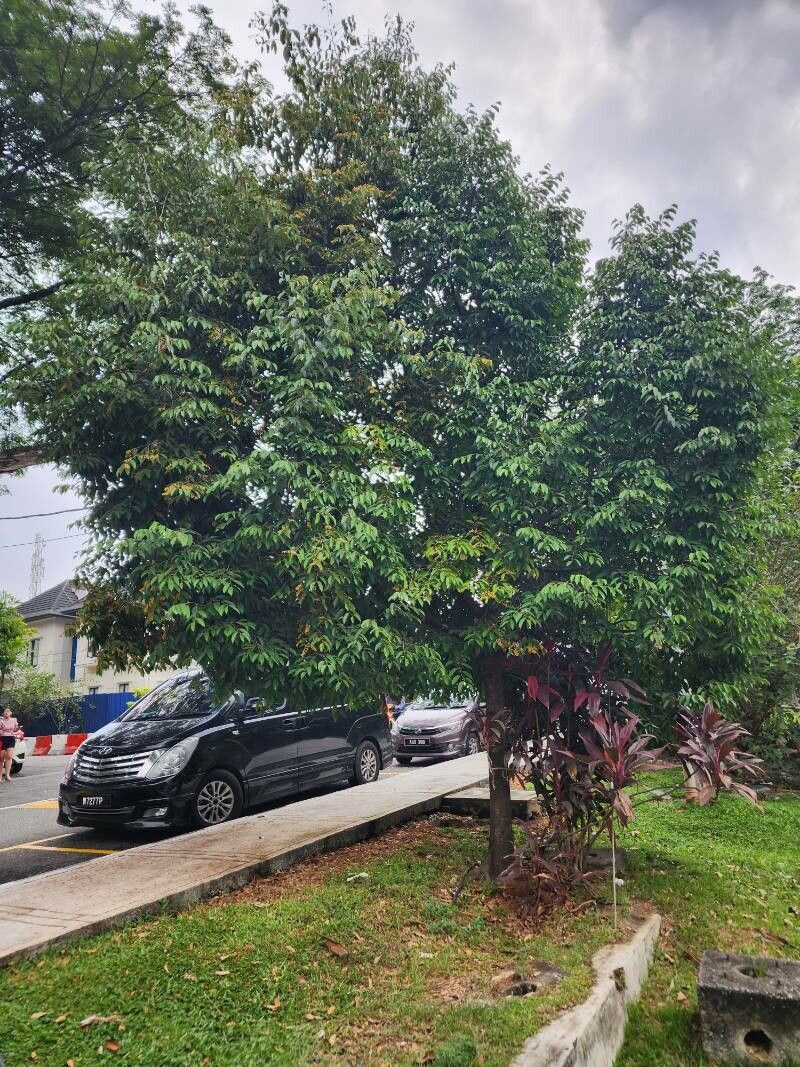
Hello, fellow plant lovers! Today, we’re diving into the wonderful world of Hopea odorata, also known as the beautiful Sweet-Scented Hopea. If you’ve ever had the pleasure of smelling its delicate, sweet fragrance after a rain shower, you know why this tree is so special. Propagating it is a really rewarding experience, like nurturing a little piece of fragrant future into your own garden. Now, for beginners, I’d say Hopea odorata can be a bit of a challenge, but with a little patience and the right approach, it’s definitely achievable. Don’t let that deter you!
The Best Time to Start
For the highest success rate with Hopea odorata, aim to take cuttings in the late spring or early summer. This is when the plant is actively growing, and its energy is focused on producing new shoots. Think of it as the plant’s prime growth spurt – perfect for encouraging new roots to form. You want to select stems that are semi-hardwood, meaning they’ve started to firm up but aren’t old and woody.
Supplies You’ll Need
Here’s your handy checklist to get started:
- Sharp, clean pruning shears or a sharp knife: Essential for making clean cuts without damaging the stem.
- Rooting hormone: A little boost can make a big difference. Look for a powder or liquid hormone.
- Well-draining potting mix: A mix of perlite, peat moss, and coarse sand works wonderfully. You can also look for a specialized succulent or cactus mix.
- Small pots or seed trays: Clean and with drainage holes, of course!
- Plastic bag or a clear plastic dome: To create a humid microclimate.
- Watering can with a fine spout: For gentle watering.
- Optional: Heating mat: This can significantly speed up root development.
Propagation Methods
While Hopea odorata can be a bit fussy, stem cuttings are generally your best bet.
Stem Cuttings:
- Select your cutting: Find a healthy branch on your Hopea odorata. You’re looking for a stem that’s about 4-6 inches long and has several sets of leaves. As I mentioned, focus on that semi-hardwood stage.
- Make the cut: Using your clean shears or knife, make a clean cut just below a leaf node (where a leaf attaches to the stem). This is where the magic of root development often happens.
- Prepare the cutting: Gently remove the leaves from the bottom half of the cutting. You can leave a couple of leaves at the top, but trim larger leaves in half to reduce water loss through transpiration.
- Apply rooting hormone: Dip the cut end of the stem into your rooting hormone, tapping off any excess.
- Plant the cutting: Make a hole in your potting mix with a pencil or your finger and gently insert the cutting, ensuring the end with the rooting hormone is in contact with the soil. Firm the soil gently around the base.
- Create humidity: Water the soil lightly. Then, cover the pot with a clear plastic bag or a dome. Make sure the plastic doesn’t touch the leaves. You can use stakes to keep it propped open if needed.
- Place in bright, indirect light: Find a warm spot that gets good light but no direct sun, which can scorch your new cutting.
The “Secret Sauce” (Pro Tips)
Here are a couple of tricks I’ve learned over the years that can give your Hopea odorata cuttings a real edge:
- Bottom Heat is Your Friend: If you have a heating mat, use it! Hopea odorata cuttings really love a bit of warmth from below. It mimics the soil temperature in warmer climates and can drastically speed up root formation. Place your pots on the mat and keep it on for several hours a day.
- Don’t Waterlog It! While humidity is crucial, soggy soil is the enemy of new cuttings. It can lead to rot very quickly. Make sure your potting mix drains exceptionally well, and only water when the top inch of soil feels dry. A gentle misting of the leaves inside the humidity dome can be beneficial too.
Aftercare & Troubleshooting
Once you start to see new leaf growth, that’s a great sign! It usually means roots are forming. You can gently tug on the cutting; if there’s resistance, you’ve got roots!
- Gradual Acclimation: Once roots have developed, slowly introduce your new plant to less humid conditions. Gradually open the plastic bag or dome over a week or two.
- Regular Watering: Continue to water when the top inch of soil is dry.
- Potting Up: When the plant has a good root system and looks sturdy, you can pot it up into a slightly larger container with fresh, well-draining soil.
Troubleshooting: If your cutting starts to turn yellow, wilt and then go limp, it’s likely due to rot. This is often caused by too much moisture or not enough airflow. If you see leggy, stretched growth with pale leaves, it might need more light. Don’t be discouraged if not every cutting takes; it’s part of the learning process.
A Encouraging Closing
Propagating Hopea odorata is a journey, and each successful new plant feels like a small triumph. Be patient with your cuttings, observe them closely, and enjoy the process of nurturing them. Soon, you might just have your own fragrant little Hopeas to enjoy! Happy gardening!
Resource:
https://identify.plantnet.org/k-world-flora/species/Hopea%20odorata%20Roxb./data