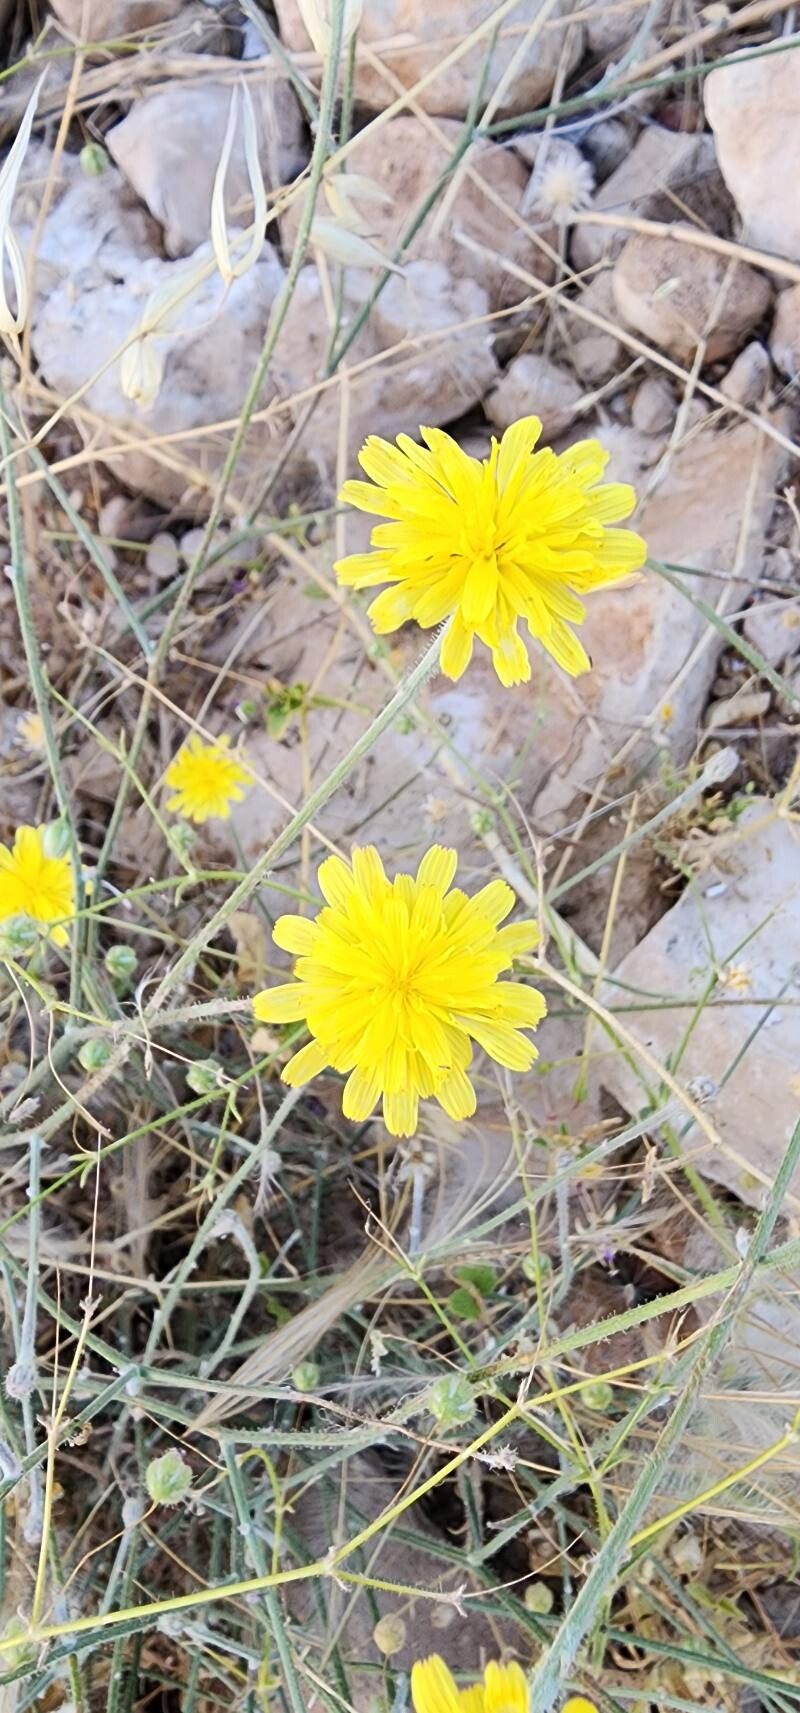
Hey there, fellow garden lovers! I’m so excited to dive into a plant that’s really captured my heart – Picris strigosa. It’s got this wonderful, cheerful disposition with its sunny yellow blooms, adding such a burst of joy to any garden space. And the best part? Propagating it is incredibly rewarding, a true testament to the life force of plants. For beginners, I’d say Picris strigosa is a pretty forgiving plant to get started with. You’ll feel like a magic maker in no time!
The Best Time to Start
When it comes to getting your Picris strigosa propagation off to the best start, spring and early summer are your absolute champions. You’re looking for plants that are actively growing, but before they get too leggy from the full heat of summer. Taking cuttings from healthy, vigorous stems during this time gives them the best chance to root and establish themselves before the cooler weather sets in.
Supplies You’ll Need
Gathering your tools is half the fun, isn’t it? Here’s what I usually have on hand:
- Sharp pruning shears or a clean craft knife: For making precise cuts without crushing the stems.
- Rooting hormone (optional but recommended): A little dip can really speed things up.
- Well-draining potting mix: A 50/50 blend of perlite and seed-starting mix is my go-to. You want something airy that won’t hold too much moisture.
- Small pots or seed trays: Clean ones are a must to prevent disease.
- Plastic bag or propagation dome: To create a humid environment.
- Spray bottle: For misting.
Propagation Methods
Picris strigosa is wonderfully adaptable, and I find propagation by stem cuttings to be the most reliable and straightforward method.
- Take Your Cuttings: On a bright morning, select healthy, non-flowering stems. You want pieces that are about 4-6 inches long. Make a clean cut just below a leaf node (that little bump where a leaf attaches to the stem). Remove the lower leaves, leaving just a few at the top.
- Apply Rooting Hormone (if using): Dip the cut end of the stem into your rooting hormone powder, tapping off any excess.
- Plant Your Cuttings: Fill your pots with your prepared potting mix. Make a small hole with your finger or a pencil, then gently insert the cut end of the stem. Firm the soil gently around it.
- Create Humidity: Water the soil lightly until it’s just moist. Then, cover the pot with a clear plastic bag, securing it around the rim, or place it under a propagation dome. This traps moisture and helps prevent the cuttings from drying out.
The “Secret Sauce”
Here are a couple of tricks I’ve learned over the years that can really boost your success rate:
- Bottom Heat is Your Friend: If you can, place your pots on a gentle heat mat. This encourages root development from below, giving your cuttings that extra warmth they crave. It makes a noticeable difference, especially in cooler spring weather.
- Don’t Drown Them: When watering, err on the side of caution. You want the soil to be consistently moist, not soggy. Waterlogged conditions are the fast track to rot, and we want happy roots, not mushy ones!
Aftercare & Troubleshooting
Once your cuttings have rooted (you’ll see new leaf growth or feel a gentle tug when you lightly pull on a stem), it’s time to transition them. Gradually introduce them to normal humidity by opening the plastic bag a little more each day over a week. Keep them in a bright spot out of direct sun.
Keep an eye out for signs of trouble. The most common culprit is rot. If your cuttings turn black and mushy, or if you see fuzzy grey mold on the soil, it’s usually a sign of too much moisture. There’s not much you can do once rot sets in, so starting again with clean tools and slightly drier conditions is often the best course. Yellowing leaves can sometimes mean they need a bit more light, or sometimes it’s just the plant shedding older leaves.
A Little Patience Goes a Long Way
Propagating plants is a journey, and sometimes it takes a bit of patience. Don’t get discouraged if every single cutting doesn’t make it – that’s part of the learning process! Celebrate the successes, learn from the little setbacks, and most importantly, enjoy the magic of creating new life from your cherished Picris strigosa. Happy gardening!
Resource:
https://identify.plantnet.org/k-world-flora/species/Picris%20strigosa%20M.Bieb./data