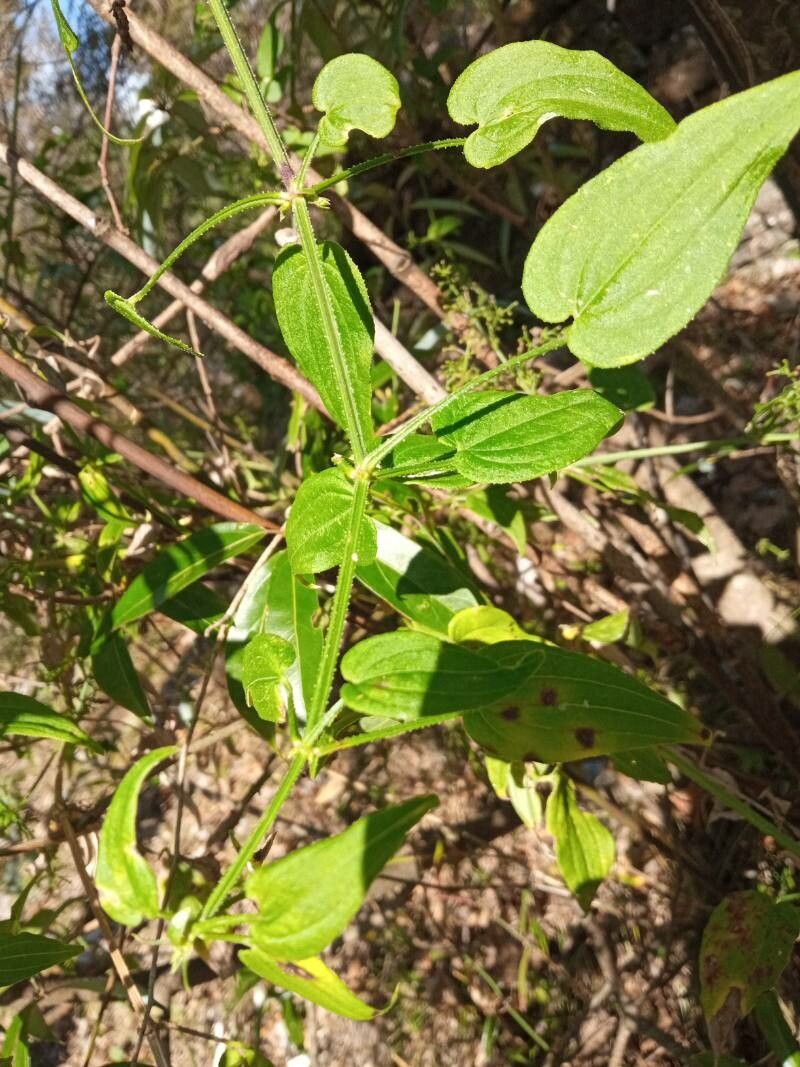
Hello, fellow plant lovers! It’s wonderful to have you join me in the garden today. I’m so excited to talk about a plant that’s truly special: Rubia manjith, also known as Indian Madder.
This isn’t just any plant; its roots have been used for centuries to create vibrant red dyes. Imagine having a little piece of that ancient tradition growing right in your home or garden! Plus, the satisfaction of nurturing a new plant from a tiny cutting or a division is just about unmatched. For those dipping their toes into propagation, Rubia manjith is a moderately easy plant, offering a rewarding experience with a little bit of care.
The Best Time to Start
When it comes to getting new Rubia manjith plants going, spring is your golden ticket. As the days get longer and the plant is actively growing, its energy levels are high, making it much more receptive to rooting. You’ll see the best success rates when you take cuttings from healthy, vigorous stems that are no longer strictly woody but aren’t completely soft and new either. Think of it as the prime time for new growth.
Supplies You’ll Need
Before we get our hands dirty, let’s gather our tools. Having everything ready makes the process so much smoother.
- Sharp Pruning Shears or a Clean Knife: For making clean cuts.
- Rooting Hormone (optional but recommended): A little boost can go a long way.
- Well-Draining Potting Mix: A good blend for me is usually 50% standard potting soil and 50% perlite or coarse sand.
- Small Pots or Seedling Trays: Clean ones are crucial to prevent disease.
- Watering Can or Spray Bottle: For gentle watering.
- Clear Plastic Bags or a Propagator Lid: To create a humid environment.
- Labels: To remember what you’ve planted and when!
Propagation Methods
Rubia manjith is quite versatile, and I’ve had great success with a couple of methods.
Stem Cuttings
This is my go-to for Rubia manjith.
- Select a healthy stem. Look for one that’s about 4-6 inches long. Make sure it has at least two or three sets of leaves.
- Make a clean cut just below a leaf node. This is where the magic happens, where roots are most likely to form.
- Remove the lower leaves. You want to clear off at least the bottom leaf node to prevent them from rotting in the soil.
- Dip the cut end in rooting hormone, if you’re using it. Swirl gently to coat the cut surface.
- Plant the cutting. Stick the prepared end into your moist, well-draining potting mix. Make sure the leaf node where you removed the leaves is buried in the soil.
- Firm the soil gently around the cutting.
- Water lightly to settle the soil.
- Create humidity. Cover the pot with a clear plastic bag or a propagator lid. This keeps the moisture in, which is essential for cuttings. Poke a few small holes in the bag for ventilation.
Division
If your Rubia manjith is already a mature, established plant, division is a fantastic way to create new ones.
- Gently remove the plant from its pot or dig it up from the garden. Be as careful as possible with the roots.
- Inspect the root ball. Look for natural divisions where the plant has grown into multiple sections.
- Use your hands or a clean trowel to gently tease apart the root ball into smaller sections. Ensure each section has at least one healthy root system and a few growing points (stems/leaves).
- Pot up each division into its own container with fresh, well-draining potting mix.
- Water thoroughly after planting.
The “Secret Sauce” (Pro Tips)
Here are a few things I’ve learned over the years that really seem to make a difference:
- Bottom Heat is Your Friend: Rubia manjith loves a little warmth from below. Placing your pots on a heat mat specifically designed for seedlings can significantly speed up root development. It mimics the warmth of spring.
- Don’t Drench, Mist: When you’ve just taken cuttings, overwatering is the quickest way to invite rot. Instead of giving them a good soak, lightly mist the leaves and soil daily or as needed to keep them hydrated but not waterlogged. If using the plastic bag method, check the soil moisture through the bag; it should be barely damp.
- Patience, Young Grasshopper! I know it’s tempting to keep poking and prodding, but resist the urge to tug on your cuttings. You’ll know they’ve rooted when you see new leaf growth or feel a slight resistance when you gently tug. This can take anywhere from four to eight weeks, sometimes longer.
Aftercare & Troubleshooting
Once you see those happy roots forming (usually indicated by new growth emerging from the top or a gentle tug not dislodging the cutting), it’s time for a little adjustment.
- Gradually Acclimate: If your cuttings were covered, start by removing the plastic bag for a few hours each day, slowly increasing the duration over a week. This helps them adjust to drier air without shock.
- Move to Brighter Light: Once rooted and starting to actively grow, they’ll appreciate brighter, indirect light. Avoid harsh, direct sun, which can scorch young leaves.
- Watering: Continue to water when the top inch of soil feels dry. They’re still young and establishing themselves, so consistency is key.
- Signs of Trouble: The most common issue is rot, which looks like mushy, black stems at the soil line. This usually means too much moisture and not enough air circulation. If you see it, remove the affected cutting immediately and check your watering habits for the others. Another sign of failure is a cutting that dries out completely and wilts without any signs of life. This can happen if the humidity wasn’t maintained or if the cutting wasn’t viable from the start.
Enjoy the Journey!
Propagating Rubia manjith is a truly rewarding experience. You’re not just gaining new plants; you’re learning to understand the rhythm of your garden and the incredible resilience of nature. Be patient, observe your little green babies, and celebrate every tiny bit of progress. Happy propagating!
Resource:
https://identify.plantnet.org/k-world-flora/species/Rubia%20manjith%20Roxb./data