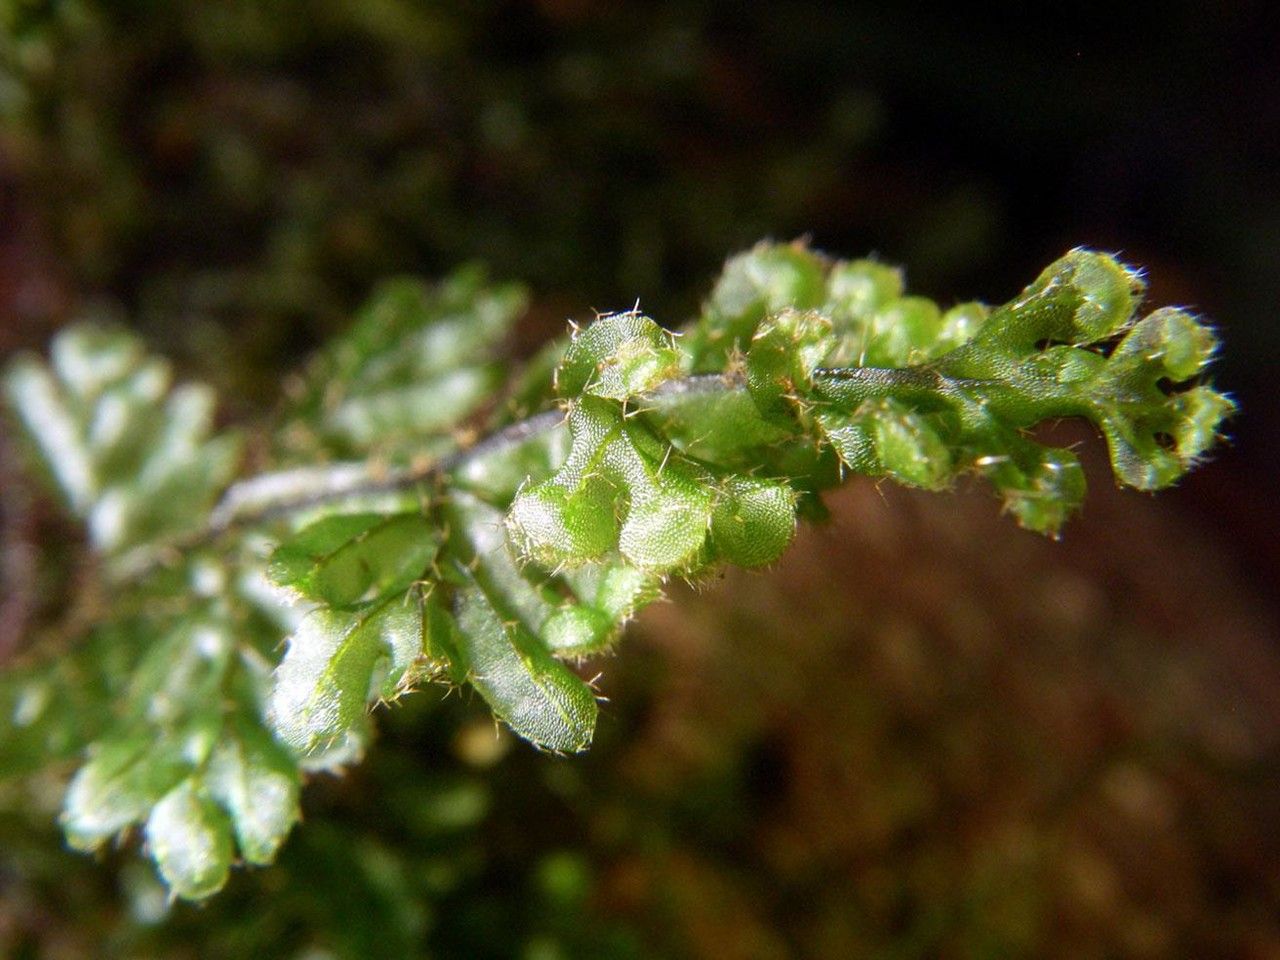
Hello fellow plant lovers! I’m so thrilled you’ve stumbled upon this little guide to propagating Hymenophyllum hirsutum. This feathery fern, with its intricate fronds, is an absolute gem in any shaded corner. Bringing a new one into existence from an existing plant? Well, that’s a special kind of magic, and surprisingly achievable! Now, while Hymenophyllum hirsutum isn’t one of those “stick it in dirt and it instantly roots” kinds of plants, with a little patience and the right approach, you can definitely coax new life from your established beauties. It’s a rewarding journey, for sure.
The Best Time to Start
For ferns like Hymenophyllum hirsutum, the spring and early summer are your prime propagation seasons. This is when the plant is actively growing and has the most energy reserves to put into developing new roots. Look for healthy, vigorous new growth – these are the best candidates for taking cuttings. Avoid propagating from plants that are stressed or looking a bit under the weather.
Supplies You’ll Need
Gathering your tools beforehand makes the whole process smoother. Here’s what I usually have on hand:
- Sharp, sterile pruning shears or a craft knife: Cleanliness is key to preventing disease.
- Rooting hormone (optional but helpful): A good quality rooting powder or gel can significantly boost your success rate.
- Well-draining potting mix: I love a blend of peat moss, perlite, and a bit of orchid bark. This mimics their natural epiphytic environment.
- Small pots or propagation trays: Clean ones, of course!
- Clear plastic bags or a propagation dome: To create a humid environment.
- Watering can with a fine rose or a spray bottle: For gentle watering.
- A warm, bright spot (but out of direct sun): Think of a bright window sill that doesn’t get harsh afternoon light.
Propagation Methods
For Hymenophyllum hirsutum, the most straightforward and successful method is by division. These ferns tend to grow in clumps, and separating these clumps is the easiest way to multiply them.
- Gently Remove the Parent Plant: Carefully take your Hymenophyllum hirsutum out of its pot. If it’s in a very established pot, you might need to run a knife around the edge to loosen it.
- Inspect the Root Ball: Look for natural divisions in the root system. You’ll often see areas where the plant has naturally branched out.
- Separate the Divisions: This is the most crucial step. Use your clean pruning shears or your fingers to gently pull or cut apart the clumps. Ensure each division has a good portion of healthy roots and at least a few healthy fronds. Don’t be afraid to get your hands a little dirty!
- Pot Up the New Plants: Pot each division into its own small pot filled with your prepared potting mix. Plant them at the same depth they were growing previously.
- Water Thoroughly: Water the newly potted divisions well to settle the soil around the roots.
The “Secret Sauce” (Pro Tips)
After years of coaxing ferns, I’ve picked up a few tricks. These might seem small, but they can make a big difference:
- Don’t Drown Those Roots: While humidity is essential, you don’t want the potting mix to be soggy. Allow the top layer of soil to dry out slightly between waterings. Overwatering is the fastest way to invite rot.
- Mist is Your Friend: Once your divisions are potted, I like to lightly mist the fronds daily. This adds that extra layer of humidity that these delicate ferns crave, especially in their early stages.
- A Touch of Warmth Helps: If you have a propagation mat or can place the pots on top of a gently warm spot (like near a router or on a windowsill that gets gentle warmth), this can encourage root development from below. It mimics the conditions found on warm, damp tree branches where they often grow naturally.
Aftercare & Troubleshooting
Once your Hymenophyllum hirsutum divisions are planted, the key is consistent care and observation.
- Maintain Humidity: Keep them covered with a plastic bag or under a propagation dome to maintain high humidity. Ventilate the bag or dome for a few minutes each day to prevent fungal issues.
- Bright, Indirect Light: Place them in a location with bright, filtered light. Direct sunlight will scorch those tender new fronds.
- Be Patient: New roots can take anywhere from 4 to 8 weeks to develop. You’ll start to see new frond growth, which is the best indicator of success.
- Troubleshooting: The most common problem is rot, usually indicated by mushy, brown stems or fronds turning black and limp. This is almost always due to overwatering. If you see signs of rot, remove the affected parts immediately and let the soil dry out more thoroughly. If the whole division seems to be failing, it might not have been healthy enough to begin with. Don’t be discouraged!
A Encouraging Closing
Propagating plants is a journey, and Hymenophyllum hirsutum is a beautiful one to embark on. Enjoy the process, learn from each attempt, and celebrate those first signs of new growth. Before you know it, you’ll have more of these gorgeous ferns to enjoy and perhaps even share with friends. Happy growing!
Resource:
https://identify.plantnet.org/k-world-flora/species/Hymenophyllum%20hirsutum%20(L.)%20Sw./data