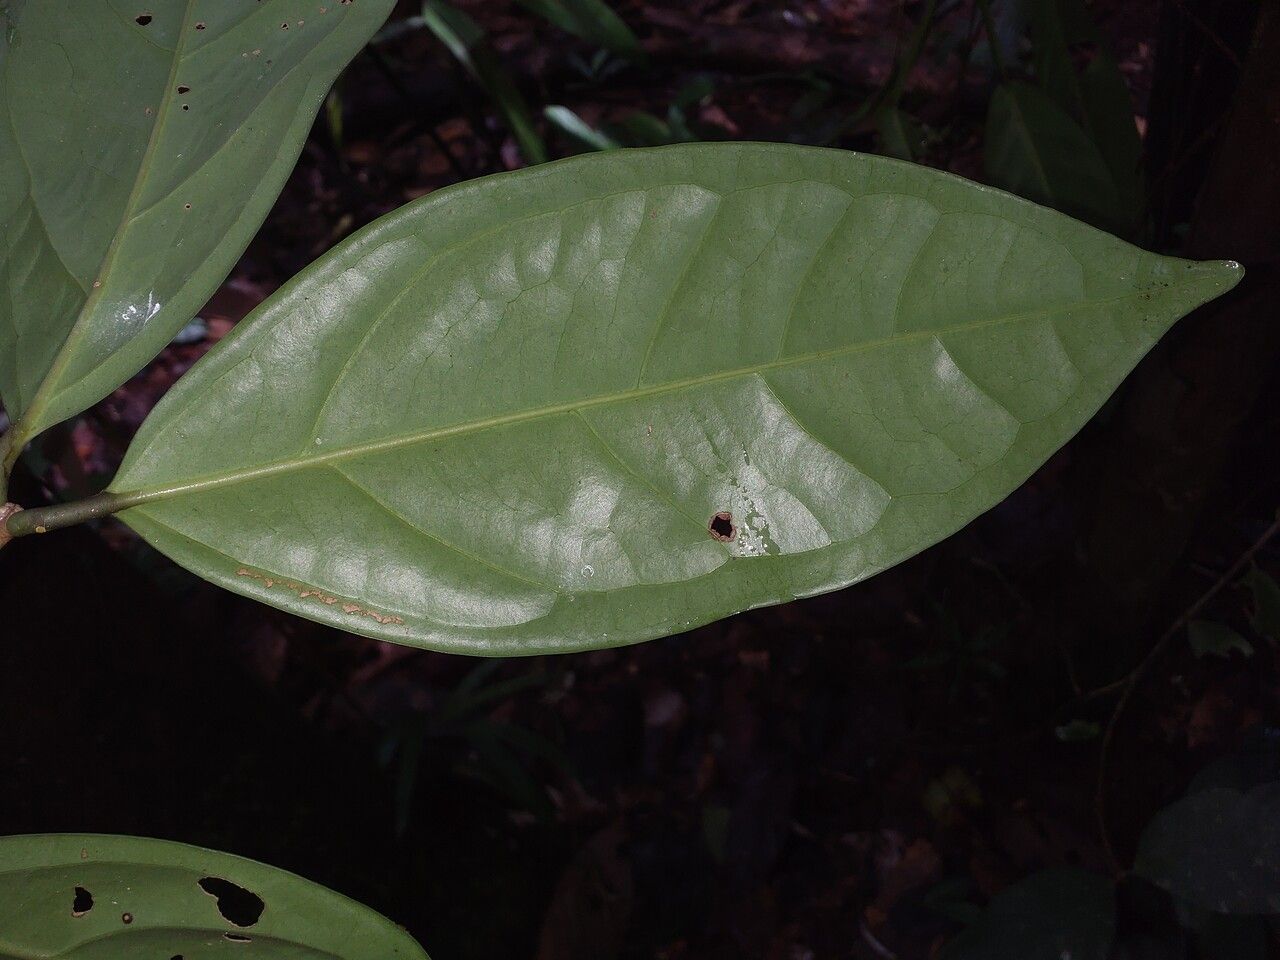
Hello fellow garden enthusiasts! Today, I want to chat about a truly special plant: Eugenia anastomosans. If you’ve ever admired its delicate foliage and charming blooms, you’re not alone. This beauty brings a touch of the tropics right into our homes, and let me tell you, successfully propagating it is incredibly rewarding. It’s a project that brings a real sense of accomplishment. For those new to the plant world, it’s generally a moderate challenge – not the absolute easiest, but certainly achievable with a little care and attention.
The Best Time to Start
When it comes to getting new Eugenia anastomosans plants going, spring is your golden ticket. As the days get longer and the plant enters its active growing season, it’s bursting with energy. This vigorous growth means it’s much more receptive to rooting. Waiting until after your plant has finished its main flush of flowering is also a good bet. You want healthy, vigorous stems, not old, woody ones.
Supplies You’ll Need
Here’s what I always keep on hand when I’m propagating ‘Eugenia’:
- Sharp Pruning Shears or a Clean Knife: A clean cut is crucial!
- Rooting Hormone Powder or Gel: This really gives cuttings a boost.
- Well-Draining Potting Mix: A mix of perlite, peat moss (or coco coir), and a bit of compost works wonders. You can also buy specific cactus/succulent mixes which tend to drain well.
- Small Pots or Seedling Trays: With good drainage holes, of course.
- Plastic Bags or a Propagation Dome: To create a humid environment.
- Watering Can with a Fine Rose: Gentle watering is key.
Propagation Methods
For Eugenia anastomosans, stem cuttings are my go-to method. It’s reliable and usually gives me the best results.
- Select Your Cuttings: Look for healthy, semi-hardwood stems. These are often a vibrant green but have started to firm up a little. They should have at least two sets of leaves. Avoid the very tip and older, woody growth.
- Make the Cut: Using your clean pruning shears or knife, take a cutting about 4-6 inches long, making a clean cut just below a leaf node (the point where a leaf attaches to the stem).
- Prepare the Cutting: Gently remove the leaves from the bottom half of the cutting. This prevents them from rotting in the soil. You can leave the top 2-3 leaves, or even cut larger leaves in half horizontally to reduce water loss.
- Apply Rooting Hormone: Dip the cut end of the stem into your rooting hormone, ensuring it’s coated. Tap off any excess.
- Plant Your Cuttings: Fill your small pots with your well-draining potting mix. Make a small hole in the center with your finger or a pencil. Insert the cutting, making sure the nodes where you removed leaves are buried. Gently firm the soil around it.
- Water Gently: Water thoroughly but gently, so the soil is moist but not waterlogged.
The “Secret Sauce” (Pro Tips)
Here are a couple of things I’ve learned over the years that make a big difference:
- Bottom Heat is Your Friend: I swear by placing my pots on a heat mat, especially in the cooler months. This encourages root development from below, giving you much faster results. Think of it as giving the roots a cozy warm bed to grow in!
- Humidity is Key, but Beware of Soggy Leaves: When you cover your cuttings with a plastic bag or dome, make sure the leaves don’t touch the plastic. Condensation is good, but soggy leaves sitting against the plastic can invite fungal issues. I often use small stakes to prop up the plastic if needed.
Aftercare & Troubleshooting
Once your cuttings are planted, you want to create that humid microclimate. Cover them with a plastic bag or a propagation dome, and place them in bright, indirect light. Keep the soil consistently moist – not soaking wet. You can gently mist the leaves daily, or whenever you water.
You’ll know your cuttings have rooted when you see new leaf growth! This can take anywhere from 4 to 10 weeks, sometimes longer. Don’t be impatient!
The most common sign of trouble is rot. If your cuttings start to look mushy or black, it’s likely due to too much moisture or poor air circulation. If you see this, remove the affected cutting immediately to prevent it from spreading. Sometimes, even with the best care, not every cutting will make it, and that’s perfectly normal.
A Little Patience Goes a Long Way
Propagating plants is a journey, and sometimes it feels like a bit of magic. Be patient with your ‘Eugenia’ cuttings, provide them with consistent care, and enjoy the process of watching new life emerge. The satisfaction of nurturing a new plant from a simple cutting is truly something special. Happy growing!
Resource:
https://identify.plantnet.org/k-world-flora/species/Eugenia%20anastomosans%20DC./data