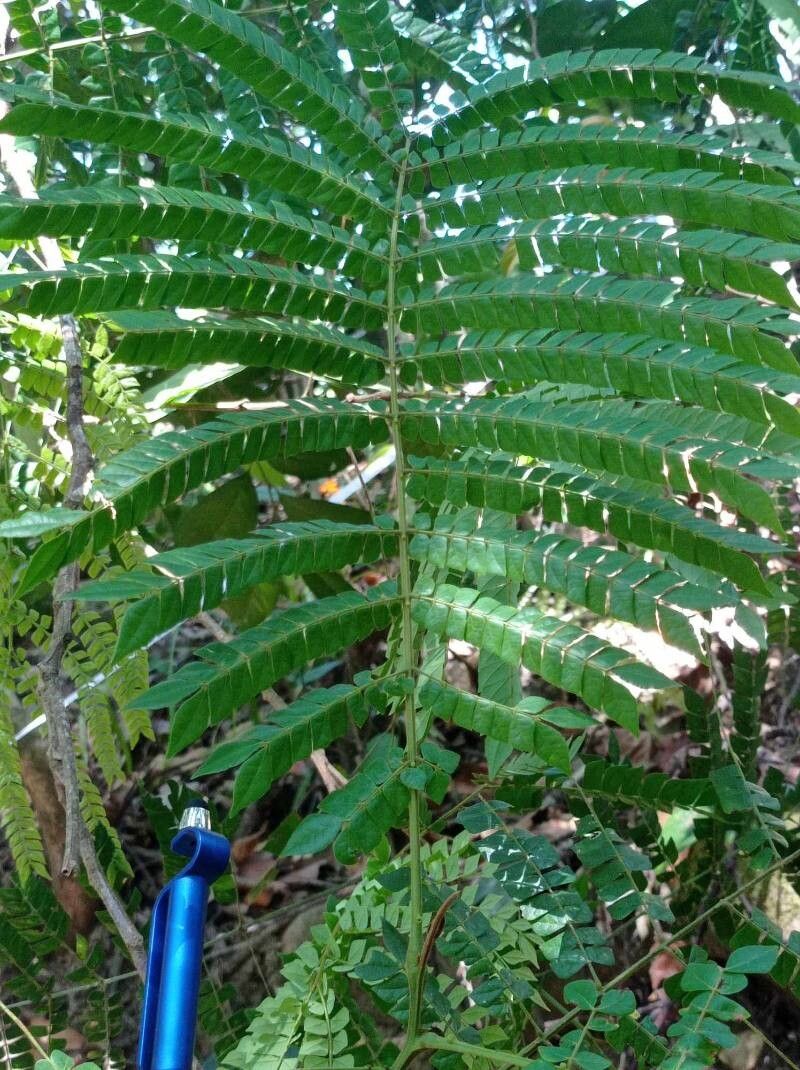
Hello fellow garden lovers! Today, I want to chat about a plant that’s truly special: Archidendron clypearia, often called the “Monkey’s Comb” or “Fairy Comb” more commonly. Its striking, feathery foliage and unique, brush-like flowers are a real showstopper. And the best part? You can bring this beauty into your own garden by successfully propagating it! It’s a wonderfully rewarding process, seeing a tiny cutting or seed transform into a lush new plant. Now, I won’t lie, Archidendron clypearia can be a bit of a diva when it comes to propagation, so while not for the absolute beginner, it’s definitely achievable with a little patience and the right approach.
The Best Time to Start
For the highest chance of success with Archidendron clypearia, I always aim to propagate in the late spring to early summer. This is when the plant is in its active growing season. New growth is generally more vigorous and responsive to propagation attempts. Think of it as giving your cuttings the best possible environment to establish themselves before the cooler months arrive.
Supplies You’ll Need
Gathering your tools beforehand makes the whole process smoother. Here’s what I recommend:
- Sharp Pruning Shears or a Craft Knife: For clean cuts.
- Rooting Hormone: A powdered or gel form will help encourage root development.
- Well-Draining Potting Mix: A good blend is about 50% perlite and 50% peat moss or coco coir. You want it airy and not prone to staying waterlogged.
- Small Pots or Propagating Trays: Clean and with drainage holes.
- Clear Plastic Bags or a Propagating Dome: To create a humid microclimate.
- Spray Bottle: For misting.
- Optional: Bottom Heat Mat: Especially helpful if your room is cooler.
Propagation Methods
Archidendron clypearia can be propagated from stem cuttings, and sometimes from seeds, though cuttings are generally more reliable for getting an exact clone of your parent plant.
Stem Cuttings
This is my go-to method for most of my favorite plants, and it works well for Archidendron clypearia if done correctly.
- Select Healthy Stems: Look for semi-hardwood cuttings from the current season’s growth. These are stems that are firm but still show some flexibility. Avoid very soft, new growth or old, woody stems. You want cuttings that are about 4-6 inches long.
- Make the Cut: Using your sharp pruning shears or craft knife, make a clean cut just below a leaf node (where a leaf attaches to the stem). This is where roots are most likely to form.
- Prepare the Cutting: Gently remove the lower leaves, leaving just two or three at the top. If the remaining leaves are very large, I like to cut them in half horizontally. This reduces water loss from transpiration while still allowing for photosynthesis.
- Apply Rooting Hormone: Dip the cut end of the stem into your rooting hormone. Tap off any excess.
- Plant the Cutting: Fill your small pot with your prepared well-draining potting mix. Make a hole with a pencil or your finger in the center, then insert the cutting. Gently firm the soil around the stem to ensure good contact.
- Water Gently: Water the soil thoroughly but carefully so you don’t disturb the cutting.
- Create Humidity: Place the pot inside a clear plastic bag (tenting it up with stakes if needed so it doesn’t touch the leaves) or cover it with a propagating dome. This traps humidity, which is crucial for cuttings waiting to root.
The “Secret Sauce” (Pro Tips)
Here are a few tricks I’ve learned over the years that can really boost your success:
- The Leaf Node is King: I cannot stress this enough – always make your cut directly below a leaf node. This is where the magic happens, where those root-producing cells are most concentrated.
- Don’t Let Leaves Touch the Water (If Doing Water Propagation): While I primarily use soil for Archidendron clypearia, if you were to try water propagation, remember that leaves submerged in water will rot. They’ll pull energy from the cutting instead of helping it. Only the stem should be in the water.
- Embrace Bottom Heat: If your propagating area tends to be on the cooler side, investing in a bottom heat mat is a game-changer. It provides gentle warmth to the base of the cuttings, encouraging root development much faster and more reliably. Think of it as a gentle hug for your roots!
Aftercare & Troubleshooting
Once your cuttings are planted, the waiting game begins!
- Location, Location, Location: Place your pots in a bright, indirect light spot. Avoid direct sunlight, which can scorch the delicate cuttings and dry them out too quickly.
- Maintain Humidity: Mist the leaves occasionally (especially if not using a dome) and check that the soil remains consistently moist but not soggy. The plastic bag or dome should prevent excessive drying.
- Patience is Key: You’re looking for signs of new growth – tiny leaves unfurling or increased vigor. This usually indicates that roots have formed. This can take anywhere from 4 weeks to several months. Gently tugging on the cutting is a very gentle way to check for resistance, which implies rooting.
- Troubleshooting: The most common problem is rot. If your cutting turns black and mushy, it’s a sign of too much moisture and/or poor air circulation. Discard any rotted cuttings immediately to prevent it from spreading. If your cuttings are wilting and not recovering, they might be too dry or not getting enough humidity.
A Warm Encouragement
Remember, gardening is a journey of learning and experimentation. Don’t be discouraged if your first few attempts aren’t wildly successful. Each plant, and each cutting, is an opportunity to learn. Celebrate the successes, learn from the challenges, and most importantly, enjoy the process of nurturing new life. Happy propagating!
Resource: