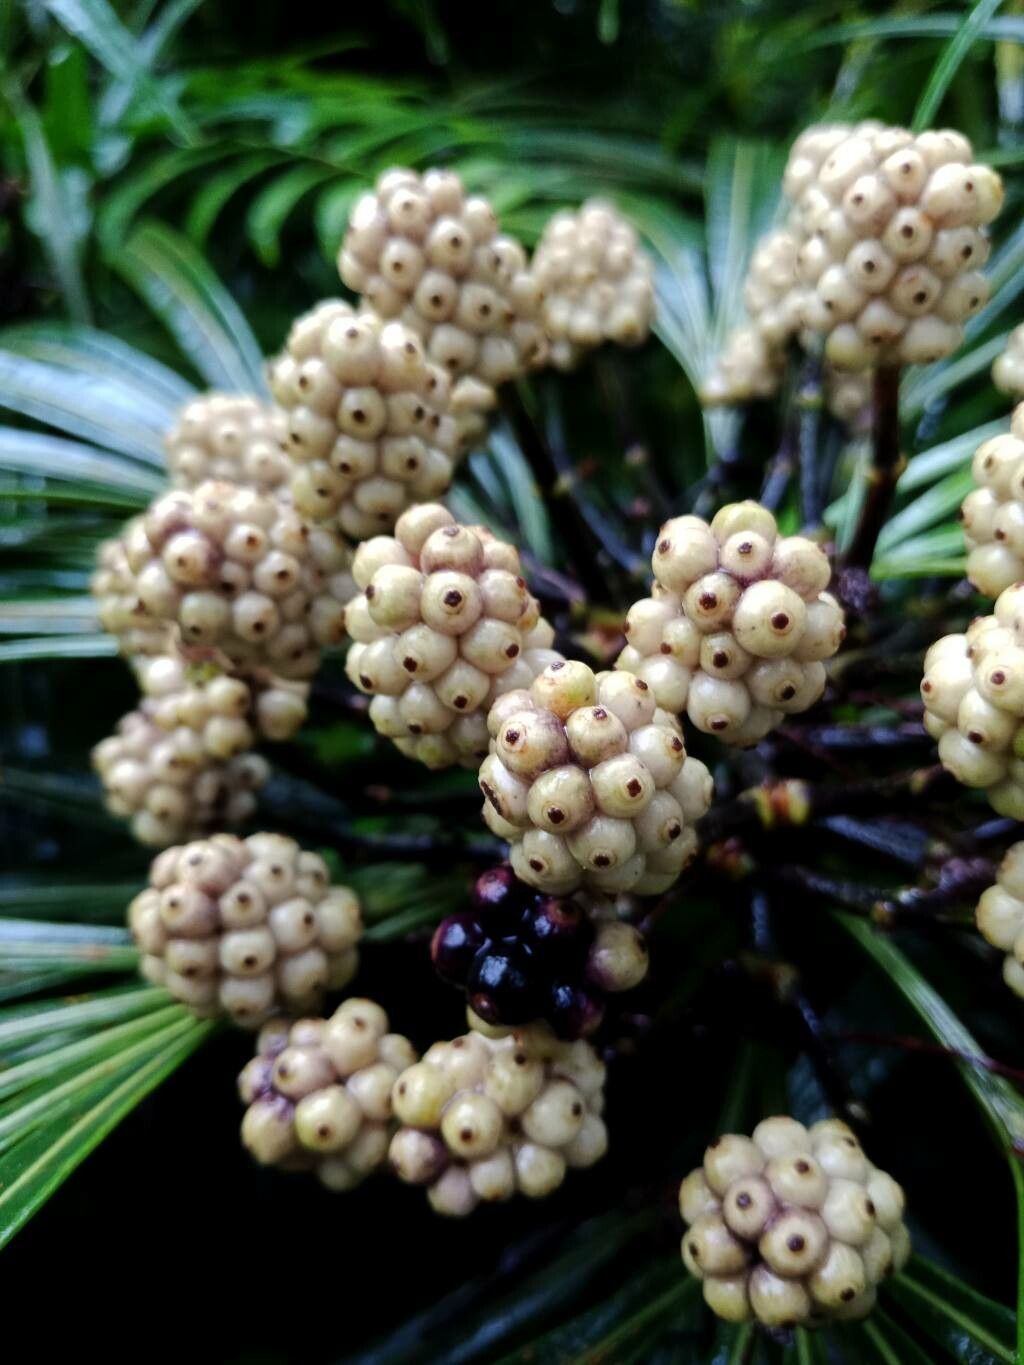
Hello, fellow plant enthusiasts! Today, we’re diving into the wonderful world of propagating Osmoxylon lineare, also known as the ‘Wonder Tree’. If you haven’t met this beauty yet, imagine a cascade of delicate, star-shaped leaves on slender stems, creating an airy, ethereal presence in your home or garden. It’s truly a showstopper, and the joy of creating more of these delights from a single plant is incredibly rewarding. Now, is it a beginner-friendly plant to propagate? I’d say it’s moderately easy. With a little attention to detail, you’ll be well on your way to a small forest!
The Best Time to Start
For the highest success rate with Osmoxylon lineare, aim to propagate during its active growing season. This typically falls in the late spring and summer, when the plant has plenty of energy to put into root development. You’re looking for healthy, healthy growth. Avoid propagating from stressed or dormant plants.
Supplies You’ll Need
Gathering your supplies beforehand makes the whole process smoother. Here’s what I usually have on hand:
- Sharp Pruning Shears or a Craft Knife: Clean and sterilized, of course!
- Rooting Hormone: While not strictly essential for Osmoxylon lineare, it can give your cuttings a nice boost. I prefer a powder form.
- Potting Mix: A well-draining mix is key. I love a blend of perlite, coco coir, and a small amount of peat moss. You can also buy pre-made cactus or succulent mixes.
- Small Pots or Seedling Trays: With drainage holes! Essential.
- Plastic Bag or Propagator Lid: To create a humid environment.
- Watering Can with a Fine Rose: For gentle watering.
- Labels: So you don’t forget what you’ve propagated and when!
Propagation Methods
Osmoxylon lineare is quite amenable to propagation from stem cuttings. It’s my go-to method for this plant.
Here’s how I do it:
- Select Your Cuttings: Choose healthy stems that are at least 4-6 inches long. Look for stems that are mature but not woody. You want to see new growth nodes – little bumps where leaves will emerge.
- Make the Cut: Using your sterilized shears or knife, make a clean cut just below a leaf node. This is where the magic of root formation happens. Remove the lower leaves from the cutting, leaving just a few at the top. This prevents them from rotting in the soil and allows the plant to focus its energy on rooting.
- Apply Rooting Hormone (Optional but Recommended): Dip the cut end of the stem into your rooting hormone, tapping off any excess.
- Plant Your Cuttings: Fill your small pots with the prepared well-draining potting mix. Make a small hole with your finger or a pencil, and gently insert the cutting. Firm the soil gently around the base to ensure good contact.
- Create a Humid Environment: Water the soil lightly. Then, cover the pot with a clear plastic bag or a propagator lid. You want to create a mini-greenhouse effect – this humidity is vital for preventing the cuttings from drying out before they root. Place the pots in a warm spot with bright, indirect light. Avoid direct sun, as it can scorch the tender cuttings.
The “Secret Sauce” (Pro Tips)
Here are a couple of things I’ve learned over the years that really make a difference:
- Don’t Let Leaves Touch the Water (if water propagating): While I primarily use soil for Osmoxylon lineare, if you do choose to root a few cuttings in water, make sure none of the leaves are submerged. Only the stem should be in the water. Submerged leaves will quickly rot and can take your cutting down with them.
- Bottom Heat is Your Friend: For faster rooting, especially if your home is on the cooler side, placing your pots on a heated propagator mat can work wonders. It provides consistent, gentle warmth to the soil, encouraging root development. You’ll be amazed at the difference it makes!
Aftercare & Troubleshooting
Once you start seeing new leaf growth or feel some resistance when gently tugging on your cutting, you know roots are forming!
- Gradually Acclimatize: Once you see good root development (after about 3-6 weeks, usually), gradually remove the plastic bag or lid over a few days. This allows the new plant to get used to your home’s humidity levels.
- Water Sparingly: Continue to water when the top inch of soil feels dry. Overwatering is a common mistake and can lead to root rot.
- Troubleshooting Rot: The most common issue you’ll encounter is stem rot. If you see your cutting turning mushy and black, it’s likely rot. This is usually a sign of too much moisture and not enough airflow or drainage. Don’t despair! Sometimes, salvaging a piece of the healthy stem and starting again is the best course of action. Ensure your soil is draining well and consider using bottom heat to help dry things out a bit.
A Little Patience Goes a Long Way
Propagating plants is a journey, and with Osmoxylon lineare, it’s a journey filled with beautiful rewards. Be patient. Nature works on its own time. Don’t be discouraged if not every cutting takes – that’s just part of the learning process. Celebrate every little bit of success, and enjoy the feeling of nurturing new life. Happy propagating!
Resource:
https://identify.plantnet.org/k-world-flora/species/Osmoxylon%20lineare%20(Merr.)%20Philipson/data