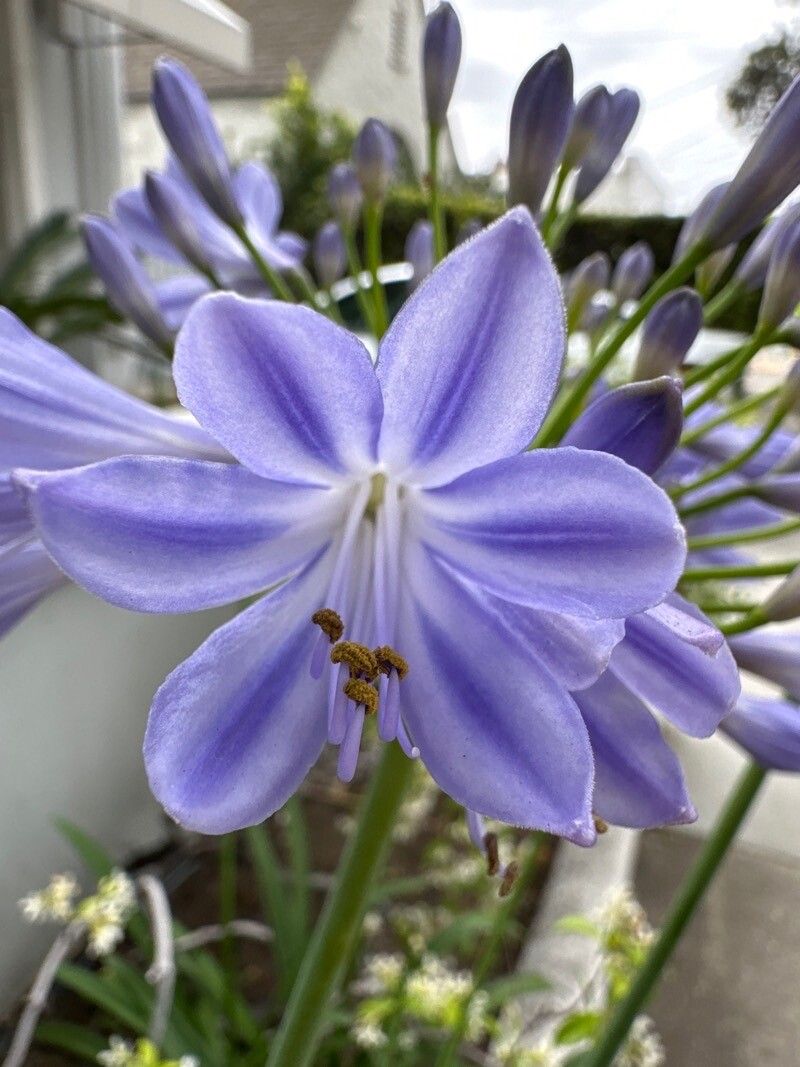
Hello green thumbs! I’m so excited to chat today about a plant that truly steals the show in my garden: Agapanthus coddii. These gorgeous agapanthus varieties, with their stunning blue blooms, are just breathtaking. Not only are they a talking point for anyone who visits, but propagating them yourself is incredibly rewarding. Best of all, for those of you just starting out? Agapanthus coddii is pretty forgiving, making it a great plant to try your hand at propagation with.
The Best Time to Start
Timing is everything, as we all know! For Agapanthus coddii, the golden window for propagation is after flowering, ideally in late summer or early autumn. This is when the plant has built up good energy reserves and is transitioning into a dormancy period, making it less stressed by the process. You might also have some success in early spring, just as new growth is appearing, but I find the autumn approach yields the best results.
Supplies You’ll Need
Gathering your tools beforehand makes the whole process smooth sailing. Here’s what I always have on hand:
- Sharp Pruning Shears or a Knife: Clean cuts are crucial for preventing disease.
- Well-Draining Potting Mix: A mix of equal parts compost, perlite, and coarse sand works wonders. You can buy specialized seed starting or cutting mixes too.
- Containers: Small pots, seed trays, or even recycled yogurt cups with drainage holes.
- Rooting Hormone (Optional but Recommended): This is a powder or gel that helps cuttings develop roots faster.
- Watering Can with a Fine Rose: Gentle watering is key.
- Labels: Don’t forget to mark what you’ve planted and when!
- Gravel or Small Stones: For better drainage in pots.
Propagation Methods
Now for the fun part – getting your hands dirty! For Agapanthus coddii, division is generally the most straightforward and successful method.
Method: Division
This involves separating the mature plant into smaller pieces, each with its own roots and shoots.
- Carefully Excavate: Gently dig around the base of your mature Agapanthus coddii plant. You want to lift the entire root ball out of the ground or its pot.
- Shake Off Excess Soil: Gently shake off as much of the loose soil as you can. This allows you to clearly see the root structure and where the rhizomes (thickened underground stems) are joined.
- Identify Division Points: Look for natural breaks in the rhizomes. You’ll see where one clump of growth seems to be naturally separating from another, often with its own set of roots.
- Make the Cut (or Break): Using your sharpest pruning shears or a clean knife, carefully separate the sections. You want each new division to have at least one healthy root section and a few growing points or shoots. If the rhizomes are very tough, you might even be able to carefully break them apart with your hands.
- Prepare the Divisions: Remove any dead or damaged leaves from your new divisions.
- Pot Them Up: Fill your chosen containers with your prepared potting mix. Make a small hollow in the center and place each division, ensuring the top of the rhizome is just about level with the soil surface, or slightly below. Don’t bury the growing points too deep.
- Water Gently: Water each pot thoroughly but gently, allowing the excess to drain away.
The “Secret Sauce” (Pro Tips)
Here are a few things I’ve learned over the years that can give you a real edge:
- Don’t Be Afraid to Be Firm: While you want to treat the plant gently, when dividing, if a rhizome is really tough, a firm, decisive cut or break is better than a messy, hesitant one. A clean break heals faster.
- Bottom Heat is a Game Changer (Especially for Spring Divisions): If you’re dividing in early spring and want to give your new plants a boost, placing their pots on a heat mat designed for seedlings can significantly speed up root development. Just ensure it’s not too hot!
- Embrace the Dormancy: If your agapanthus is already going a bit dormant in autumn, don’t worry if the leaves look a little tired. As long as the roots are firm and the rhizome looks healthy, it will bounce back with good care.
Aftercare & Troubleshooting
Once your divisions are in their new homes, give them a little TLC.
Watering: Keep the soil consistently moist but not waterlogged for the first few weeks. As they establish, you can gradually water less often, allowing the top inch of soil to dry out between waterings.
Light: Place newly divided agapanthus in a bright, indirect light location. Avoid harsh, direct sun, especially in the first few weeks, as this can stress them.
Troubleshooting: The most common issue you might encounter is rot. This is usually a sign of overwatering or poorly draining soil. If a division looks mushy or has a foul smell, remove it from the pot immediately and discard it to prevent the rot from spreading. Sometimes, a division might just be too weak to make it. Don’t be discouraged! It happens to the best of us.
A Little Patience Goes a Long Way
Propagating plants is a journey, and Agapanthus coddii is a wonderful companion for that journey. Be patient with your new divisions. It might take a few weeks for you to see new leaf growth, and perhaps even a season before they’re ready to put on a spectacular bloom. Enjoy the process, celebrate every little success, and soon you’ll have a whole collection of these stunning blue beauties to share! Happy gardening!
Resource:
https://identify.plantnet.org/k-world-flora/species/Agapanthus%20coddii%20F.M.Leight./data