Oh, hello there, fellow plant lover! I’m so glad you stopped by. Today, we’re diving into the wonderful world of propagating Koeleria crassipes. If you’ve ever admired this graceful grass, with its delicate, feathery blooms and lovely texture, you’re in for a treat. Getting more of these beauties for yourself is incredibly satisfying, and I’m here to show you how. Don’t worry, it’s quite achievable, even if you’re still building your green thumb confidence.
The Appeal of Koeleria crassipes
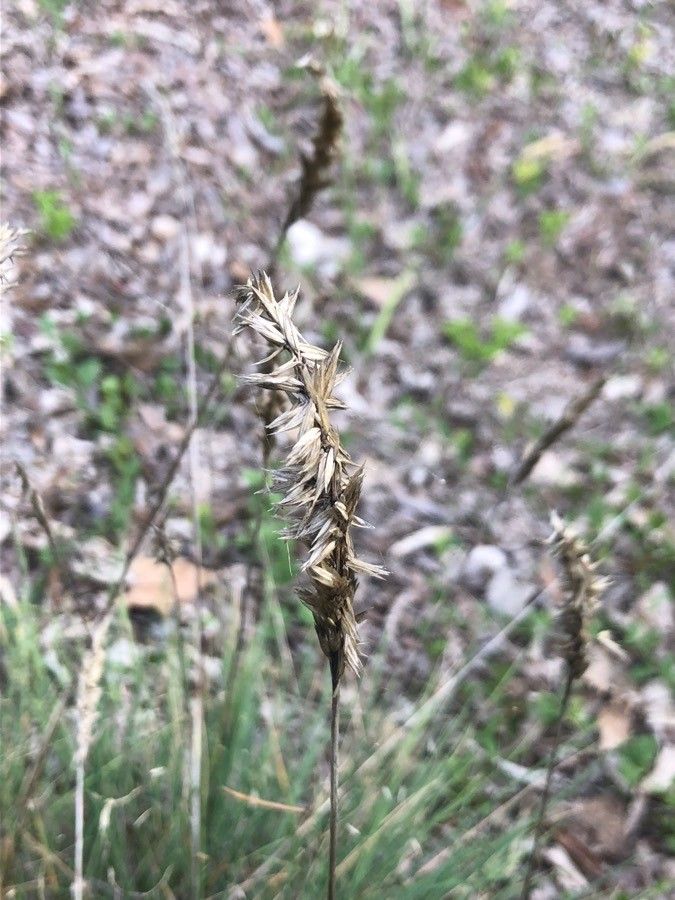
I absolutely adore Koeleria crassipes. It brings such a subtle elegance to any garden. The way its silvery-green foliage dances in the breeze and those airy flower heads create a soft, almost ethereal presence – it’s just magical. Propagating it means more of that beauty! You can fill in gaps, give plants to friends, or simply enjoy the satisfaction of growing from scratch. And the best part? It’s generally quite a forgiving plant to work with, making it a great choice for those venturing into propagation.
The Best Time to Start
For Koeleria crassipes, the absolute sweet spot for propagation is late spring to early summer. This is when the plant is in its active growth phase. It has plenty of energy to put into developing new roots. Starting around this time ensures the young plants have a good growing season ahead to establish themselves before cooler weather arrives.
Supplies You’ll Need
Gathering your tools before you begin makes the whole process smoother. Here’s what I typically have on hand:
- Sharp Pruning Shears or a Clean Knife: For making clean cuts.
- Potting Potting Mix: A well-draining mix is crucial. I like to use a standard potting soil blended with plenty of perlite or coarse sand to improve aeration. A good starting ratio is 2 parts potting soil to 1 part perlite.
- Small Pots or Seed Trays: Clean ones, of course!
- Rooting Hormone (Optional but Recommended): A powder or gel can give your cuttings a head start.
- Watering Can with a Fine Rose: To water gently.
- Plastic Bags or a Propagation Dome: To create a humid environment.
- Labels: Don’t skip this! You’ll thank yourself later.
Propagation Methods
Koeleria crassipes is most happily propagated through division. It’s straightforward and gives you a good chance of success.
Division Method:
- Prepare Your Plant: When your Koeleria crassipes is ready for its spring or early summer boost, carefully water it thoroughly a day or two before you plan to divide it. This helps the roots stay hydrated during the process.
- Gently Excavate: Gently lift the entire plant from its pot or the ground. If it’s in the ground, use a garden fork to loosen the soil around the root ball and lift it carefully.
- Assess the Roots: Now, look at the root ball. You’ll often see natural divisions where the plant has clumped and grown outwards.
- The Divide: Grasp the plant firmly with both hands, one on each side of a clump, and gently pull the root ball apart. You want to separate it into smaller sections, each with healthy roots and some leafy growth. If the roots are tightly bound, you can use a clean, sharp knife or even a trowel to carefully slice through them. Aim for divisions that are roughly 3-4 inches across.
- Inspect and Trim: Check the roots for any damaged or mushy parts and trim them away. You can also trim back any excessively long roots or dead foliage.
- Potting Up: Fill your clean pots with your prepared, well-draining potting mix. Make a hole in the center of each pot, large enough for the root ball of your division.
- Plant Your Divisions: Place each division into its prepared hole, ensuring the top of the root ball is level with the soil surface. Gently firm the soil around the roots.
- Water Gently: Water each newly potted division thoroughly but gently. You want the soil to be moist but not waterlogged.
- Create Humidity: Cover each pot loosely with a clear plastic bag or place them under a propagation dome. This helps maintain humidity around the leaves while the roots begin to establish.
The “Secret Sauce” (Pro Tips)
Here are a couple of tricks I’ve learned over the years that can really boost your success:
- Don’t Overcrowd Your Pots: When dividing, it’s tempting to try and get as many plants as possible. But resist the urge! Give each division enough space to grow. Cramped roots are unhappy roots, and it makes them more prone to rot.
- Indirect Light is Key: Once potted, place your new divisions in a spot that receives bright, indirect light. Direct sun, especially intense afternoon sun, can scorch those tender new leaves and dry out the soil too quickly, stressing the young plant before it has a chance to root.
- Bottom Heat Can Be a Game-Changer: While not strictly necessary for Koeleria crassipes division, if you happen to have a heat mat for seed starting, placing your potted divisions on it can encourage faster root development. Just ensure the mats aren’t too hot and monitor moisture closely.
Aftercare & Troubleshooting
Once your new Koeleria crassipes divisions are potted, give them consistent moisture. The goal is evenly moist soil, not soggy. You’ll know they’re establishing when you see new leaf growth emerging. This usually takes a few weeks.
The most common issue you might face is rot. This is almost always due to overwatering or poor drainage. If you notice leaves turning yellow and mushy, or the base of the plant becoming slimy, it’s a sign of trouble. In this case, gently remove the affected parts and allow the soil to dry out more before watering again. If the rot is severe, the division may not be salvageable, but don’t be discouraged!
Keep Going, Gardener!
Propagating plants is a journey, and like any good garden, it requires patience and a little bit of love. Don’t worry if every single division doesn’t make it. Learn from it, adjust your approach, and try again. The reward of nurturing a new plant from a piece of an old one is truly special. Happy propagating, and enjoy those beautiful Koeleria crassipes!
Resource:
https://identify.plantnet.org/k-world-flora/species/Koeleria%20crassipes%20Lange/data