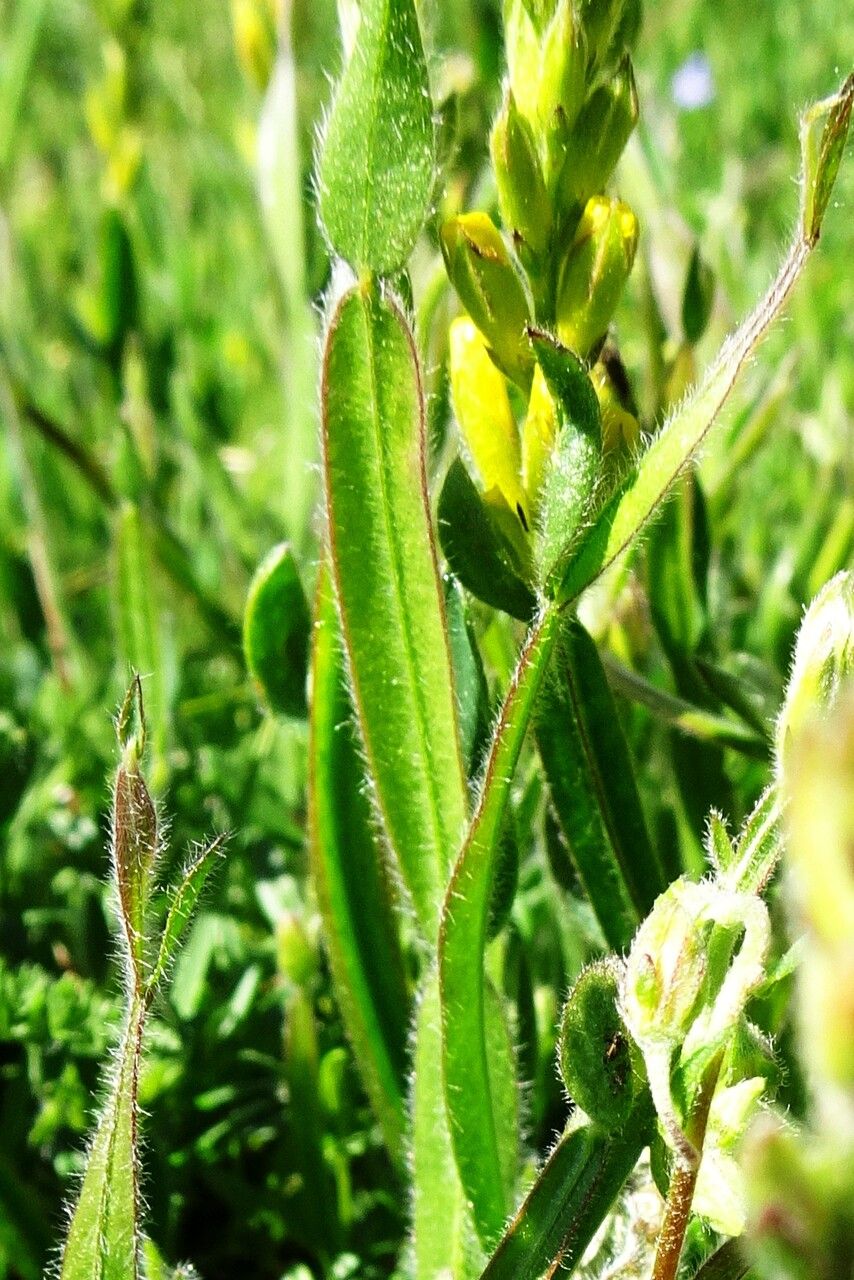
Hello, fellow garden lovers! Today, we’re going to talk about a real gem: Genista sagittalis, often called Arrowhead Broom. I’ve been growing this beauty for years, and I absolutely adore its low-slung, spreading habit and cheerful yellow blooms that carpet the ground in spring. It’s a fantastic plant for rock gardens, borders, or even spilling over a wall. If you’re looking to expand your collection or share this lovely plant with friends, propagating Genista sagittalis is a wonderfully rewarding endeavor. Now, I’ll be honest, it’s not quite as straightforward as propagating a succulent, but with a little patience and the right approach, you’ll be successful. This guide is designed to walk you through it with confidence.
The Best Time to Start
For the highest success rate, I always recommend taking stem cuttings in late spring or early summer. This is when the plant is actively growing, and the new shoots should be firm but not yet woody. You want cuttings that snap cleanly when bent, rather than feeling soft and floppy. Waiting until this growth stage gives you the best chance of those healthy cuttings rooting.
Supplies You’ll Need
Here’s what you’ll want to have on hand before you get started:
- Sharp, clean pruning shears or a knife: A clean cut is crucial to prevent disease.
- Rooting hormone (optional, but highly recommended): This really gives your cuttings a boost. I like the powder form for ease of use.
- Well-draining potting mix: A standard mix with added perlite or coarse sand works wonders. I often use a 50/50 blend of peat moss and perlite.
- Small pots or seed trays: Clean them thoroughly first!
- Plastic bags or a propagation dome: To create a humid environment.
- Watering can with a fine rose: For gentle watering.
Propagation Methods
We’ll focus on stem cuttings, as this is generally the most reliable method for Genista sagittalis.
- Gather your cuttings: Head out to your Genista sagittalis and look for healthy, non-flowering shoots. You want pieces that are about 3-4 inches long. Make your cut just below a leaf node (the point where a leaf attaches to the stem).
- Prepare the cuttings: Gently remove the lower leaves from your cuttings, leaving just a few at the top. This prevents them from rotting once planted.
- Apply rooting hormone: Dip the cut end of each cutting into your rooting hormone, tapping off any excess. This step really encourages root development.
- Pot them up: Fill your clean pots or trays with your well-draining potting mix. Make a small hole in the center of each with a pencil or your finger.
- Plant the cuttings: Insert the prepared cuttings into the holes, ensuring the leaf nodes are buried in the soil. Gently firm the soil around them.
- Water gently: Water thoroughly but gently, making sure the soil is evenly moist but not waterlogged.
- Create humidity: Cover the pots with a plastic bag, sealing it around the rim, or place them under a propagation dome. This traps moisture and keeps the humidity high, which is vital for cuttings to root.
The “Secret Sauce”
Here are a couple of my seasoned tricks for Genista sagittalis propagation:
- Bottom heat is your friend: While not strictly essential, placing your pots on a propagation mat or even a sunny windowsill that gets a little warmth from below can significantly speed up rooting. The warmth encourages root formation without stressing the developing leaves.
- Patience is paramount with woody plants: Genista sagittalis can be a bit slower to root than softer-stemmed plants. Don’t be discouraged if you don’t see new leaf growth or feel resistance when gently tugging after a few weeks. I often wait at least 4-6 weeks before I even think about checking for roots.
Aftercare & Troubleshooting
Once you start to see signs of new growth (tiny leaves appearing at the tips), it’s a good sign that roots have formed!
- Gradually acclimate: Begin by removing the plastic bag or dome for a few hours each day to let the cuttings adjust to drier air. Slowly increase the time until they are fully acclimatized.
- Water with care: Continue to water when the top inch of soil feels dry to the touch. Avoid overwatering, as this is the most common killer of cuttings.
- Watch for rot: If your cutting starts to turn black or mushy, it’s likely succumb to rot. Unfortunately, you can’t save a rotten cutting, so remove it promptly to prevent it from affecting others. Damp, cool conditions with poor air circulation are the main culprits here.
A Gentle Encouragement
Propagating Genista sagittalis is a journey, and like any gardening process, it’s about the learning and the joy of nurturing new life. Don’t be disheartened if you have a few failures – they happen to the best of us! Keep trying, observe your cuttings, and celebrate those little victories. Soon enough, you’ll have a wonderful patch of Arrowhead Broom to enjoy. Happy growing!
Resource:
https://identify.plantnet.org/k-world-flora/species/Genista%20sagittalis%20L./data