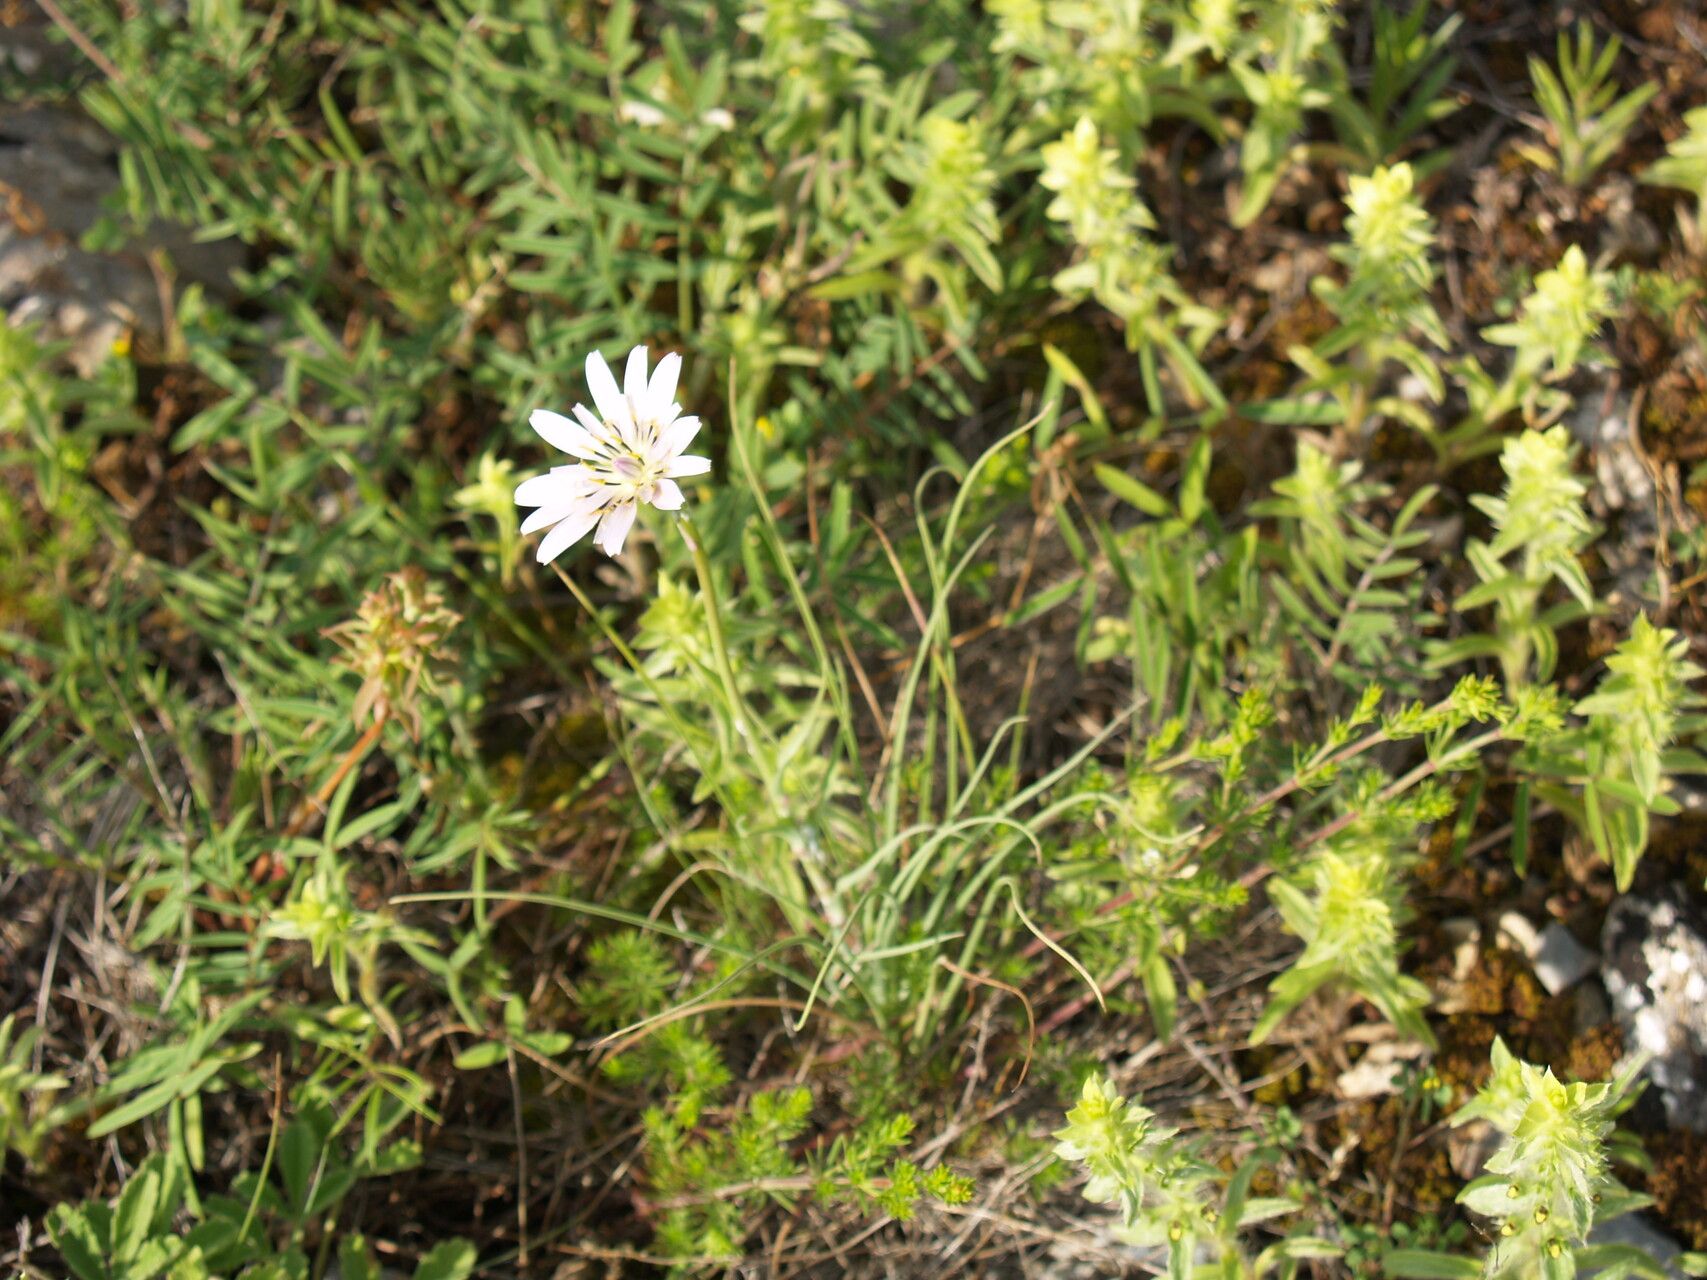
Oh, hello there! Pull up a chair and let’s chat about one of my garden’s most charming secrets: Tragopogon pterodes. If you’ve ever seen these delightful plants gracing a meadow or lining a garden path with their whimsical, dandelion-like seed heads, you know exactly what I’m talking about. Their fuzzy stalks and cheerful blooms are just a joy. And the best part? Propagating them is a truly rewarding experience, and I’m thrilled to show you how! For beginners, Tragopogon pterodes is a wonderfully forgiving plant to start with. You’ll find success is quite achievable.
The Best Time to Start
Timing, as they say, is everything in the garden, and with Tragopogon pterodes, we want to work with nature’s rhythm. The ideal time to propagate is in the early spring, just as the plant is waking up from its winter slumber. You’re looking for new, tender shoots to emerge. Alternatively, if you’re working with seeds, collecting them in late summer or fall and sowing them immediately outdoors is also very effective. This gives them the cold stratification they need to germinate come spring.
Supplies You’ll Need
Don’t worry, you won’t need a whole fancy workshop! Here’s a simple list of what’s helpful:
- Sharp pruning shears or clean scissors: For making clean cuts.
- Potting mix: A well-draining mix is key. I like to use a blend of perlite and peat moss for good aeration.
- Small pots or containers: With drainage holes, of course!
- Rooting hormone (optional but helpful): Especially for stem cuttings.
- Watering can or spray bottle: For gentle hydration.
- Small labels: To remember what you’ve planted where.
- Plastic bags or humidity domes (for stem cuttings): To keep things nice and moist.
Propagation Methods
Tragopogon pterodes is pretty versatile, but I find two methods work best for me: seed starting and division.
1. From Seed:
This is perhaps the most straightforward way to get more Tragopogon pterodes.
- Collect Seeds: Once the puffy, dandelion-like seed heads dry on the stem in late summer or fall, gently collect the seeds. You can tap the head into a paper bag or dish.
- Sow Outdoors: Prepare a small patch of soil in your garden or fill a shallow pot with your well-draining mix. Sow the seeds directly onto the surface or just barely cover them with a thin layer of soil. Tragopogon seeds need light to germinate, so shallow is best.
- Water Gently: Mist the soil surface lightly.
- Wait for Spring: If you sowed in fall, nature will do the work. Come spring, you should see little seedlings popping up. If you sowed in spring, be patient; germination can take a few weeks.
2. Division:
This method is perfect if you already have a mature Tragopogon and want to divide it to create new plants or simply rejuvenate the original.
- Dig Carefully: In early spring, before the plant gets too vigorous, carefully dig around the base of the established clump. You want to lift the whole plant out of the ground.
- Separate the Roots: You’ll see that the plant has one or more fleshy taproots with smaller fibrous roots. Gently tease the root ball apart, or use a clean trowel or spade to cut through any tough roots to separate the clump into smaller sections. Each section should have at least one healthy root and a few viable shoots.
- Replant Immediately: Plant the divisions in their new locations or pots at the same depth they were growing before. Water them in well.
The “Secret Sauce” (Pro Tips)
Here are a couple of little tricks I’ve picked up over the years that make a big difference:
- Don’t Overcrowd Your Seeds: When sowing seeds in pots, I always give them a bit of breathing room. Trying to cram too many seeds into one small pot leads to weak seedlings competing for resources, making them more prone to failure. A little space goes a long way!
- Consider a “Chill” for Seeds: If you missed the fall sowing window and are sowing seeds in early spring, you can mimic winter’s chill by stratifying your seeds. Mix your collected seeds with a bit of damp peat moss or sand in a sealed plastic bag and pop it in the refrigerator for 4-6 weeks. Then, sow as usual. This can significantly boost germination rates.
Aftercare & Troubleshooting
Once your seeds have sprouted or your divisions are planted, it’s time for some gentle TLC.
- Watering: Keep the soil consistently moist but not waterlogged. Young seedlings are particularly delicate and can dry out quickly. Overwatering, however, is the enemy and can lead to rot.
- Light: Seedlings need bright, indirect light. Once established, Tragopogon pterodes are pretty sun-lovers, but give the babies a bit of a break from scorching direct sun initially.
- Signs of Trouble: The most common problem you might encounter is damping off, where young seedlings suddenly rot at the soil line. This is almost always due to overwatering and poor air circulation. If you see this, remove the affected seedlings immediately, improve drainage, and reduce watering. For divisions, if a section looks wilted and refuses to perk up after a week or so, it may not have established sufficient roots. Don’t give up too soon, but be prepared that not every division will take.
A Encouraging Closing
There you have it! Propagating Tragopogon pterodes is a wonderfully accessible way to fill your garden with these charming plants. Remember to be patient; gardening is a journey, not a race. Enjoy the process of nurturing these new lives, and soon you’ll be admiring their cheerful presence in your own green space. Happy planting!
Resource:
https://identify.plantnet.org/k-world-flora/species/Tragopogon%20pterodes%20Pančić/data