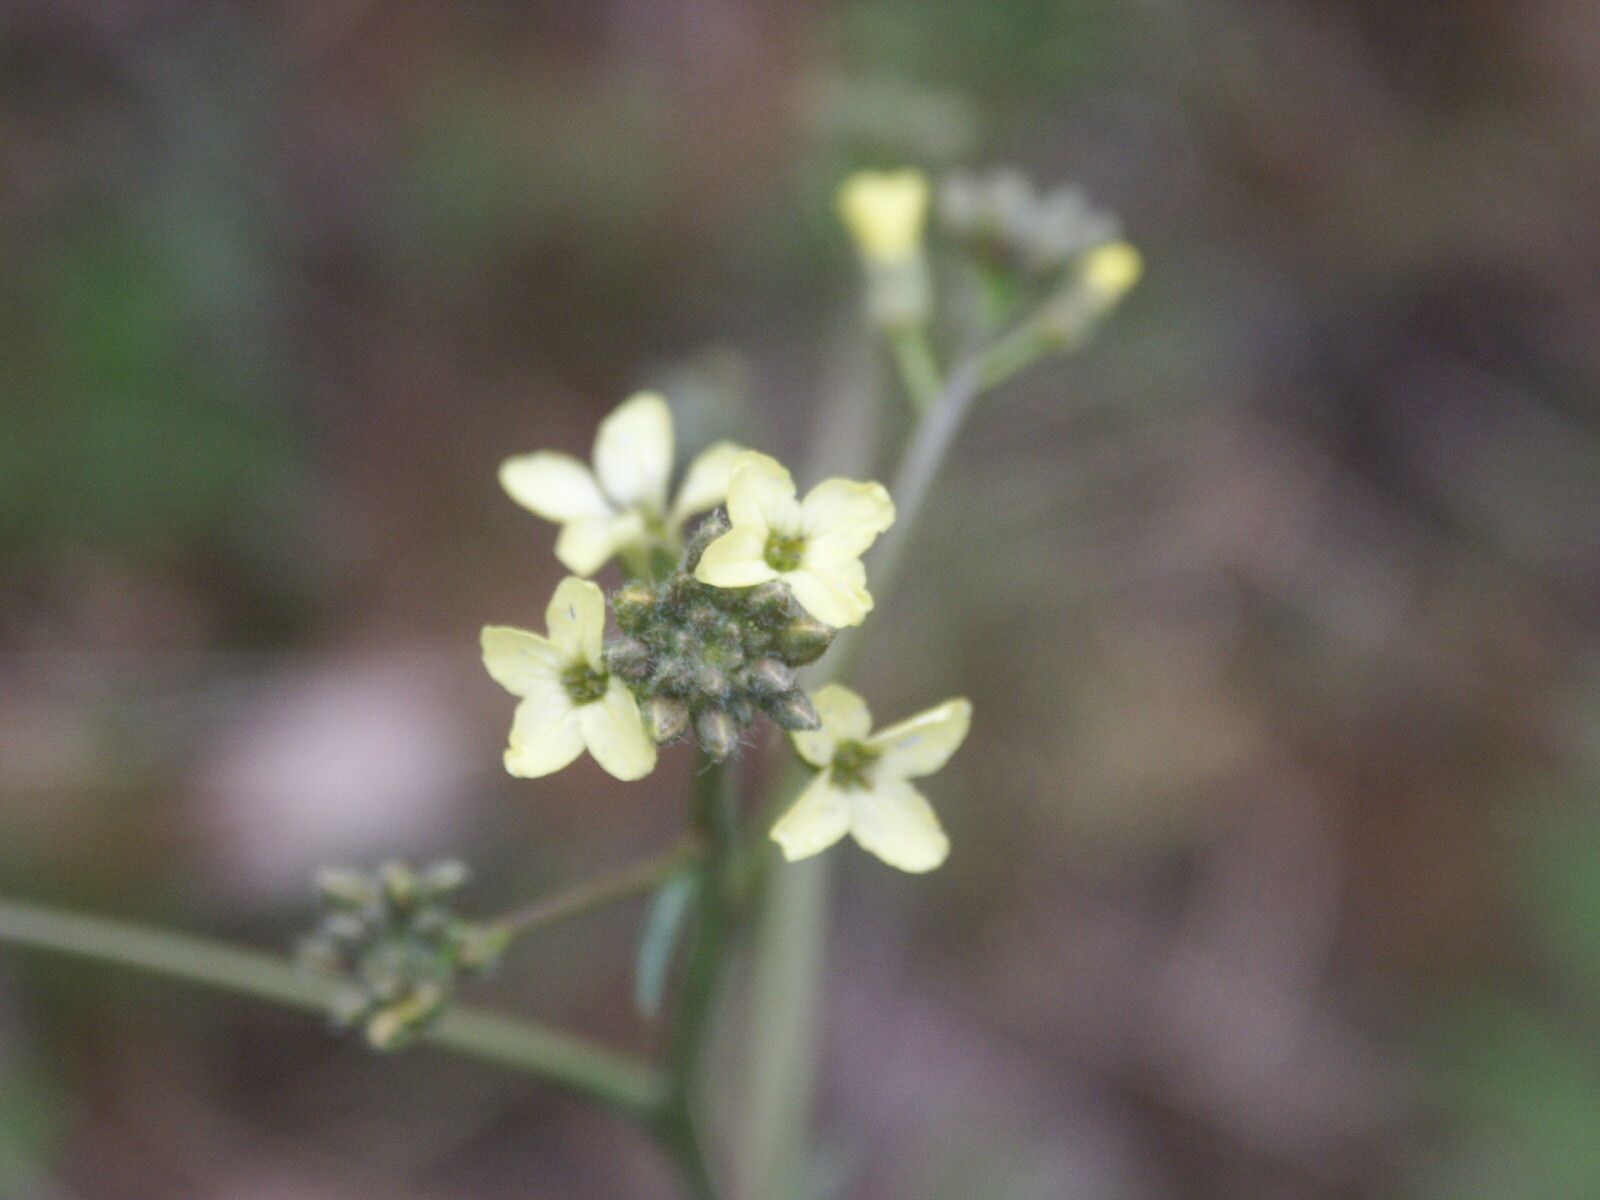
Hello my fellow garden lovers! Today, we’re going to talk about a plant that’s a real charmer: Sisymbrium crassifolium. You might know it by its common name, Wallflower, though there are many plants that share this moniker. The Sisymbrium crassifolium variety I adore boasts lovely, often sweetly scented clusters of flowers, usually in shades of yellow, orange, or purple, that just bring a smile to my face. They’re fantastic for cutting gardens and attracting pollinators. And honestly, the joy of taking a tiny piece of a plant you love and coaxing it into a whole new life? It’s one of the most satisfying parts of gardening for me. Now, about propagating Sisymbrium crassifolium: it’s a pretty straightforward process, even for those just dipping their toes into the world of propagation.
The Best Time to Start
For the highest success rate with Sisymbrium crassifolium, I find the late spring and early summer are absolutely prime. This is when the plant is actively growing, and you can usually find plenty of nice, healthy new shoots. Think of it as the plant being full of energy and ready to share! You want to be harvesting cuttings from non-flowering, yet pliable shoots. Avoid anything that’s already woody or has developed flower buds.
Supplies You’ll Need
Here’s a little toolkit to get you started:
- Sharp pruning shears or a clean, sharp knife: For making clean cuts.
- Rooting hormone (optional but recommended): A little boost can make a big difference.
- Potting mix: A well-draining mix is key. I often use a blend of perlite and peat moss or coco coir. Some gardeners like a seed-starting mix too.
- Small pots or trays: Clean ones, of course!
- Plastic bags or a propagation dome: To keep humidity high.
- Watering can or spray bottle: For gentle watering.
- Labels: Don’t forget to label your creations!
Propagation Methods
We’re going to focus on stem cuttings, as this is usually the most reliable method for Sisymbrium crassifolium.
Stem Cuttings:
- Select Your Cuttings: Head out to your most vigorous Sisymbrium crassifolium plant. Look for those plump, new shoots that are about 4-6 inches long. Gently snap or cut one off.
- Prepare the Cuttings: Now, take your selected stem and remove the lower leaves. You want to leave just a few leaves at the very top. This prevents them from rotting when they’re in the soil. If the leaves are very large, you can even cut them in half horizontally to reduce water loss.
- Apply Rooting Hormone (Optional): Dip the cut end of the stem into your rooting hormone powder or gel. Tap off any excess. This step isn’t strictly essential, but I’ve found it speeds up root formation considerably.
- Plant Your Cuttings: Fill your small pots with your prepared potting mix. Make a small hole with your finger or a pencil, then gently insert the cut end of the stem. Firm the soil gently around it.
- Water Gently: Water thoroughly but gently. You don’t want to dislodge your cuttings. A spray bottle is excellent for this initial watering.
- Create a Humid Environment: The crucial step here is maintaining high humidity. You can do this by covering the pot with a clear plastic bag secured with a rubber band or by placing it under a propagation dome. Make sure the leaves don’t touch the plastic, or they could rot.
- Place in Bright, Indirect Light: Find a spot that gets bright, indirect light. Avoid direct sun, which can scorch the delicate new cuttings.
The “Secret Sauce” (Pro Tips)
Here are a couple of things I’ve learned over the years that can really boost your success:
- Don’t Crowd Them: Give your cuttings a little breathing room in their pots. Overcrowding can encourage fungal diseases. I usually plant just one or two cuttings per small pot.
- Bottom Heat is Your Friend: If you have a heating mat designed for plant propagation, use it! Sisymbrium crassifolium, like many plants, roots much faster and more reliably when its feet are kept warm. It really encourages root development from the get-go.
- The “Bend Test” is Your Guide: When you think your cuttings might be rooted, give one a very gentle tug. If you feel resistance, that’s your sign that roots have formed! If it pulls out easily, it likely hasn’t rooted yet.
Aftercare & Troubleshooting
Once your cuttings have started to show signs of rooting (you might see tiny new leaves forming or feel that resistance during the bend test), it’s time to transition them.
- Gradual Acclimation: Slowly reduce the humidity over a few days. This means poking a few holes in your plastic bag or lifting the dome for longer periods. This helps the new plants get used to drier air.
- Consistent Moisture: Keep the soil consistently moist, but not waterlogged. Overwatering is the number one killer of new cuttings.
- Transplanting: Once the roots are well-established and you see good top growth, you can pot them up into slightly larger pots with your regular potting mix.
- Troubleshooting: The most common issue you’ll encounter is rot. If a cutting turns black and mushy, it’s time to discard it. This is usually caused by too much moisture and not enough airflow. Make sure your soil drains well and that your propagation environment isn’t waterlogged. Another sign of failure is a cutting that simply shrivels up – this can be a sign of dehydration, so ensure your humidity is sufficient.
A Encouraging Closing
Propagating plants is a journey, and like any good journey, it requires a little patience. Don’t be discouraged if not every cutting makes it – that’s just part of the learning process! Celebrate the successes, learn from the failures, and most importantly, enjoy the magic of watching new life emerge from a piece of your existing garden. Happy propagating!
Resource:
https://identify.plantnet.org/k-world-flora/species/Sisymbrium%20crassifolium%20Cav./data