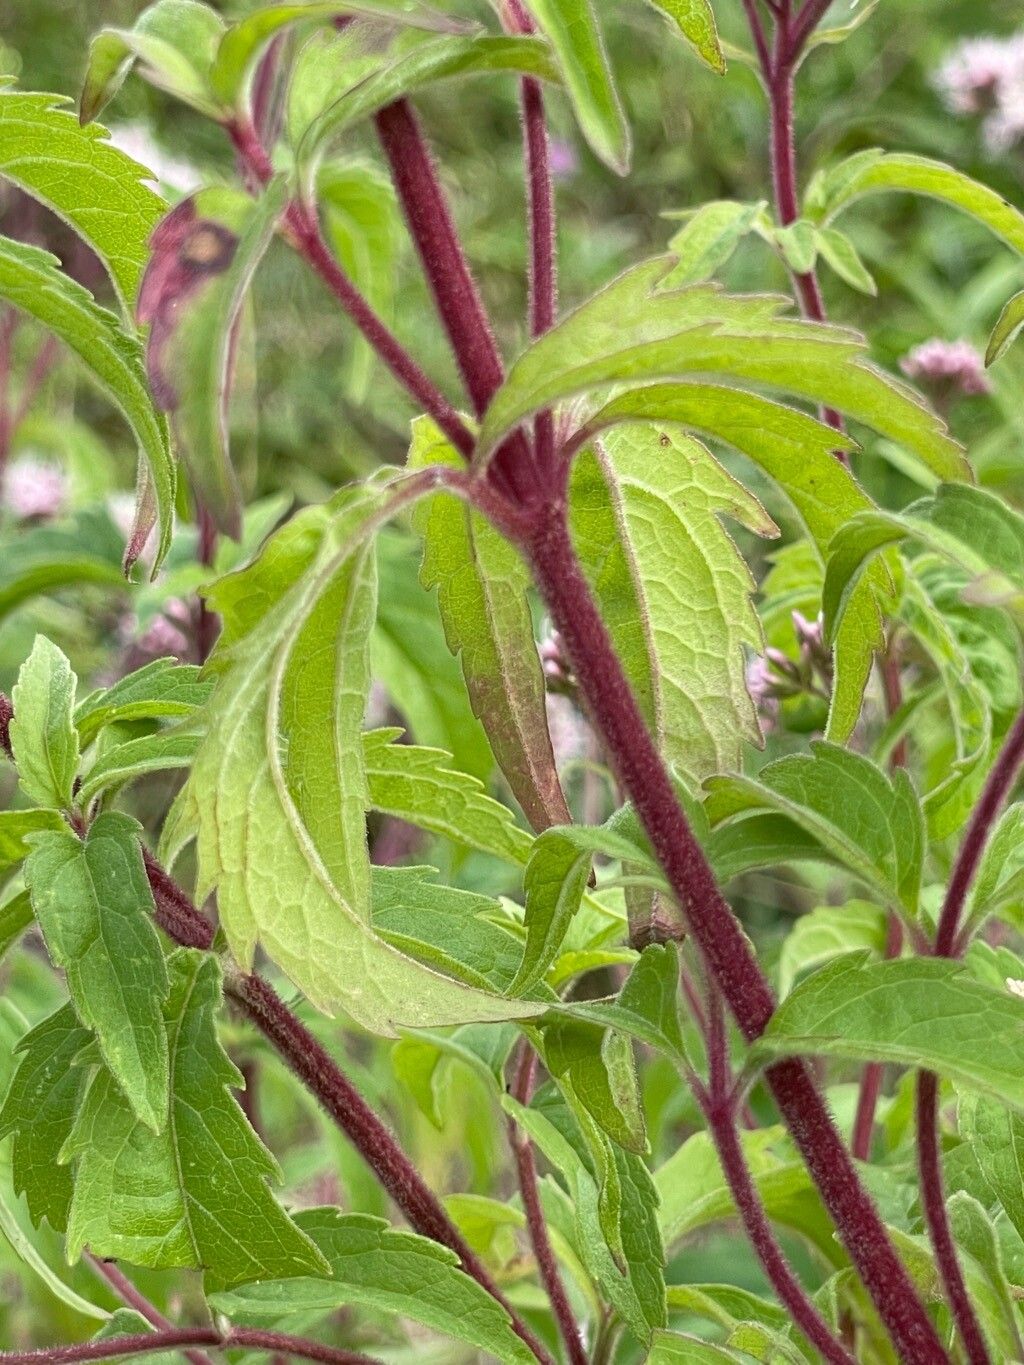
Oh, Eupatorium cannabinum! Also known as our lovely native Hemp Agrimony, it’s a garden stunner, isn’t it? Those ethereal clouds of pinky-mauve flowers nodding in the breeze are simply irresistible, attracting all sorts of pollinators. If you’ve ever admired a clump of this beauty and wished you had more to fill a border or share with a friend, you’re in luck! Propagating Eupatorium cannabinum is really quite straightforward, and I’m always thrilled when folks feel empowered to grow their own plants. It’s a wonderfully rewarding experience and, dare I say, a perfect project for beginners who want to dip their toes into propagation.
The Best Time to Start
For the absolute best success rate with Hemp Agrimony, I find spring to be your sweet spot. As the plant starts to wake up and puts on vigorous new growth, it’s brimming with the energy it needs to put down roots. Late spring, just as things are really taking off, is often ideal. However, you can also achieve good results with softwood cuttings in early summer.
Supplies You’ll Need
Getting your tools ready makes the whole process smoother. Here’s what I usually have on hand:
- Sharp pruning shears or a clean knife: For taking cuttings and dividing.
- Potting mix: A light, well-draining mix is key. I often use a blend of equal parts peat-free compost and perlite or sharp sand.
- Small pots or seed trays: With drainage holes, of course!
- Rooting hormone (optional but helpful): A powdered or gel form can give cuttings an extra boost.
- Plastic bags or a propagator: To create a humid environment for cuttings.
- Watering can with a fine rose: For gentle watering.
Propagation Methods
Hemp Agrimony is a plant that’s happy to oblige when it comes to making more of itself. Here are my favorite ways to go about it:
Stem Cuttings: My Go-To Method
This is generally the most reliable way to get lots of new plants.
- Take Your Cuttings: In spring or early summer, when the stems are flexible but not woody, use your sharp secateurs or knife to take non-flowering shoots about 10-15 cm (4-6 inches) long. Make the cut just below a leaf node.
- Prepare the Cuttings: Gently remove the lower leaves, leaving just a few at the top. If you’re using rooting hormone, dip the cut end into it according to the product’s instructions.
- Pot Them Up: Fill your small pots or trays with your prepared potting mix. Make a hole with a pencil or your finger and gently insert the cutting, firming the soil around it.
- Create Humidity: Water the soil thoroughly until it drains from the bottom. Then, pop the pots into a plastic bag, a propagator, or cover them with a clear plastic lid. Make sure the plastic doesn’t touch the leaves too much.
- Find a Spot: Place the pots in a bright spot, but out of direct sunlight. A warm windowsill is usually perfect.
Division: The “Plant Swap” Technique
If you’ve got an established clump that’s gotten a bit too big for its boots, division is a fantastic way to rejuvenate it and get more plants.
- Dig It Up: In spring, before the plant gets too far into growth, carefully dig up the entire clump.
- Clean and Divide: Gently shake off excess soil. You can use your hands, a spade, or even a clean sharp knife to split the root ball into smaller sections. Make sure each section has some healthy roots and shoots.
- Replant: Pot up the divided sections into new containers with fresh soil, or replant them directly into your garden where you want them to grow. Water them in well.
The “Secret Sauce” (Pro Tips)
After years of getting my hands dirty, I’ve picked up a few tricks that seem to make all the difference.
- Bottom Heat is Your Friend: For stem cuttings, a bit of gentle warmth from a heated propagator or a mat underneath your pots can significantly speed up root development. It mimics that lovely spring warmth.
- Don’t Let Leaves Drip-Drop: When you’re misting or watering your cuttings, try to avoid letting water sit on the leaves for extended periods, especially if they’re enclosed in plastic. This can encourage fungal issues. A light misting that dries relatively quickly is best.
- Watch for the ‘Pull Test’: Once your cuttings have been in their pots for a few weeks, you can gently tug on a leaf. If there’s resistance, it’s a good sign roots have formed!
Aftercare & Troubleshooting
Once you see signs of new growth, or feel that lovely resistance from the “pull test,” your cuttings are on their way.
- Acclimatize: Gradually introduce your new plants to the outside world. If they’ve been in a propagator, start by opening the lid for longer periods each day before removing it entirely.
- Potting Up: Once they’re strong enough, pot them into slightly larger pots with good quality compost.
- Watch for Rot: The most common sign of failure is rot. If your cuttings look mushy, dark, or slimy, it’s usually a sign of too much moisture and not enough airflow. Sadly, these are difficult to save. Ensure your soil is well-draining and that you’re not overwatering.
A Encouraging Closing
Growing Eupatorium cannabinum from cuttings or divisions is a simple joy. It might take a little patience, and not every single cutting will make it, but that’s part of the learning curve. Celebrate the successes, learn from the setbacks, and most importantly, enjoy the process of nurturing new life in your garden. Happy propagating!
Resource:
https://identify.plantnet.org/k-world-flora/species/Eupatorium%20cannabinum%20L./data