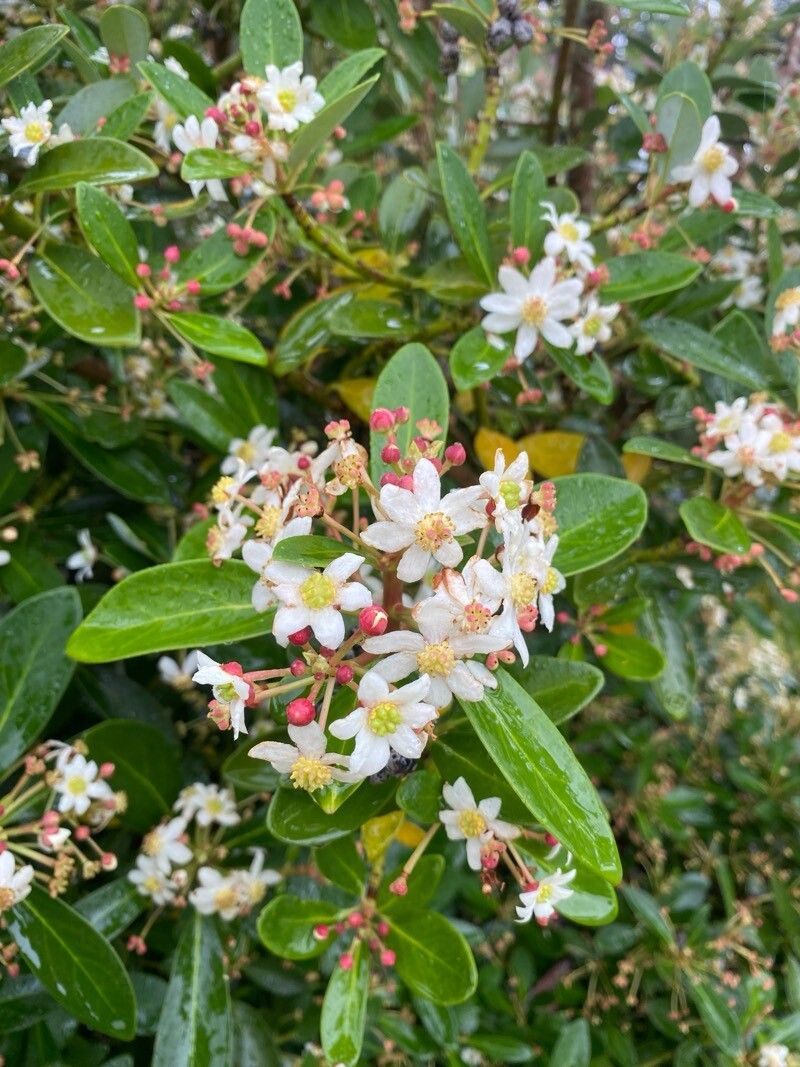
Hello there, fellow plant lovers! Today, we’re diving into propagating a real treasure: Drimys andina. You might know it as a Chilean pepper or the mountain pepper. I’ve been growing these beauties for years, and their glossy, dark leaves and spicy scent are just darling. They bring a touch of the wild and exotic to any garden.
If you’re new to propagation, don’t shy away! While Drimys andina can be a tad particular, it’s definitely manageable. With a little patience and the right approach, you’ll be rewarded with new little plants to share or expand your collection. It’s a wonderfully satisfying feeling, seeing life begin from a snip of a stem.
The Best Time to Start
Timing is everything, isn’t it? For Drimys andina, the absolute best time to propagate is in late spring or early summer. This is when the plant is actively growing and has plenty of energy to put into developing new roots. Look for soft, leafy growth – that’s your cue! Avoid taking cuttings when the plant is stressed, like during extreme heat or drought, or if it’s just finished flowering.
Supplies You’ll Need
Before you get your hands dirty (which is half the fun, right?), let’s gather our tools:
- Sharp pruning shears or a clean, sharp knife: For making those crucial, clean cuts.
- Rooting hormone (optional, but helpful): A powder or gel that encourages root development.
- Potting mix: A well-draining mix is key. I like to use a blend of equal parts peat moss (or coco coir), perlite, and a bit of compost. This prevents waterlogging, which these plants really dislike.
- Small pots or trays: With drainage holes, of course!
- Plastic bags or a humidity dome: To create a microclimate for your cuttings.
- Water: For misting and watering.
- Labels and a pen: So you don’t forget what you’ve potted!
Propagation Methods
Drimys andina is typically propagated from stem cuttings. It’s quite straightforward once you get the hang of it.
Stem Cuttings
- Select your cutting: Find a healthy stem that’s about 4-6 inches long. It should be semi-hardwood – not too green and floppy, but not overly woody either. Stems that have flowered but are still developing are often perfect for this.
- Make the cut: Using your clean shears or knife, take a cutting just below a leaf node. A leaf node is where a leaf attaches to the stem; this is where roots usually emerge.
- Prepare the cutting: Gently remove the lower leaves, leaving just a couple at the very top. This prevents the submerged leaves from rotting in the soil. If the top leaves are very large, you can even snip them in half to reduce water loss.
- Apply rooting hormone (optional): Dip the cut end of the stem into your rooting hormone, tapping off any excess.
- Plant the cutting: Fill your small pots with your prepared well-draining potting mix. Make a small hole in the center with your finger or a pencil.
- Insert the cutting: Gently push the cut end of the stem into the hole, ensuring that at least one leaf node is buried beneath the soil surface. Firm the soil gently around it.
- Water and cover: Water thoroughly, but don’t let the pot sit in water. Then, cover the pot with a plastic bag or a humidity dome to keep the moisture levels high. Make sure the leaves don’t touch the plastic if possible – a few small stakes can help with this.
- Place in bright, indirect light: Keep your cuttings in a warm spot with bright, indirect light. Avoid direct sun, which can scorch them.
The “Secret Sauce” (Pro Tips)
Here are a couple of tricks I’ve learned over the years that really make a difference:
- Bottom Heat is Your Friend: Drimys andina loves a bit of warmth from below. Placing your pots on a heat mat specifically designed for cuttings can significantly speed up root development. It mimics the warmth of spring soil.
- Don’t Overwater! This is crucial. While cuttings need moisture, they can rot incredibly easily if the soil stays too wet. I like to check the soil moisture by feeling the weight of the pot. If it feels light, it’s time to water. And always, always ensure your pots have good drainage.
Aftercare & Troubleshooting
Keep an eye on your cuttings! You should start to see signs of new growth, like tiny leaves emerging from the tips or leaf axils, within 4-8 weeks.
When roots appear: You’ll know your cutting has rooted when it resists being gently tugged. At this point, you can gradually acclimate it to less humid conditions by opening the plastic bag or dome a little more each day. Once it’s fully weaned off the humidity, you can transplant it into a slightly larger pot with regular potting soil.
Troubleshooting:
- Rotting: This is the most common issue. If your cutting turns black and mushy, it’s likely rot. This is usually due to overwatering and poor drainage. Unfortunately, a rotted cutting is a goner.
- Wilting: If your cutting wilts and doesn’t perk up after watering, it might not have rooted yet, or it could be too dry. Ensure the humidity is consistent. If it’s been a very long time with no signs of life and it remains limp, it might not have taken.
A Encouraging Closing
Propagating plants is a journey, not a race. Some cuttings will take off beautifully, while others might be a little more stubborn. Don’t get discouraged! Each attempt is a learning experience. With a little patience and by following these steps, I’m confident you’ll have success with your Drimys andina. Enjoy the process of nurturing new life in your garden! Happy propagating!
Resource: