Oh, hello there! Come on in, pull up a chair. I’ve got a fresh pot of coffee brewing. Today, we’re going to talk about a truly special plant – Zenobia pulverulenta, often called Southern Andromeda or Dusty Zenobia. If you’ve ever seen one blooming, you know how graceful and elegant it is. Those delicate, bell-shaped flowers cascading from silvery-blue foliage… simply enchanting!
Propagating Zenobia can feel a bit like uncovering a treasure. It’s not the absolute easiest plant to get going from scratch, but with a little know-how and a good dose of patience, you can absolutely multiply these beauties for your own garden or to share with fellow plant lovers. Trust me, the satisfaction of growing a new plant from a tiny cutting is unlike anything else.
The Best Time to Start
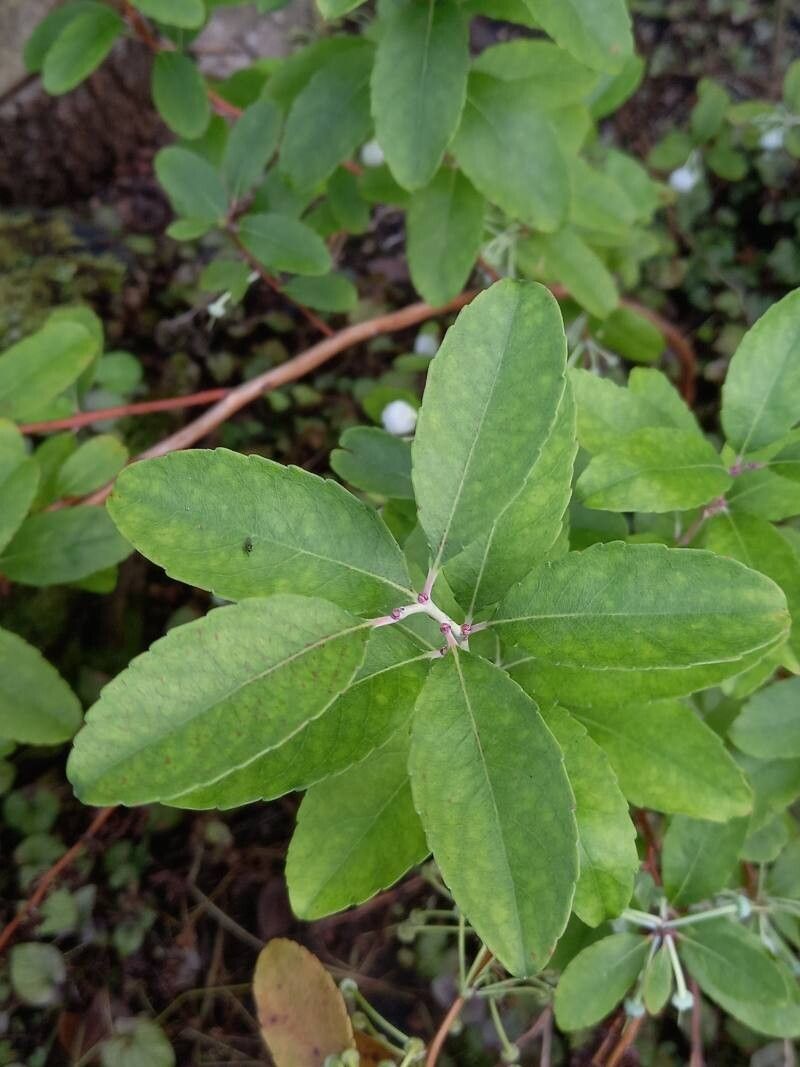
For Zenobia, the late spring to early summer, after the main bloom has finished, is generally the sweet spot. This is when the plant is actively growing, and the new shoots have had a chance to mature just enough to be good candidates for cuttings. We’re looking for stems that are somewhat woody but still flexible – not stiff and old, and certainly not brand new, floppy growth.
Supplies You’ll Need
Before we dive in, let’s gather our tools. Having everything ready makes the process so much smoother.
- Sharp Pruning Shears or a Knife: A clean cut is crucial.
- Rooting Hormone: I prefer a powder or gel form for stem cuttings.
- Well-Draining Potting Mix: A good mix for ericaceous plants is ideal. Think equal parts peat moss, perlite, and coarse sand. Or, you can use a pre-made rhododendron or azalea mix.
- Small Pots or Trays: Clean pots with drainage holes are a must.
- Plastic Bags or Cloches: To create a humid environment.
- Watering Can with a Fine Rose: For gentle watering.
- Optional: Bottom Heat Mat: This can significantly speed up rooting.
Propagation Methods
There are a couple of ways to tackle Zenobia propagation, but stem cuttings are usually the most rewarding and successful.
Stem Cuttings:
- Select Your Cuttings: As I mentioned, aim for healthy, semi-hardwood stems from the current season’s growth. Look for pieces that are about 4-6 inches long and have at least a few sets of leaves.
- Make the Cut: Using your clean shears or knife, make a clean cut just below a leaf node. A leaf node is where a leaf attaches to the stem – this is where the magic of root development often begins.
- Prepare the Cutting: Gently remove the lower leaves, leaving about 2-3 leaves at the top. This prevents leaves from rotting in the soil. If the remaining leaves are very large, you can cut them in half to reduce water loss.
- Apply Rooting Hormone: Dip the cut end of the stem into your rooting hormone, ensuring it’s well coated. Tap off any excess.
- Plant Your Cuttings: Fill your small pots with your prepared potting mix. Make a small hole in the center of the mix with your finger or a pencil. Insert the cutting into the hole, ensuring the rooting hormone-coated end is covered. Gently firm the soil around the stem.
- Create Humidity: Water the cuttings gently. Then, cover the pot loosely with a plastic bag or a cloche to create a humid microclimate. You can use stakes to keep the plastic from touching the leaves.
- Provide the Right Environment: Place the pots in a bright spot but out of direct sunlight. If you have a bottom heat mat, now’s the time to use it – a consistent temperature of around 70-75°F (21-24°C) is perfect.
Division (for established plants):
If you have an older, well-established clump of Zenobia, you might also be able to propagate it by division. This is best done in early spring as new growth begins to emerge.
- Carefully Excavate: Dig around the entire plant, trying to disturb the roots as little as possible.
- Separate the Divisions: Gently tease apart sections of the plant. Look for sections that have their own root system and at least a few shoots. You might need a clean, sharp spade or knife to help you make a clean division if the roots are very tangled.
- Replant Immediately: Replant the divisions into prepared soil as you would a regular shrub. Water them well.
The “Secret Sauce” (Pro Tips)
Here are a couple of tricks I’ve learned over the years that often make a big difference:
- Don’t Let the Leaves Touch the Water: This is huge, especially with stem cuttings. If the leaves are submerged in water (from condensation or watering), they’ll quickly turn mushy and rot, taking your precious cutting with them. Ensure good air circulation and keep those leaves lifted.
- Bottom Heat is Your Friend: Seriously, if you can get your hands on a bottom heat mat, it’s a game-changer for root development, especially for trickier plants like Zenobia. It mimics the warmth of spring soil and encourages roots to form much faster and more reliably.
Aftercare & Troubleshooting
Once you start seeing signs of new growth – little leaves unfurling or tiny shoots appearing – that’s a good indicator that roots have formed! Congratulations!
- Gradually Acclimatize: Before removing the plastic completely, start by opening the bag or cloche for a few hours each day. This helps the new plant adjust to normal humidity levels.
- Watering: Keep the soil consistently moist but not waterlogged. Water gently when the top inch of soil feels dry.
- Transplanting: Once the roots have filled the pot (you can often tell by gently tugging on the plant – if there’s resistance, roots are there, or by looking for roots emerging from the drainage holes), it’s time to transplant into a slightly larger pot or its permanent garden home if the weather is right.
The biggest issue you’ll likely run into is rot. If your cuttings turn black and mushy, or get a fuzzy grey mold, it’s usually a sign of too much moisture and not enough air circulation. Don’t be discouraged! Clean everything up, ensure better drainage next time, and try again. Sometimes, despite our best efforts, a cutting just won’t make it – that’s part of the learning process.
A Encouraging Closing
So there you have it. Propagating Zenobia, while it asks for a bit of attention, is a journey that can fill your garden with these ethereal blooms. Be patient with yourself and with the plants. Each cutting is a hopeful prospect, and the process itself is a wonderful way to connect with nature. Enjoy the anticipation, celebrate every success, and know that you’re growing something beautiful. Happy planting!
Resource: